This section will show how to:
•Change labels, decimals and units
•Set Project Properties
•Change Main Window fields/columns
Step 1: Open the Options window
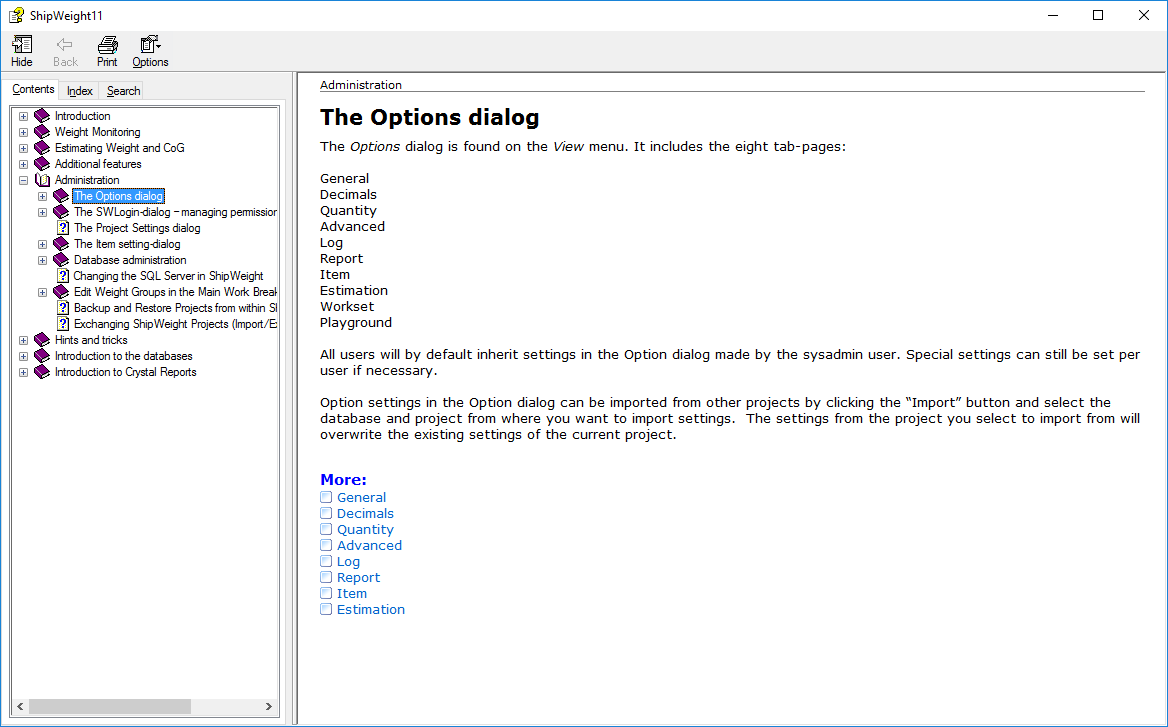
To open the Options window go into the View menu, and select Options…
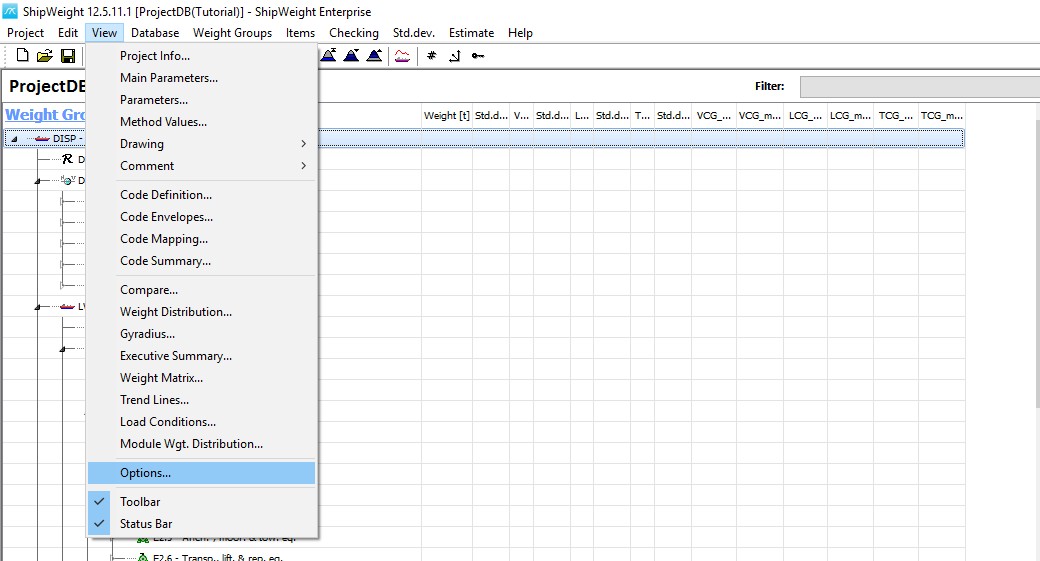
This will bring up a window that has many tab-sheets, and in each sheet, you can set various options:
Step 2: Set Units and Startup Parameters
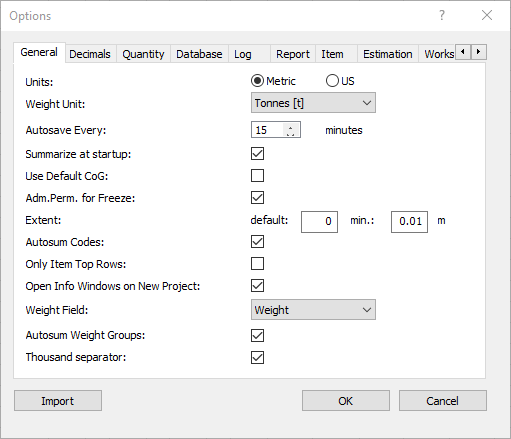
The first sheet is General, where you can select:
•Units in Metric or US
•The Weight Unit
•Whether it should summarize at startup etc.
Note especially the “Weight field” droplist. This is where you select the weight field to be summarized in the main window. By default, it is the standard weight field, but you can use any of your custom code weight field as your main weight field.
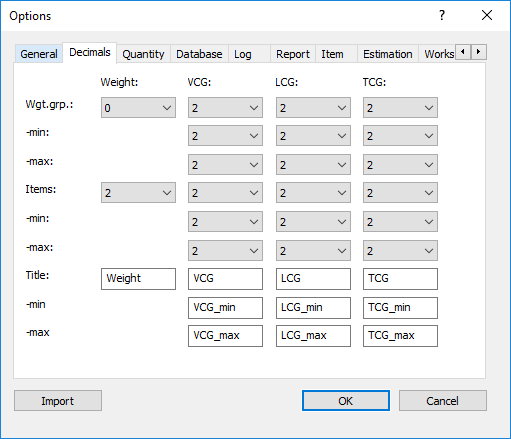
Step 3: Set Number of Decimals and Mass Properties Labels
The next tab is the Decimals settings, for the weight groups in the main window and for the detailed items in the Item window:
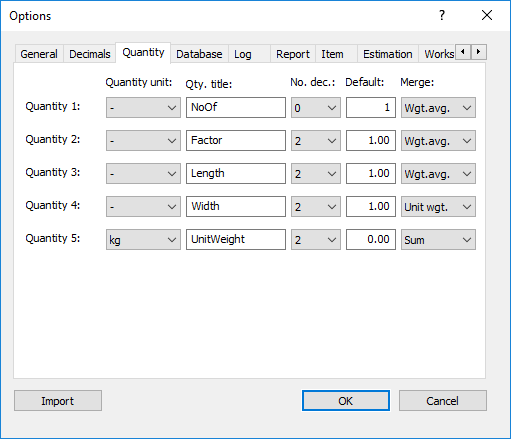
Step 4: Set Quantity Properties
Next you have names for Quantity and default settings for Quantities when a new row is added:
Refer to the Help File for Extra Information about the settings
For more details about this settings hit the F1 key to bring up the context sensitive help, which will show you explanations for various tabs of the Options window:
Finally, in the Project Administration chapter, we will see how to navigate in the work breakdown structure.
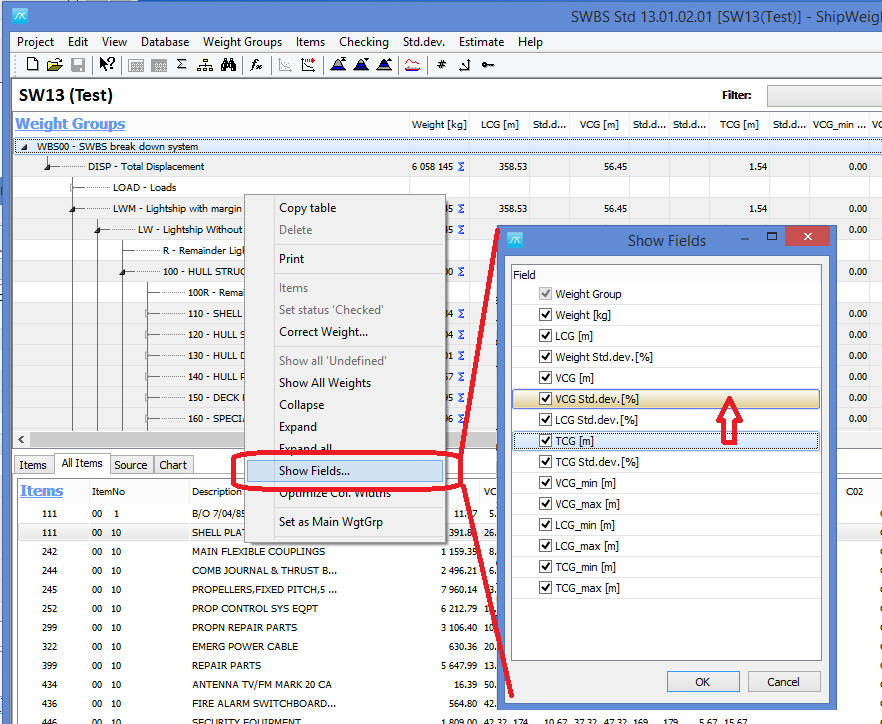
Step 5: Set which Fields to Show and Field Order in Main Window
You can change the order of the column in the main window. In version 12 you could turn visibility on and off by right clicking in the main window treeview and select “Show fields”. You can now also rearrange the order by dragging and dropping the items in the list.