This section will show how to:
•Define Custom Codes
•Define Item Settings
Step 1: Open the Code Definition Window
To open the Code Definition windw, select Code definition… on the View menu of ShipWeight window.
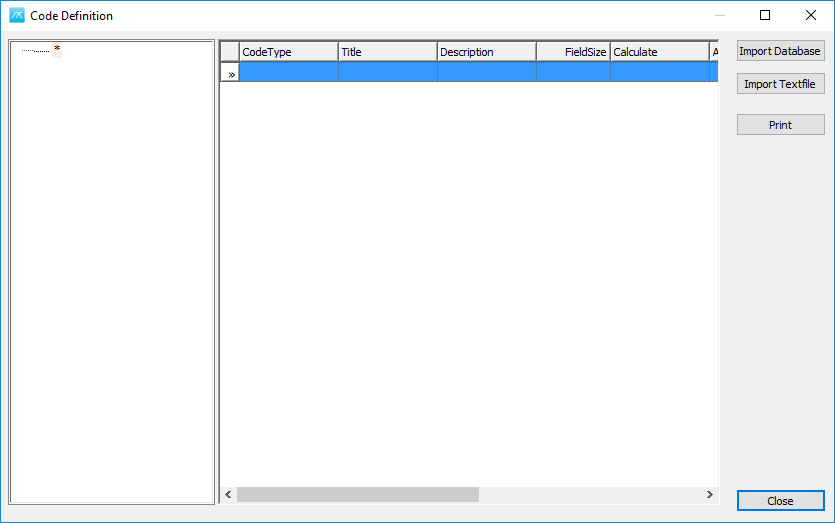
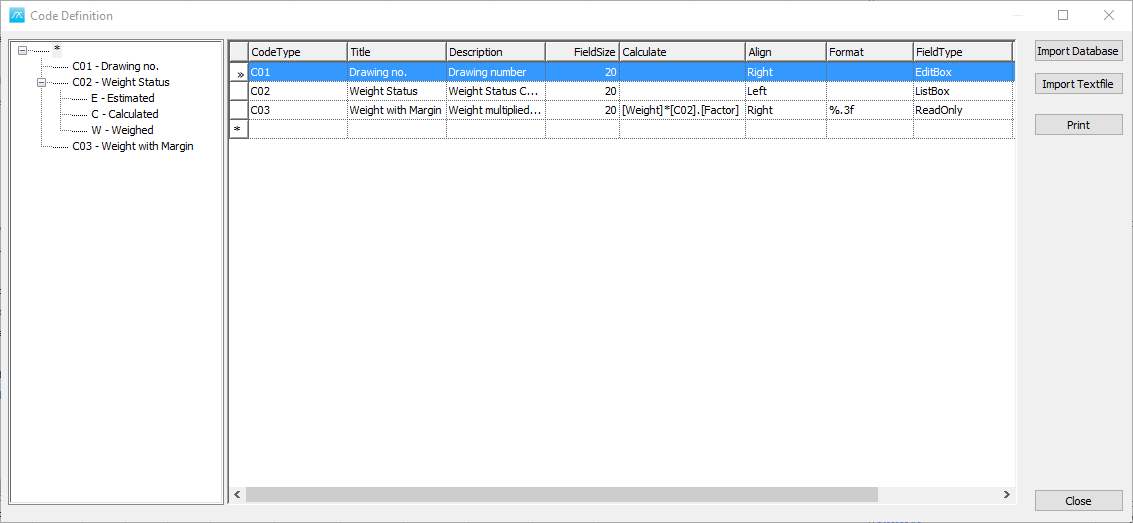
The Code Definition window contains a tree-view on the left side, and a table on the right side. It allows the user to define his own fields in ShipWeight.
Step 2: Define an Editbox Custom Code
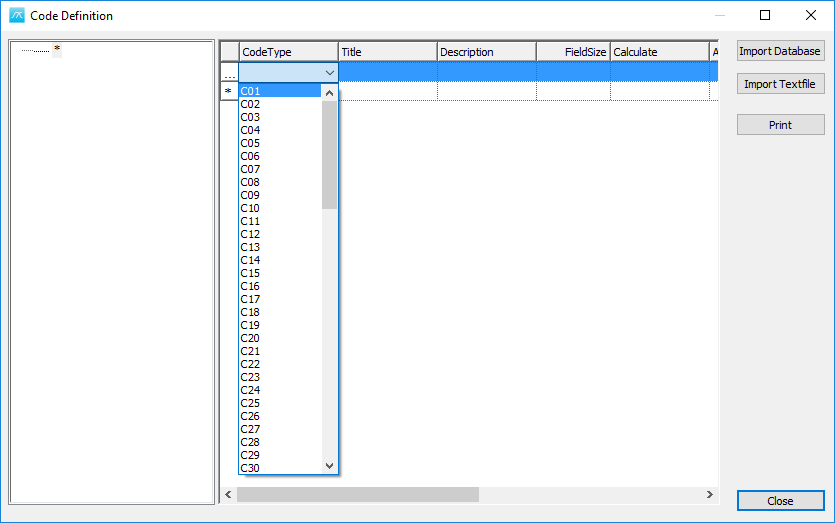
To create a code, select the cell in the column “CodeType” of the table. The cell will become activated and editable. A new row automatically will be added, and the cell will turn into a combo box (editable dropdown list). Next, activate the dropdown of the combo box and select the ID of the custom code you want to make e.g. C01.
Next, fill in the following fields:
Field Value Description
Title Drawing no. Title will show above field in Item dlg.
Description Drawing number Information only, no effect
FieldSize 20 Number of characters allowed in field
Calculate (leave empty) Formula for calculated codes (Leave empty)
Align Right Alignment of value in Item dlg.
Format (leave empty) Formatting of calculated fields (Leave empty)
FieldType EditBox Specify a standard editable field
To finish the registration of code C01, click with the mouse on the empty line in the table. You can make sure that the code has been registered by checking that it is added to the tree left of the grid. Click the minus/plus sign to (un)expand the tree. The FieldType in this case is EditBox. This means that the custom code field will be an editable box where the user may type in freely.
The other Fieldtypes are:
• ListBox – the user must select value for the field from a dropdown list of predefined values
• ComboBox – the user may select value for the field from a dropdown list of predefined values or type in freely
• ReadOnly – the value cannot be changed by the user

Step 3: Define a Listbox Custom Code
In the same way, add the code C02 with the following values:
Field Value
Title Weight Status
Description Weight Status Code
FieldSize 20
Calculate (leave empty)
Align Left
Format (leave empty)
FieldType ListBox
Next, we will add code values to the Weight Status code. In the tree-view, select code ‘C02 – Weight Status’. An empty table for adding code values will appear on the right side of the tree-view.
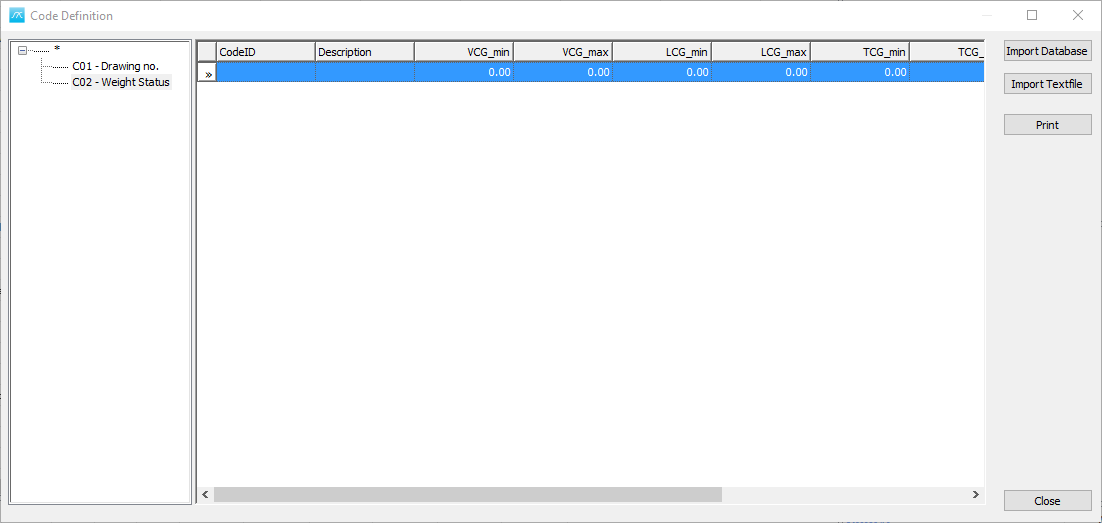
Select the row of the table and fill in these values:
Field Value
CodeID E
Description Estimated
Factor 1.1
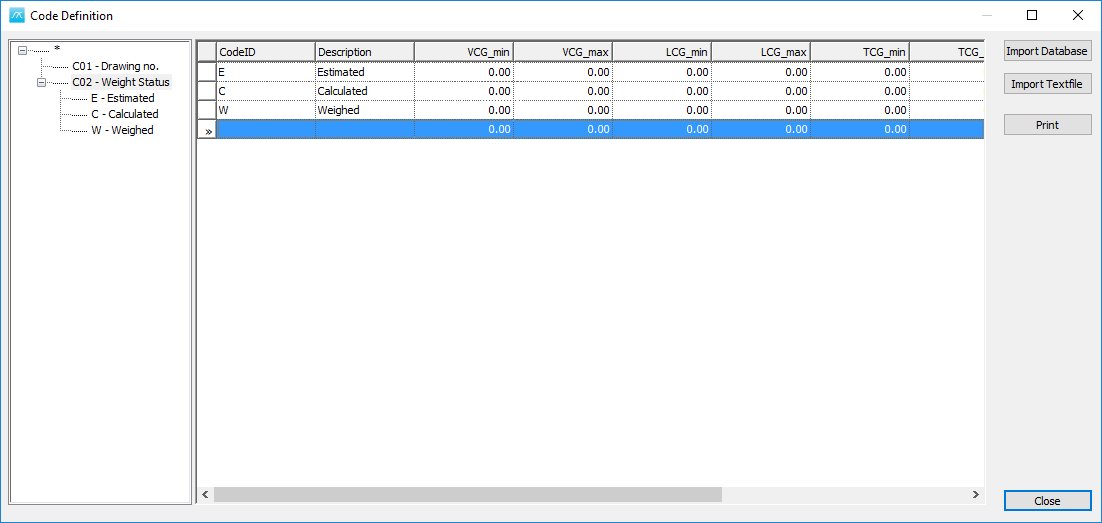
Leave the rest of the fields empty, and click on the next row in the table. Enter two more code values:
Field Value
CodeID C
Description Calculated
Factor 1.05
Field Value
CodeID W
Description Weighed
Factor 1.02
Finish registering the code value by clicking the last row in the table with the mouse.
Step 4: Define a Calculated Custom Code
Next, click the topmost asterisk in the tree-view to display the Code Definition table. Add code C03 with the following values:
Field Value
CodeType C03
Title Weight with Margin
Description Weight multiplied with margin based on Weight Status code
FieldSize 20
Calculate [Weight]*[C02].[Factor]
Align Right
Format %.3f
FieldType ReadOnly
Click the empty row of the table to finish off the registration of C03.
Hit F1 button to bring up the Help file for Code definition window:
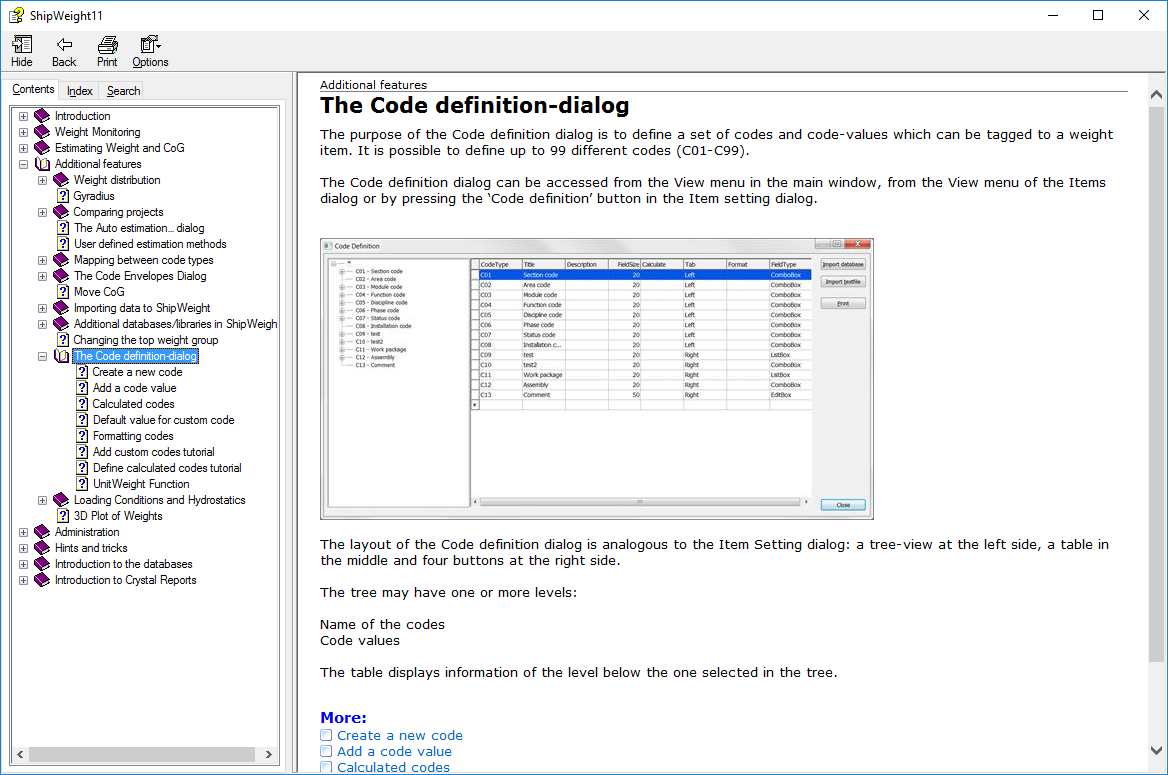
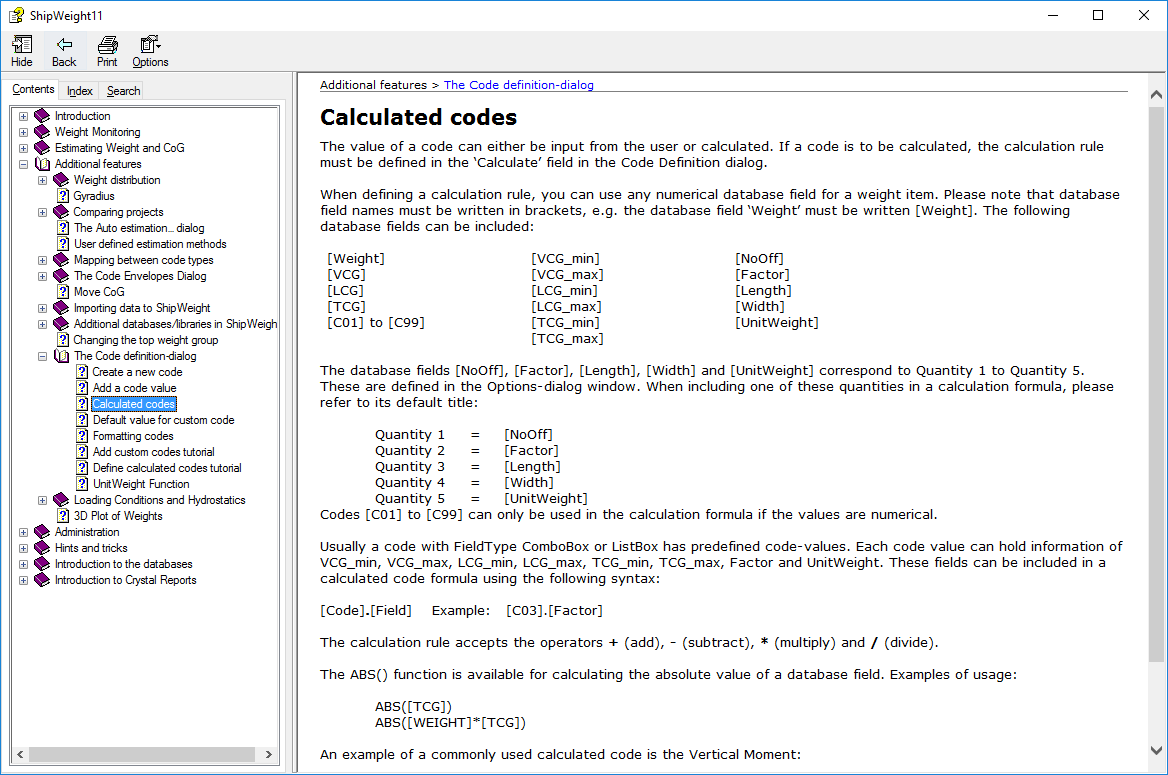
In the Help file, select the Calculated Codes to find all the options to use for the calculated fields and how to set the calculations:
Finally, close the Code Definition window.
Step 5: Check the Added Codes in the Item Window
Open the Items window, in ShipWeight main window select Items and choose List Items -> All…
Alternatively, press the ‘Item level’ button on the toolbar: ![]()
The Items window now opens in default mode. In the Items view, it can be noticed all of the added codes:
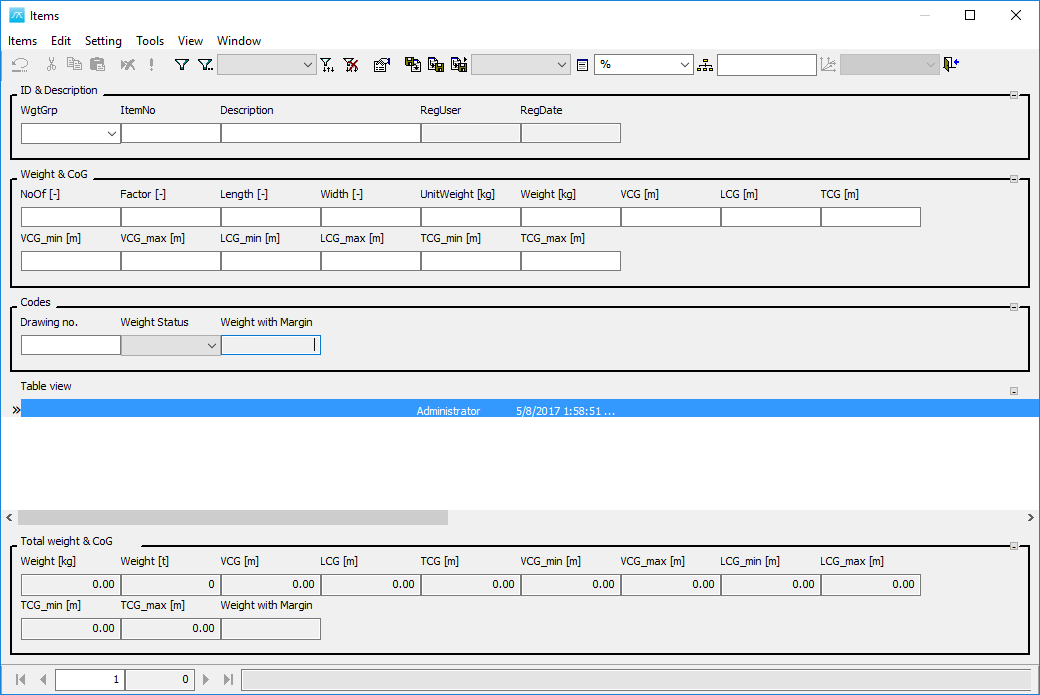
The Code Definition window can be reopened anytime from Items window, View menu -> Code Definition.
Step 6: Open the Item Setting Window
In the Item Settings window the user will have the possibility to take these codes and move them to different positions of the Items view, and learn how to generalize and customize this view.
In the Items window, select Item settings… in the Setting menu to display the Item setting window. Alternatively, press the Item setting… button on the toolbar. The Item setting window controls the layout of the Item window.
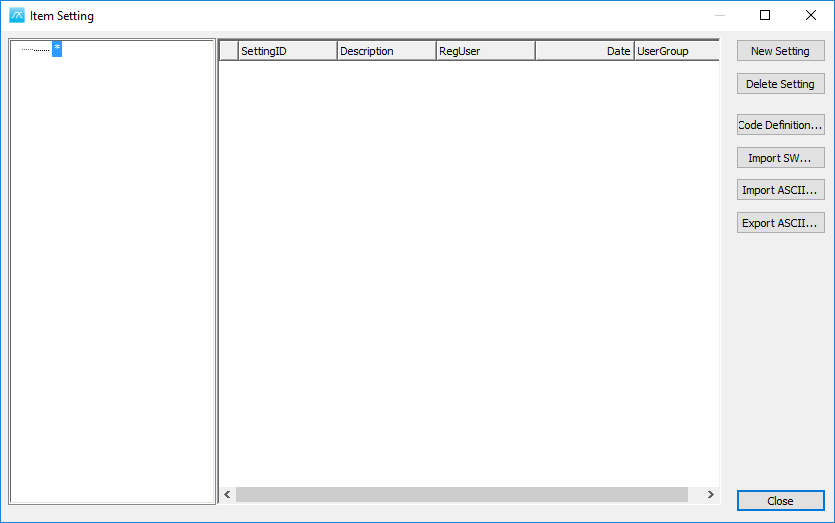
After the Item Setting window pops up, to start creating a new setting, press the New Setting button. This will generate the starting point for the new setting.
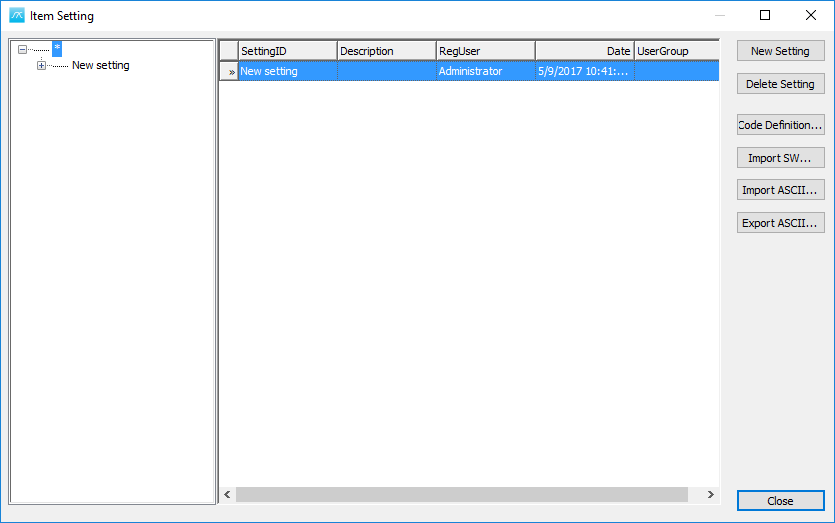
In the tree-view on the left side, click the plus sign next to the asterisk to expand the tree. A setting named ‘New setting’ has been created. Your window should then look like this:
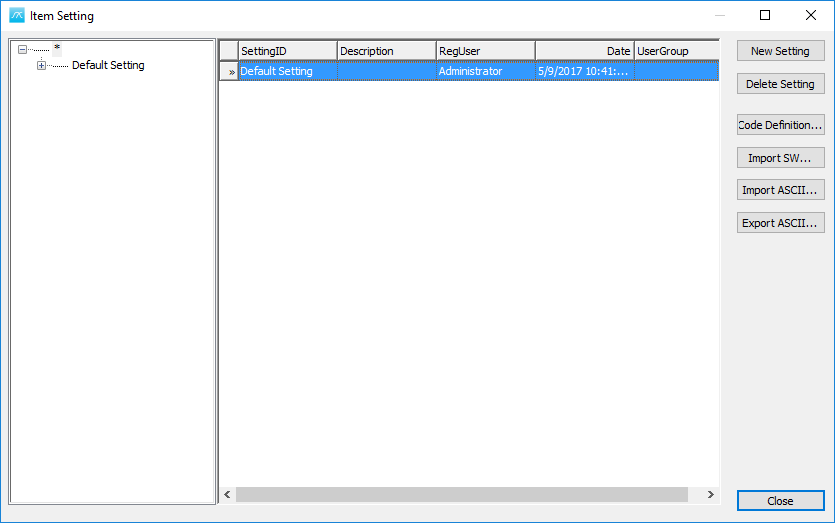
Make sure the topmost asterisk is selected in the tree. Click the ‘New setting’ cell in the SettingID column of the table. Change the Setting ID from ‘New setting’ to e.g. ‘Default Setting’:
Next, expand the tree further by clicking the plus sign in front of ‘Default Setting’, ‘Single view’, ‘Weight & CoG’ and ‘Codes’. Select ‘C02’ in the ‘Codes’ branch of the tree:
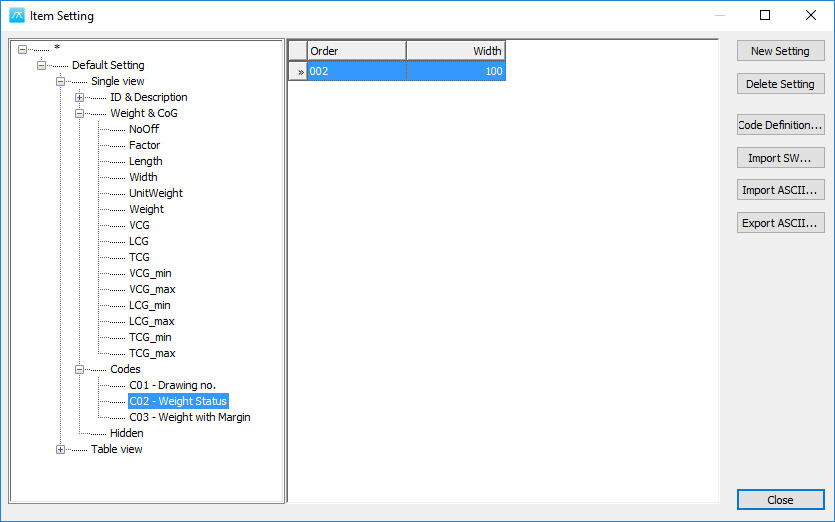
Using the mouse, drag ‘C02’ from the ‘Codes’ group and drop it on Weight in the ‘Weight & CoG’ group. C02 will now be placed directly after the Weight field in the Single Record area of the Item window:
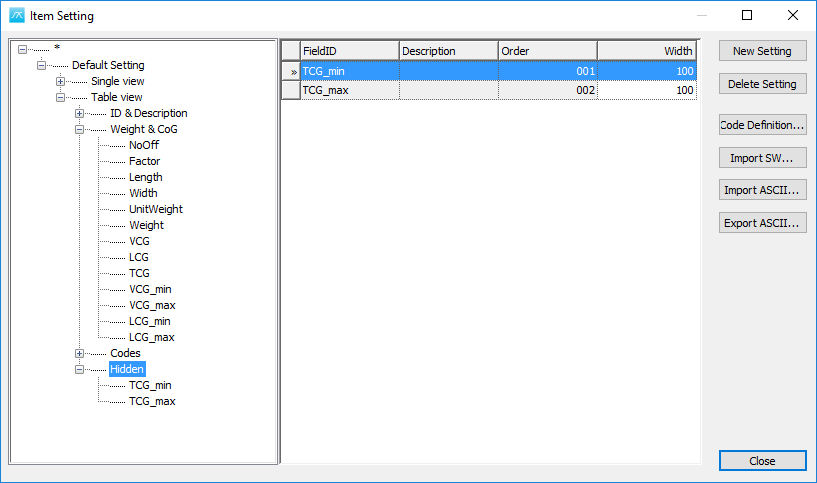
Now go to Table view.
Expand the ‘Table View’ branch by clicking the plus sign in front of it, and then the ‘Weight & CoG’ branch. Select ‘TCG_min’ with the mouse. Drag and drop it in the ‘Hidden’ group. Repeat this for TCG_max.
The TCG_min and TCG_max fields will now be hidden in the Table View area of the Item window.
Step 9: Active the New Setting in the Item Window
To activate the new setting ‘Default Setting’, close the Item Setting window, and then select ‘Default Setting’ from the ‘Setting’ dropdown list on the toolbar:
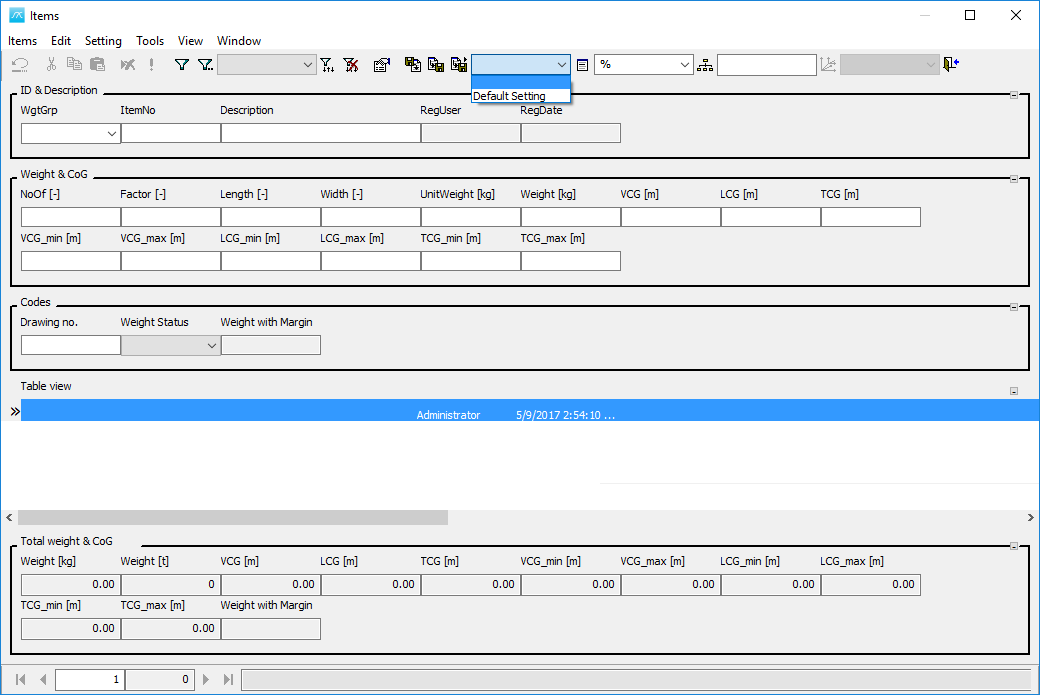
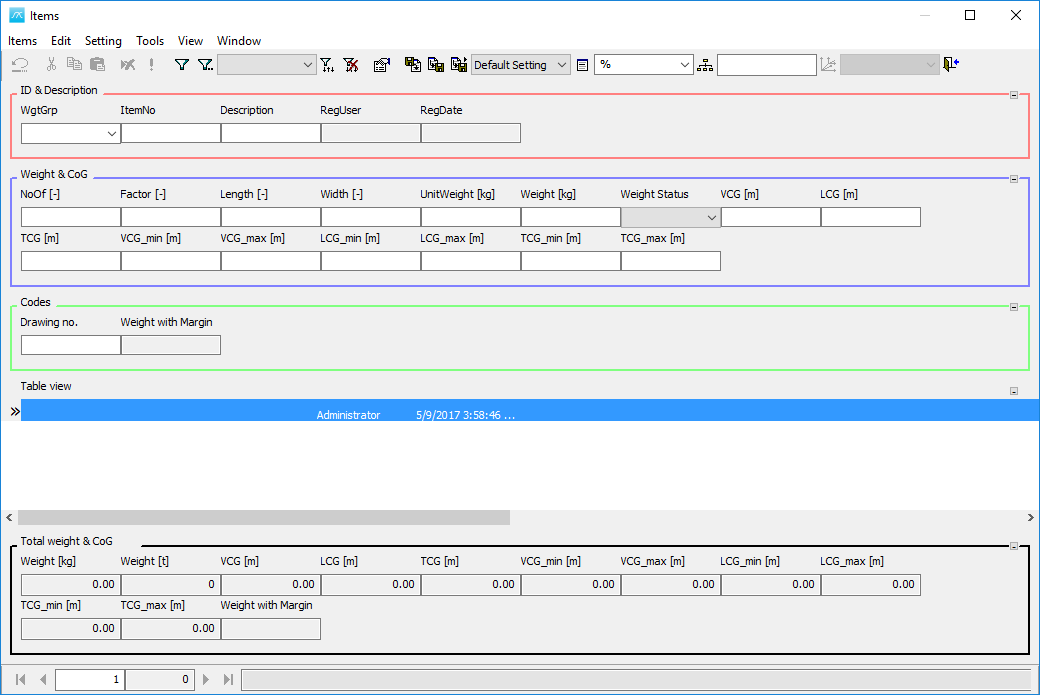
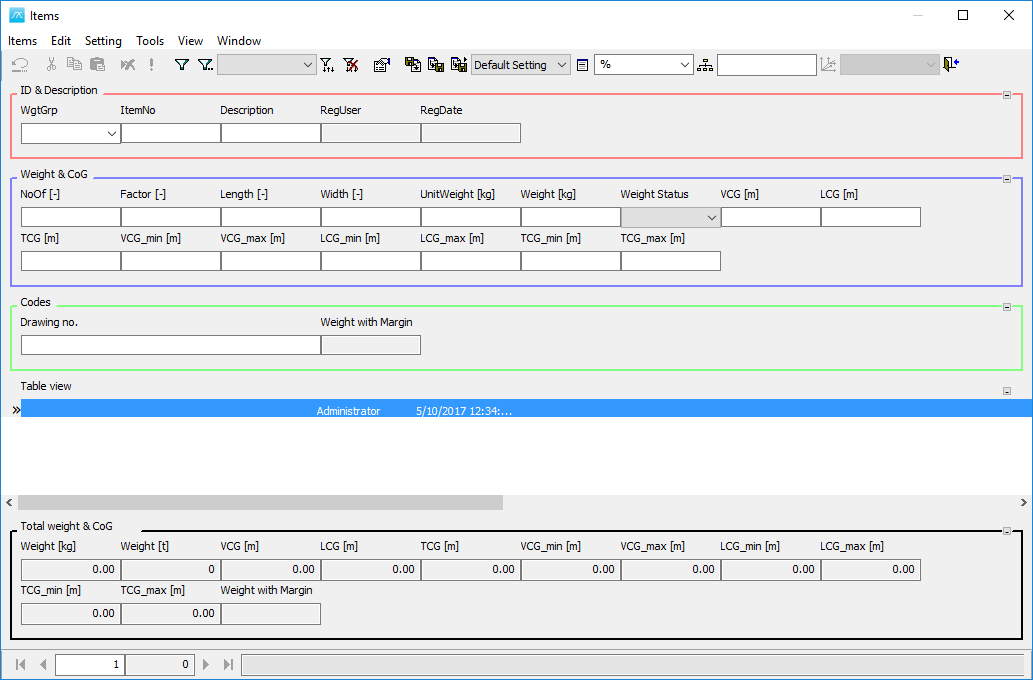
Now, the Item window should look like this:

Based on the changes made in the Item Settings window, now it can be noticed that C02 code (Weight Status), is located in the Single View: Weight & CoG:
Step 10: Make a Change to the Item Setting by Editing It
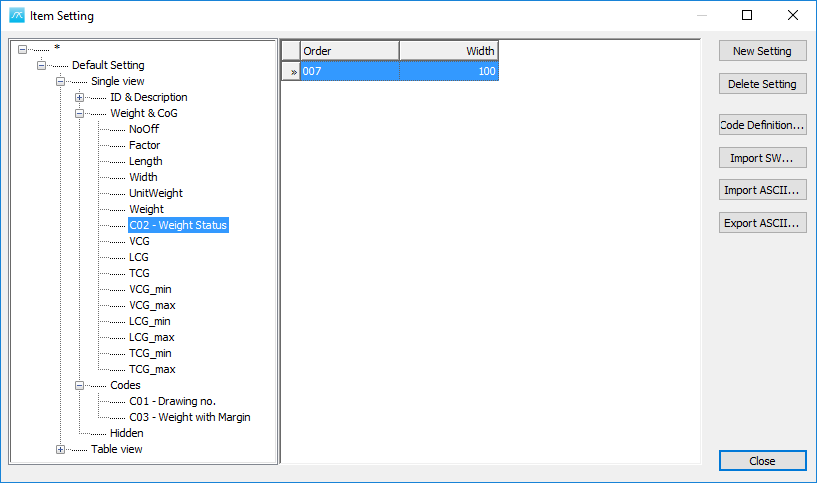
To change the width of items in the Single View, open the Item Settings window, go to Single view, then Codes, and click on C01-Drawing no.
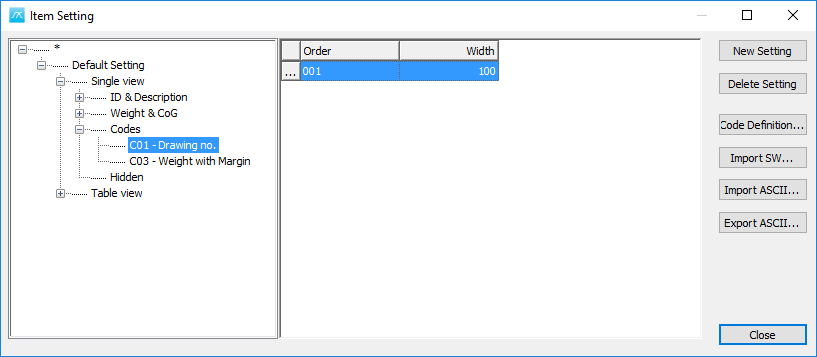
Now change the standard C01 code Width from 100 to 300:

The result will be:
As long as the Item Setting ‘Default Setting’ is selected in the drop list, any changes that the user will do to the ‘Item Setting’ window will automatically be applied to the ‘Items’ window.