Additional Features > Importing and Exporting Data in ShipWeight
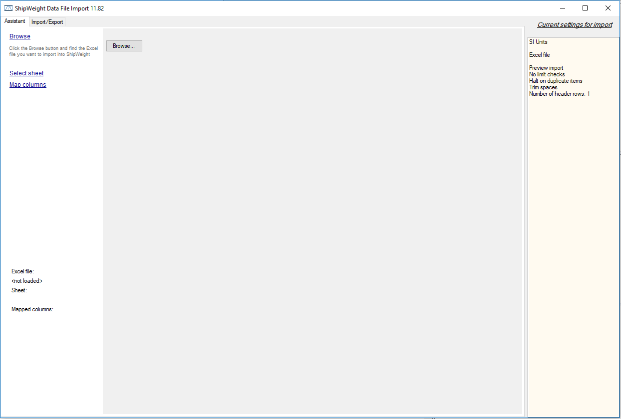
The Data File Import window (menu: Project > Import > Data File…) now has an extra layer called Data File Import which is designed to provide a wizard-like user interface to guide the user through setting up and carry out the import step by step of Excel files.
The first step is to browse and select the spreadsheet file (the Data File import window now supports import of XLSX files in addition to XLS files.).
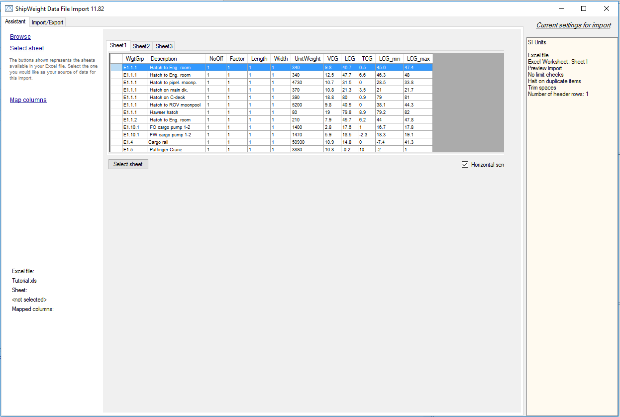
Once the Excel file has been selected, a preview of the sheets included in the file will be shown. The next step is to select the sheet to import.
When a sheet is selected, the Import window will try to guess the mapping between the columns in the spreadsheet and ShipWeight fields, based on the column headings in the spreadsheet. Columns where mapping have been found automatically will get a green color and the mapping will be shown in the list below. If this mapping is wrong, you can deselect the column either in the sheet preview or in the list of linked columns.
To manually add columns not automatically mapped, click on the column either in the preview sheet or in the column list and select the corresponding ShipWeight field from the ShipWeight list.
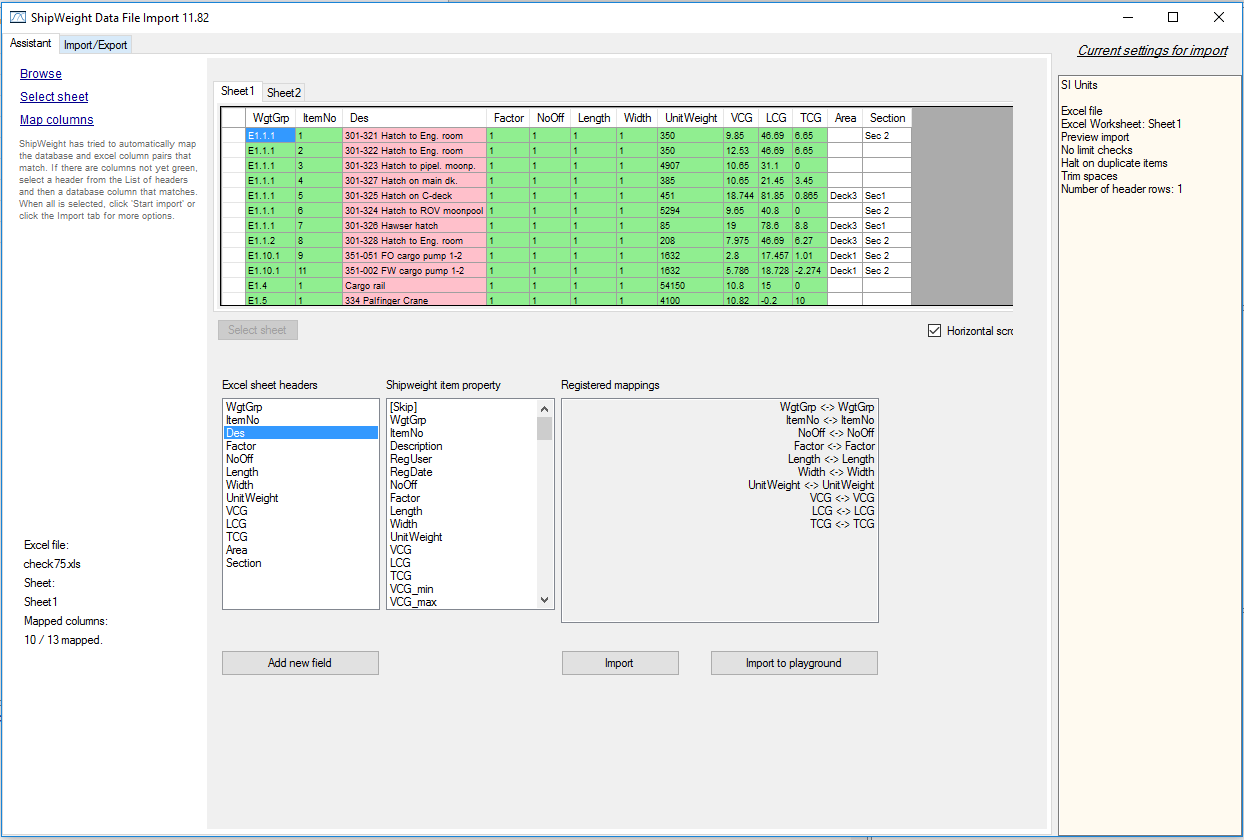
While a green column indicates a mapped column, a white column indicates an unmapped column and a pink column is a selected but not yet mapped column.
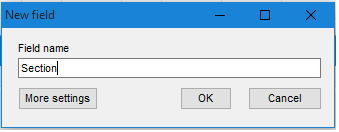
For items not found in the ShipWeight list, you click the New field button. A custom code will then be generated and a new window will pop up suggesting the same name for the item as in the spreadsheet, but if wanted the user can edit the name.
If you click the More settings button, the window will expand and give the user some options to define the settings for this parameter. For more details on these settings and how to edit them, see The Code Definition window. Note that there is no need to edit the code to make the import succeed, this can also be done after the import.
If you click the More settings button, the window will expand and give the user some options to define the settings for this parameter. For more details on these settings and how to edit them, see The Code Definition window. Note that there is no need to edit the code to make the import succeed, this can also be done after the import.
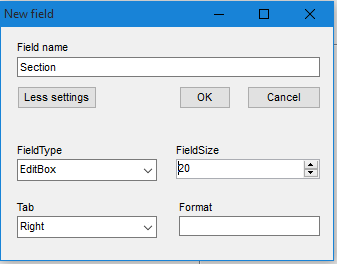
Click OK and the “Section” column turns green and Section has been mapped within the Registered mappings.
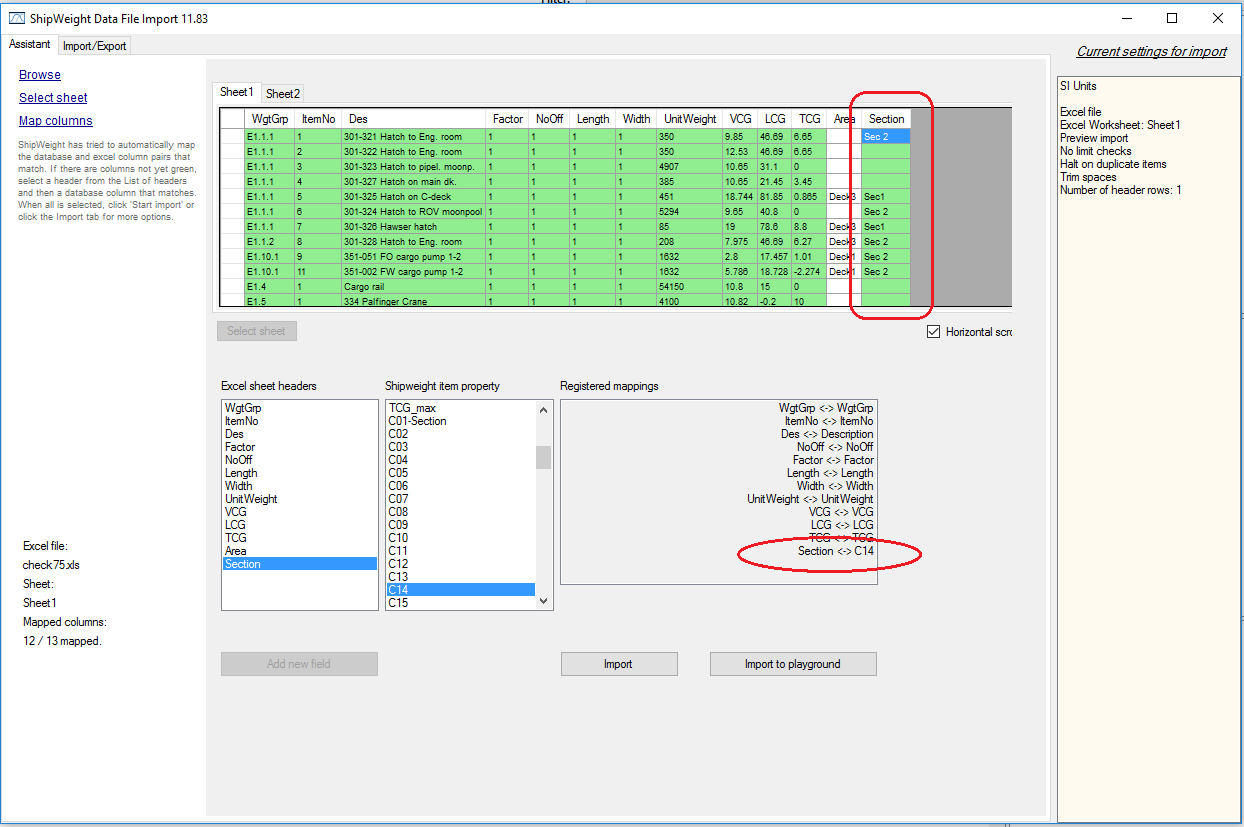
If you chose not to map a column this will not be imported into ShipWeight. In the example above the data in the Area column will not be imported.
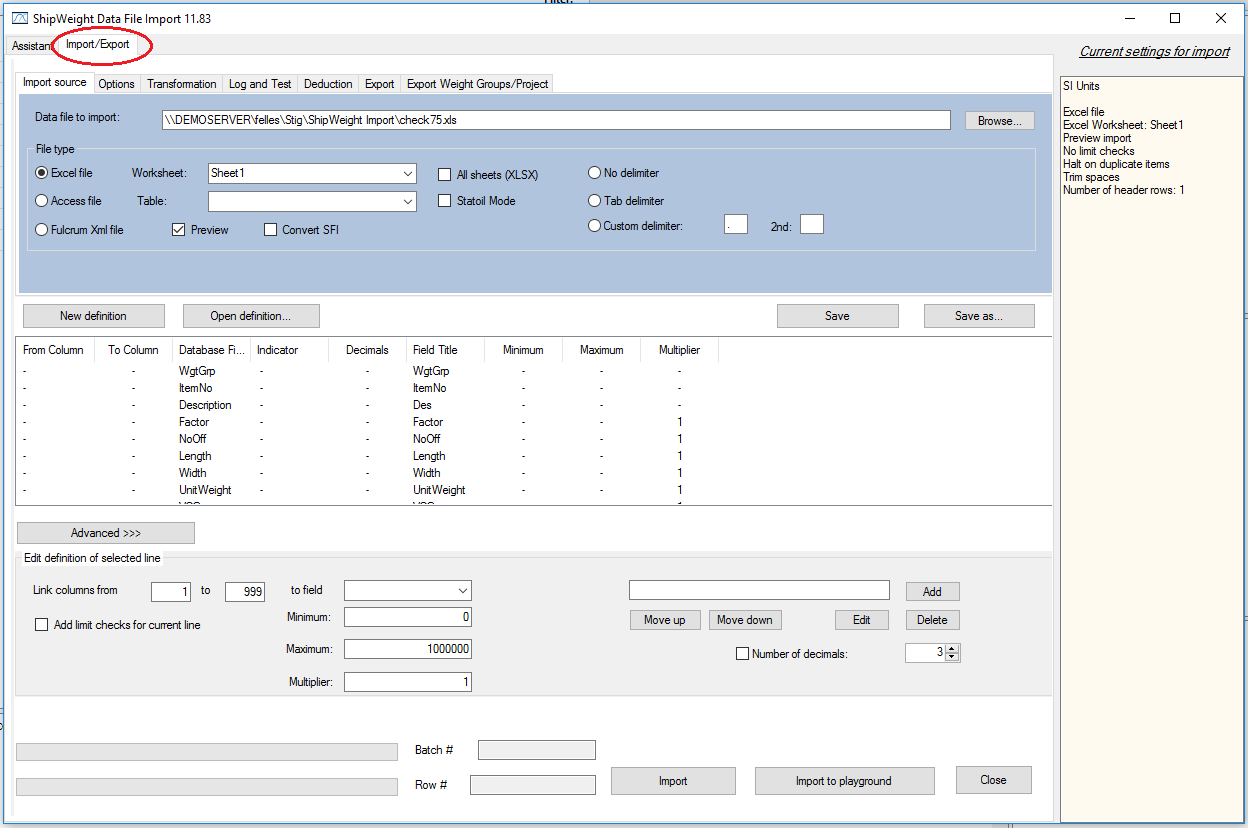
An import can be run directly from this tab (either to main database or to Playground Area), or the mappings and settings can be transferred to the normal data file import for more advanced settings and checking.
More: