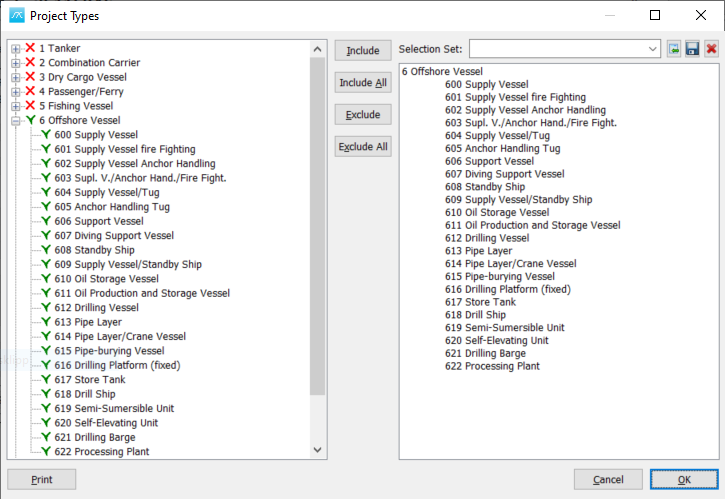
Begin with a project containing the parameters needed for estimation. Choose suitable Project Types from the Estimate menu, then use Reference Projects to select the historical projects that may be used as the basis for the estimate. Project-type filtering and reference-project selection work together; including a project here does not guarantee that it will provide usable data for every weight group or method.
Open Reference Projects
Open Estimate > Reference Projects. The window can also be opened from the Graph menu in the Estimation window and from Reference Projects in Auto Estimation. It lists projects in the connected historical database, not the weight items in the current project.
When opened to select reference data for an estimate, the list has checkboxes for including projects. When opened for database browsing or another selection task, some estimation-selection controls may be hidden. Check which estimation window or setting you are working with before changing a selection.

Include projects in the estimate
Tick the checkbox beside a project ID to include it, or clear it to exclude it. Include All and Exclude All change the inclusion of all projects in the list. The Reference Project command toggles inclusion for the highlighted rows.
Checkboxes and highlighted rows have different purposes. A checkbox controls whether a project is included as reference data. Highlighting a row selects it for commands such as Project Info, Copy or Delete Project; it does not by itself mean that the project is included in the estimate.
Choose reference projects whose data you consider reliable and relevant. This is an initial selection. Refine the basis for a particular estimate using project types, the estimation plot and coefficient filtering in the Estimation window.
Choose a sister project
Select a row and use Sister Project, or the corresponding right-click command, to identify one project as the sister project. The sister-project row has a red background. Choosing the same project again clears the sister-project selection.
The sister project is a separate choice from the reference checkboxes. It identifies a project for comparison in the Estimation window and for estimation methods that use sister-project scaling. Check its inclusion checkbox separately when it should also participate in the reference-data selection.
Views, columns and sorting
Use the tabs above the list to switch between available views. A view controls which project-information fields, parameters and weight-group values appear as columns. The Standard view contains project information and main parameters; additional views depend on the historical-database configuration.
Click a column heading to sort the list, and click it again to reverse the order. Drag column dividers to change their widths, or use Fit Column Widths from the right-click menu. View Settings opens the configuration of views and fields when the historical database supports it.
Inspect and maintain historical data
Select a project row, then use Project Info to open its identification and descriptive data, Main Param to open its main parameters, Parameters to open its parameter list, or Method Data to inspect the data used by estimation methods. The corresponding commands are also available in the right-click menu.
These dialogs work with the selected historical project. Where your access permits editing, changes accepted there update historical data; they do not edit the current project's corresponding parameters.
Add Project creates a reference project in the historical database. Delete Project removes the selected historical projects and their associated data after confirmation. To leave a project out of an estimate while retaining its history, clear its checkbox instead of deleting it.
Copy, paste and import

Select one or more rows and click Copy to Clipboard to copy their displayed values, including column headings. The copied columns follow the active view and can be used in a spreadsheet or report. Print opens a print preview of the project list.
Paste Clipboard imports tab-separated project data using the supported historical-data import format. It can add projects or update existing historical data after you accept the comparison message. A customised view is not an import template: do not assume that its copied columns can be pasted back unchanged. Use the linked lightship-weight import guide below for the required layout.
Import hist.db. opens a source historical database and lets you select projects to import into the connected historical database. Review the project selections and any messages concerning existing IDs or data before completing the import.
Apply selections to estimation settings
The right-click command Use Selections for All Estimation Settings applies the checked reference-project selection to the project's estimation selection lists after confirmation. Use it when you intend to replace the reference choices across existing estimation settings, rather than changing only the selection for the window from which you opened Reference Projects.
Accept and close
Click OK to return the reference-project choices to the calling window. Continue by reviewing or calculating the estimate there. Historical data edits, imports, deletions and bulk updates to estimation settings are separate operations; cancelling Reference Projects does not undo changes already accepted through those commands or their dialogs.
Press F1 or click the Help button at the bottom left to open this topic.
Related information
How to paste lightship weights directly into the historical database