In this section we will see how to:
•Create a new project from scratch and enter main parameters.
•Use project administration functions; open, save, save as, delete.
•Create project organization in folder structure.
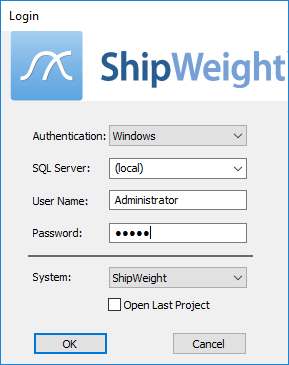
Double-click the ShipWeight icon from your desktop to launch the program. The first thing that pops up is the Login window:
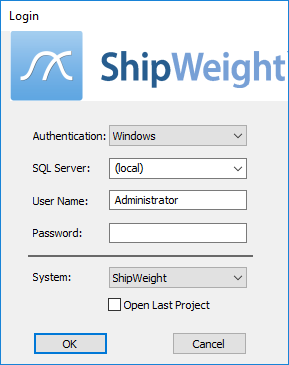
Make sure to select Windows as Authentication method and leave the SQL Server to default. The User Name is not your Windows user name, but your ShipWeight user name. Fill in the corresponding Password.
The System droplist should bet set to the default value. Open Last Project check box should not be checked. Click OK button to launch ShipWeight.
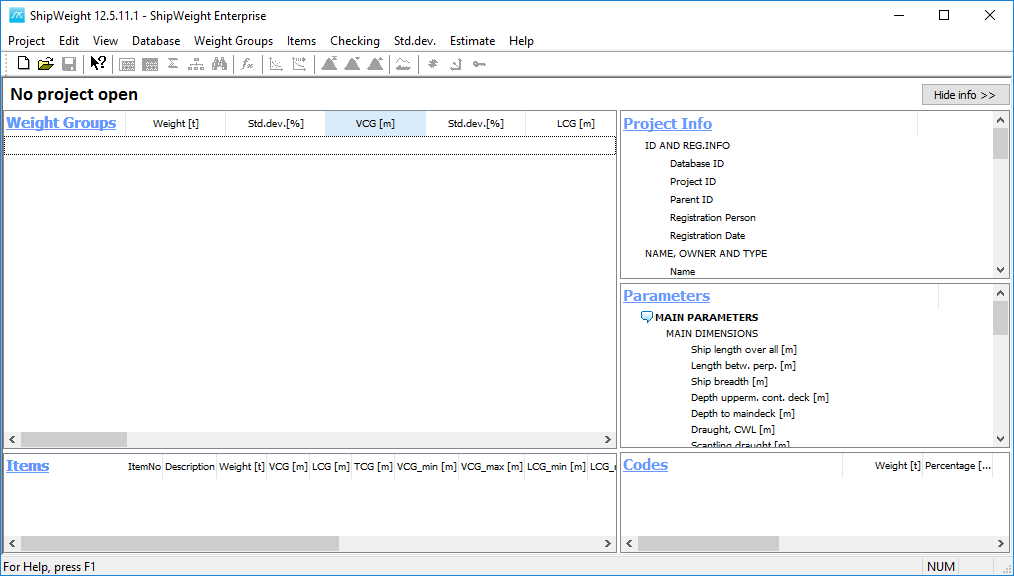
ShipWeight window will open, with no project loaded:
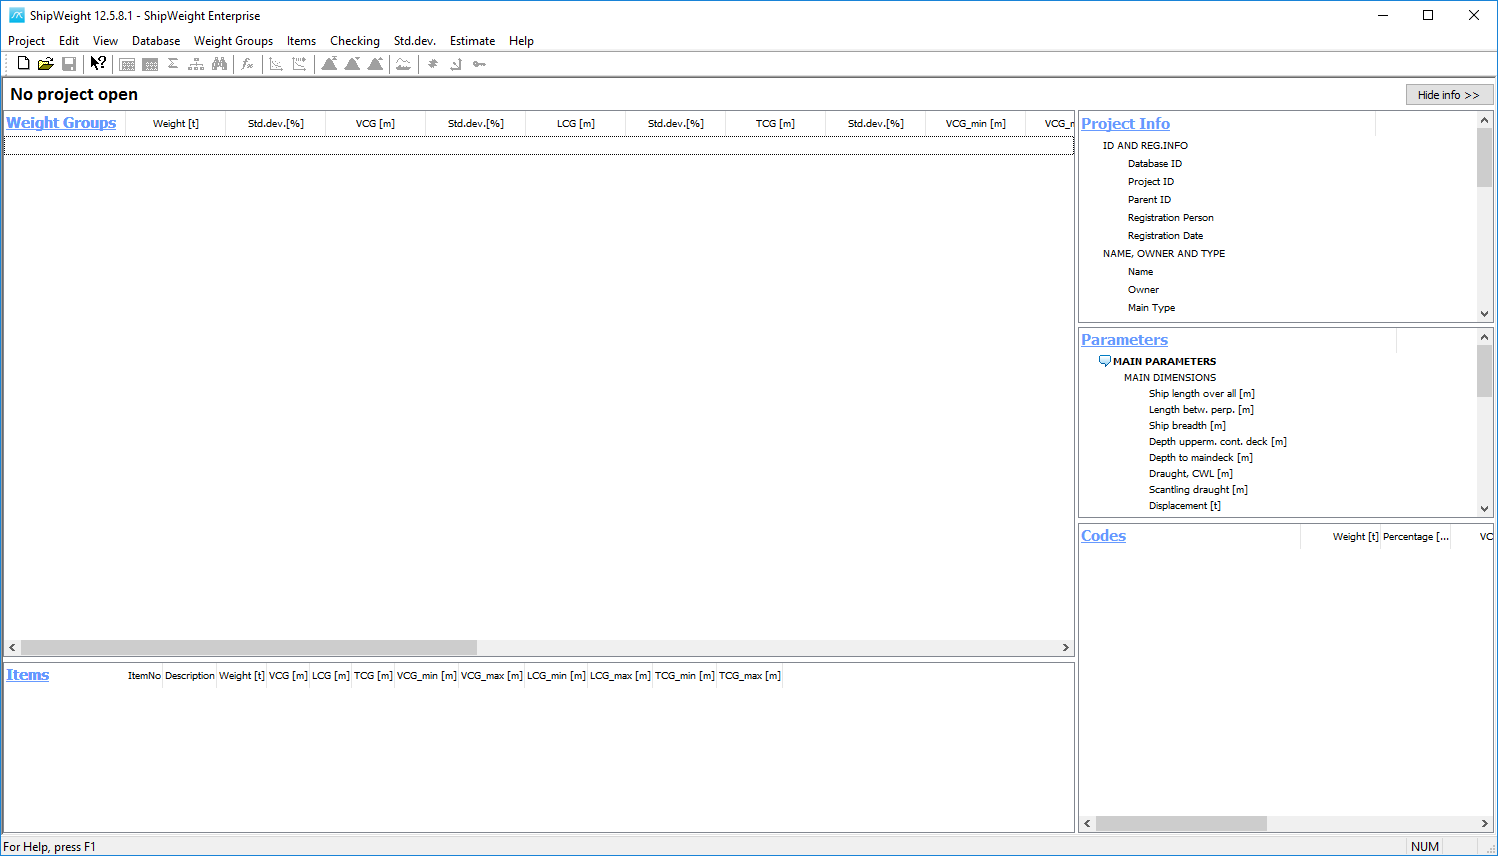
Go to the Project menu and select New or go to the toolbar and click the new button ![]()
The Project info window pops up:

There is two mandatory fields in the Project info window that needs to be filled out:
The project Database ID* is the place where to store the new project, so you can select an already existing database from the dropdown list or type in a new database id. For this tutorial, please select ProjectDB.
![]()
The Project ID* is the id of your project, and the user can type anything as long as it is unique. For this tutorial, please type Tutorial.
![]()
Name field: MS Breeze
Main Type field: select Offshore Vessel from the dropdown list.
Type field: select Anchor Handling Tug from the dropdown list.
The Frame Spacing field: is a bit important because this will allow to include frame spacing in the input and use frame spacing instead of position, when the user enters the position for location of an item in the X direction.
Example: - for frame spacing of 0.65 meters, simply type 0.65#
- for dynamic frame spacing, type for example 0.65#25;0.7#90;0.6#
The tooltip here will show an example of the coding for this dynamic
frame spacing:
![]()
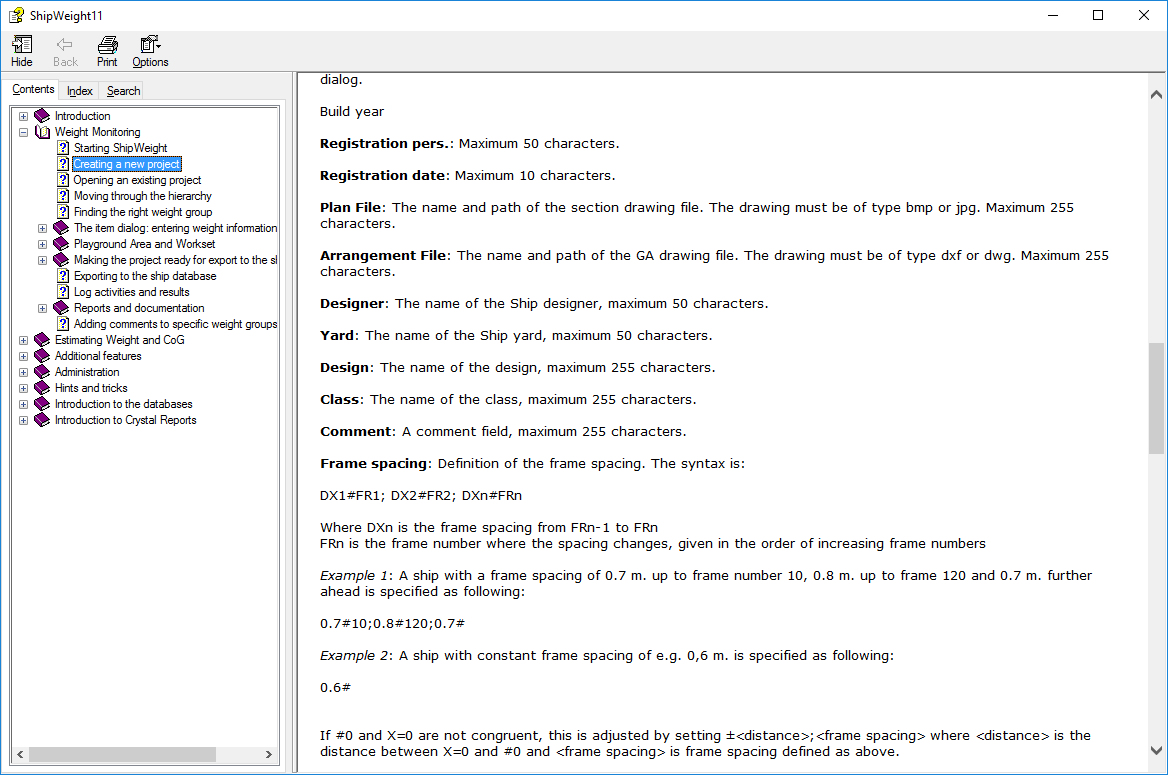
For more information, press the F1 keyboard button, which will launch the Context-sensitive Help File:
Units field: keep the Metric units.

Click OK and the new project will start.
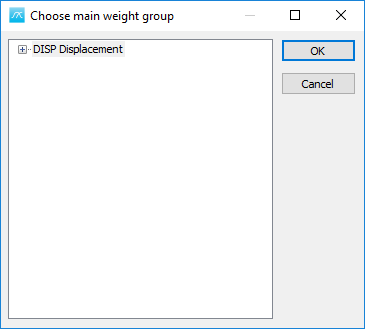
Now, the user will be asked to choose the main weight group for the new project. In this case keep the DISP Displacement selection and then press OK.
The next window that pops up is the Parameters window:
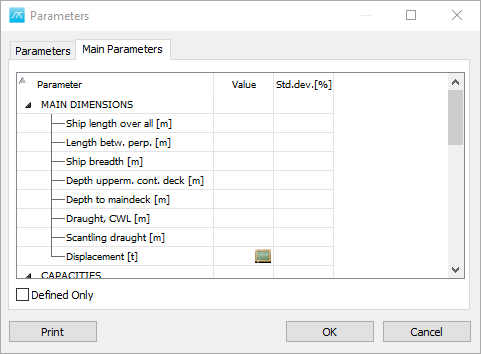
Expand the window and enter the main parameters that are currently available for the project:
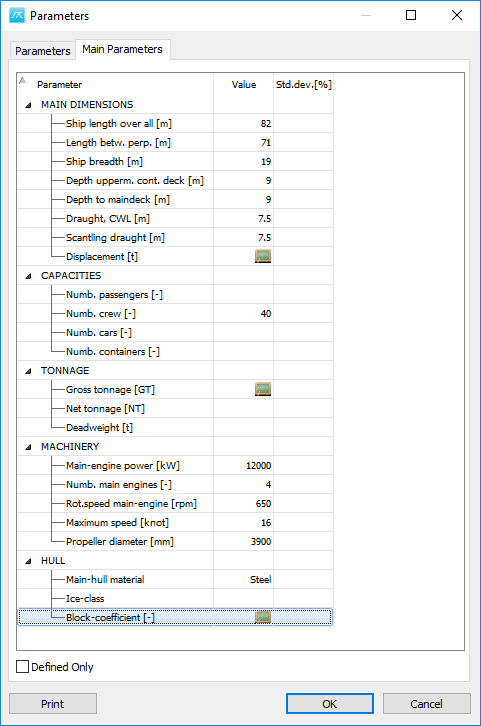
Notice that some of the parameters have a green icon to the right of the Value cell. For example the Block-coefficient. If the user knows the block-coefficient value, he can just type in directly.
If the block-coefficient is unknown, the green icon will open the Composite Parameter window, which will allow the user to enter other parameters to help calculate the block-coefficient value. Input 7700 for Displacement [t] field, and then let the rest of the parameters as they are. The Block-coefficient will instantly be calculated:
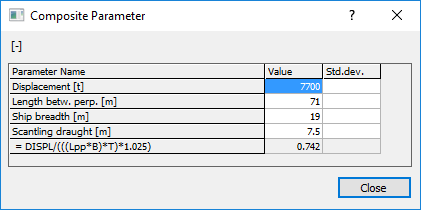
Press the Close button.
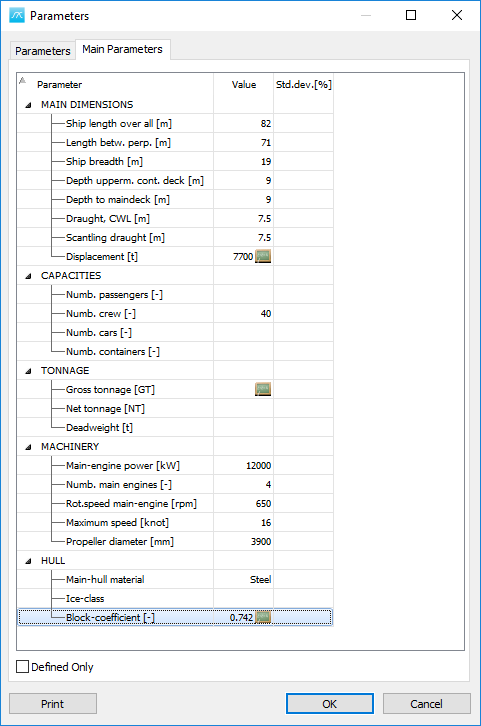
Now click OK to close this window.
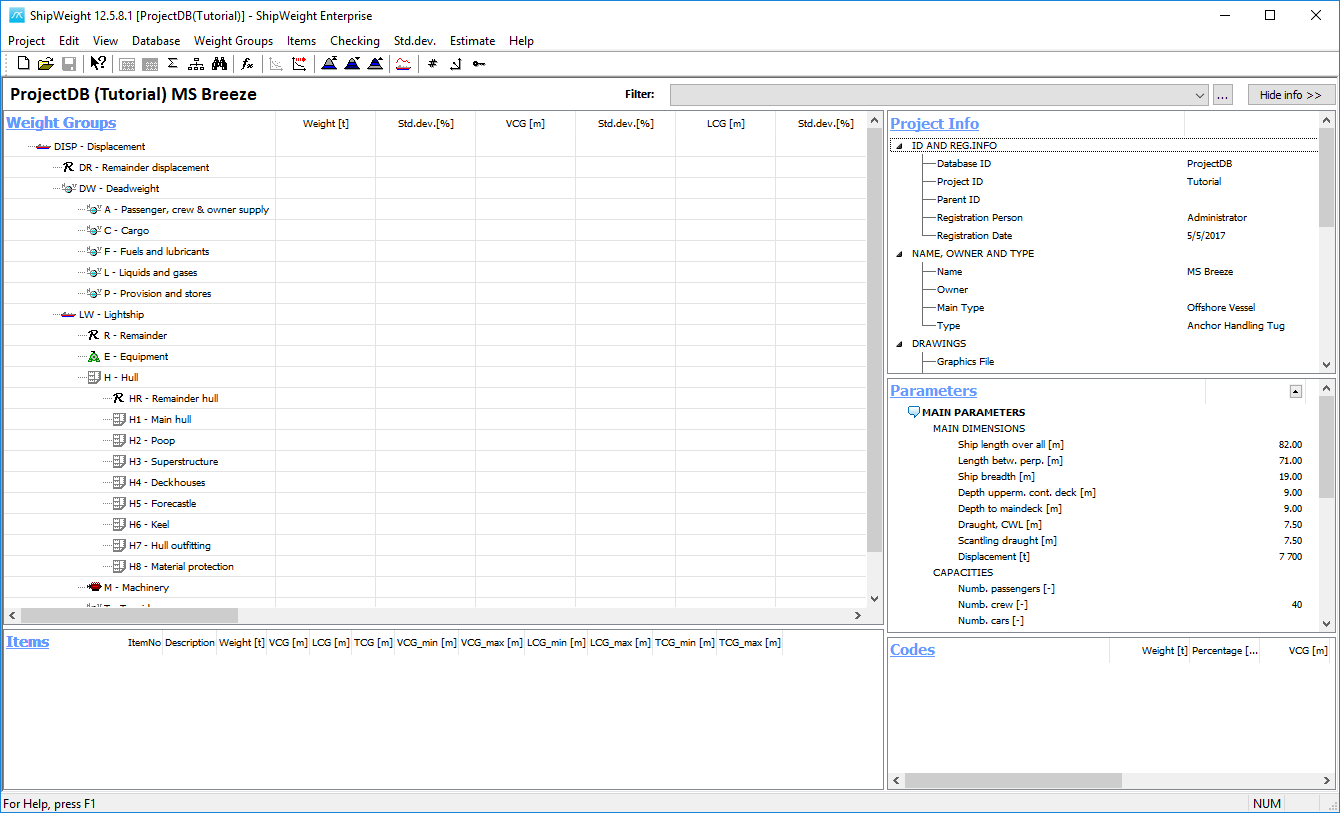
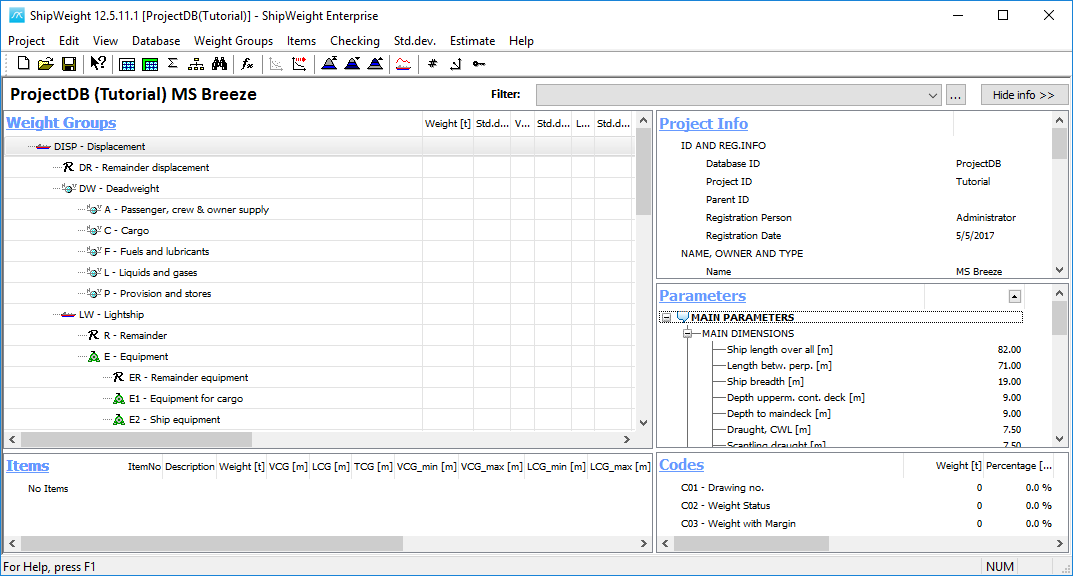
The Project Info can be found on the top right side of ShipWeight window and the Parameters info on the lower right side. The information can be changed anytime when working with the project, by clicking on the Project Info and on the Parameters headers.
Step 3: Open and Save a Project Copy
Start again ShipWeight and login:
to open up the main window:
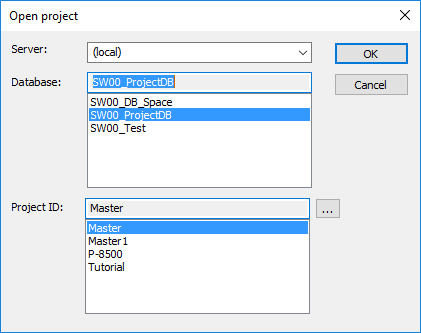
Right now ShipWeight opens without any project loaded into the main window. To load a project into the main window you can either open a project from the menu, going on Project -> Open or you can go to the toolbar and find the Open Project button ![]() . Either way you choose, the Open Project window will pop up:
. Either way you choose, the Open Project window will pop up:
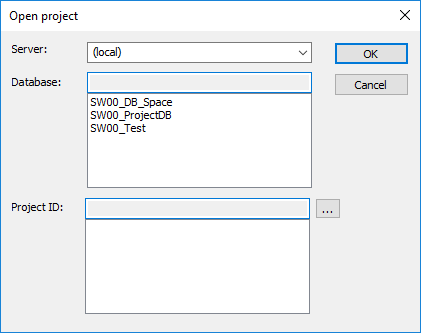
The upper part shows the name of the Server, which usually stays the same, you rarely change the server name.
The next part will show the Database, the project databases that are on your server. You need to have at least one project Database. Each project database can contain any number of projects.
Now select SW00_ProjectDB from the list of Databases, in the lower part of the Database box. You will see in the lower part of the Project ID all the existing projects from the selected Database:
In the Step 4 you will learn how to use the Catalog option in the middle of the Open Project window.
Now, select from the Project ID list the Tutorial project and then click OK to open up this project, and then after few seconds the project is loaded into ShipWeight:
To make a copy of this project, go to Project menu, then select Save As…
Choose the Database you want to save it in (ProjectDB) and then type the Project ID to be used for the copy of the existing project:
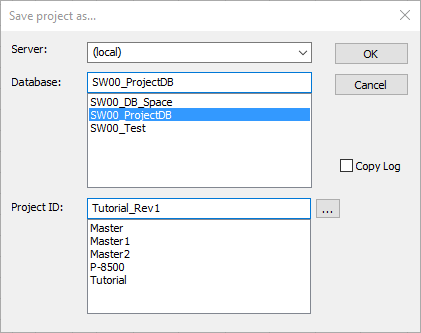
You might have noticed that there are some options below the OK button, how to utilize these see the section called Extra Save As Option below Step 5.
Now hit the OK button and a copy of Tutorial project is stored as Tutorial_Rev1.
To get back to Tutorial project, you can open it from the Open window, but also on the project menu there are some shortcuts that shows the last four projects:
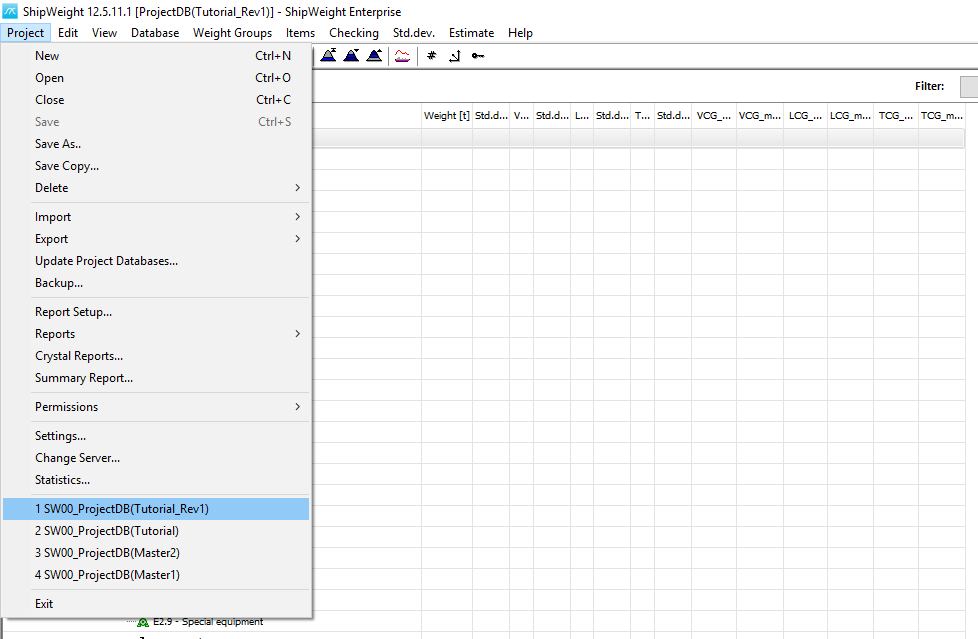
This is how you can open and save projects on ShipWeight.
Step 4: Setting up a Catalogue Level in ShipWeight
When you open a project in ShipWeight a catalog level is present in the middle of the window to make it easier to organize your project.
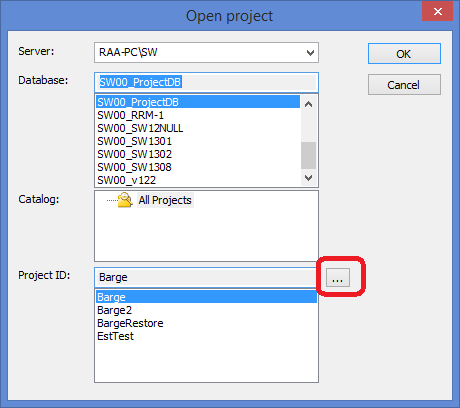
Open the “Open Project” window (from menu Project->Open…) and select the Browse […] button marked in red in the picture below.
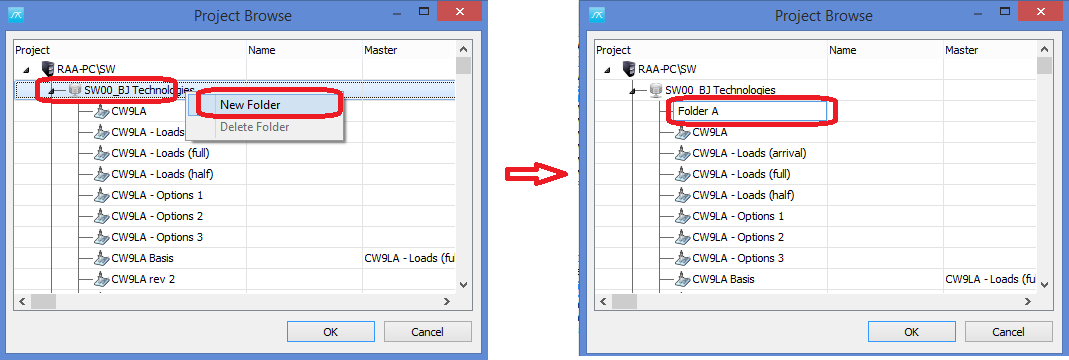
Select a database, right-click to select “New Folder” and type in a folder name of your choice.
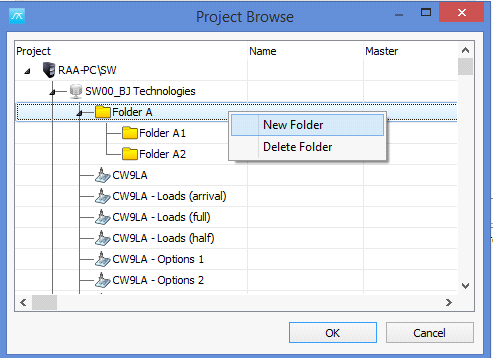
Continue in the same manner to create more folders and subfolders until you have the desired catalogue structure.
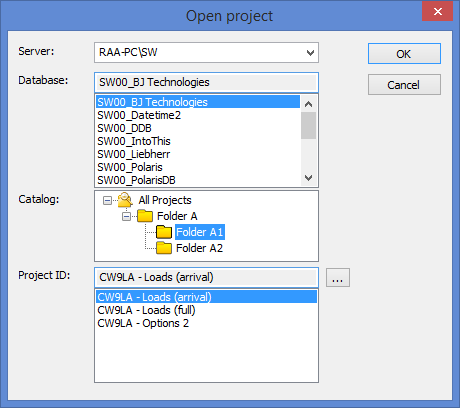
Move and organize projects into folders by selecting project IDs and “drag and drop” with the mouse into appropriate folder.

Select a project and click the “OK” button. Your project should now appear (and be selected) with the catalogue structure made for the projects in the database. Repeat for other databases.
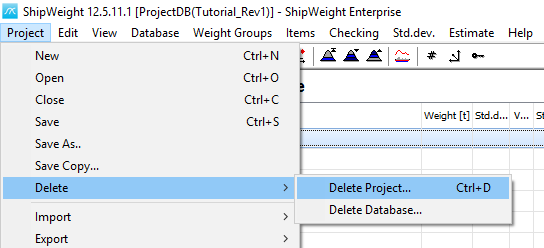
To delete a project, navigate to Project menu, select Delete, then Delete Project:
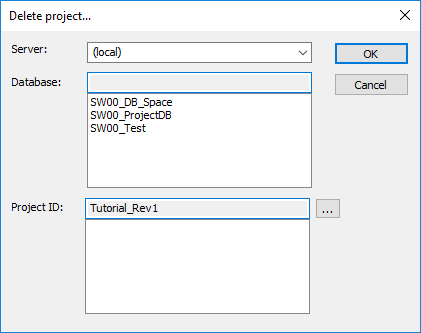
The Delete project… window will appear, which contains the same, the Server, Database and Project ID.
Select the Database SW00_ProjectDB, and the Project ID Tutorial_Rev1:
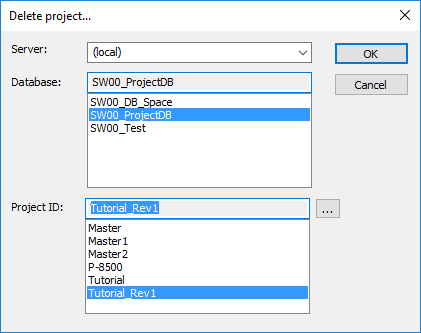
Click OK to delete it.
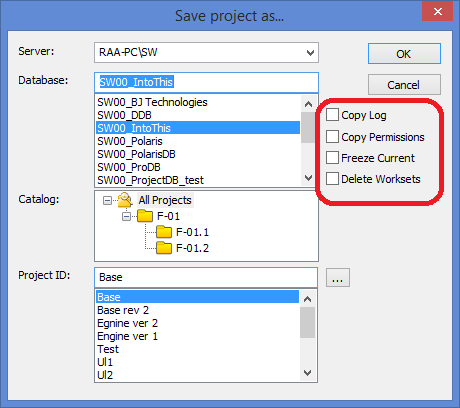
•“Copy Log” – check this to copy the log data from the existing project and to the new one
•“Copy Permissions”- if this box is checked, the permission settings for user-groups for this project should be copied to the new project so there is no need to set new permissions.
•“Freeze current” should set all user-groups to be “Read-only” in the project you are saving from.
•“Delete workset” – when you start a new revision and you want to start with a clean set of worksets.
•“Copy common tables” – when you start a new revision and would like to copy the content of the tables that are common in ShipWeight.