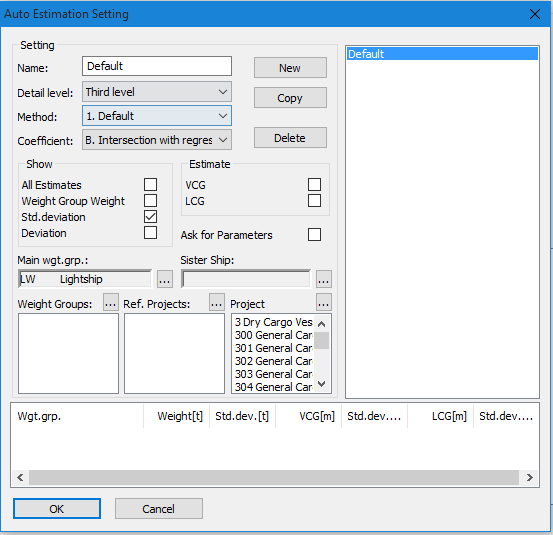
The Auto Weight & CoG Estimation window is a three step quick estimate providing automatic results based upon the historical database. The window is found under the Estimate menu by selecting Auto estimation… Alternatively, click the Auto Estimation button in the main view:
![]()
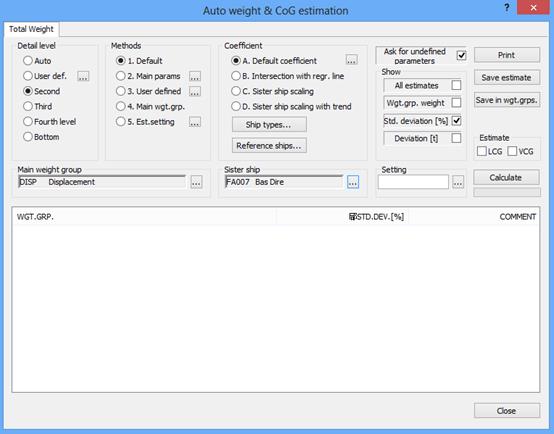
The first step is to choose which detail level to calculate.
If you select Auto, the system will detect the weight groups to estimate.
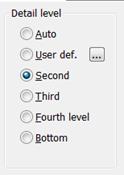
User defined lets the user define which weight groups to be included in the estimate. By clicking the Browse button (…) to the right of the radio button, the user can define the weight groups to be included by ticking them in a tree resource.
Second, Third, Fourth and Bottom gives calculation on all weight groups for the level chosen.
Next the user specifies which estimation methods should be used.
Next, you should select Method of estimation.
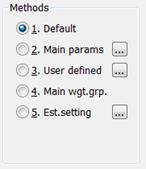
Default makes the standard ShipWeight methods active.
Main parameters use only methods containing main parameters. This option can be used when very few of the project’s parameters are known. Use Browse button (…) to inspect the methods.
User defined will calculate using the user-defined methods. These methods can be checked and edited by clicking the Browse button (…) to the right of the option.
Main wgt.grp. will use methods connected to this groups to estimate the weights.
Then the Coefficient to be used is specified in the last step.
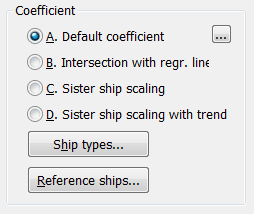
Default will use the default coefficient saved for that project type and weight group. By clicking the Browse button (…) the window for checking and editing default coefficient is opened.
Intersection with regr. line will use the coefficient calculated at the intersection between the regression line in the graph and the plot parameter for the project.
Sister project scaling will use the coefficient for the project selected as sister project.
Sister project scaling with trend will use the coefficient for the project selected as sister project, but adjusted according to the trend in the regression line.
By clicking the Calculate button the calculation is executed and the results will show in the list at the lower half of the window.
The settings of the Auto estimation window can be saved for later use. First enter the name in the Setting field (marked with circle 1), then click the Save estimate (marked with circle 2).
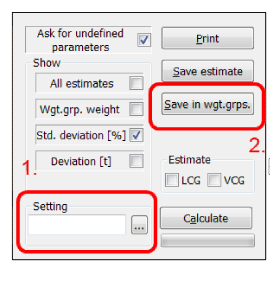
To retrieve a saved setting, click the Browse button ![]() (…) by the Setting field. This will open the Auto estimation setting window. Select one of the saved settings from the list to the right, and click OK to apply the settings to the Auto estimation window.
(…) by the Setting field. This will open the Auto estimation setting window. Select one of the saved settings from the list to the right, and click OK to apply the settings to the Auto estimation window.
