Administration and Customization > The Item Setting Window
Create a new window setting
There are two ways to create a custom window-setting:
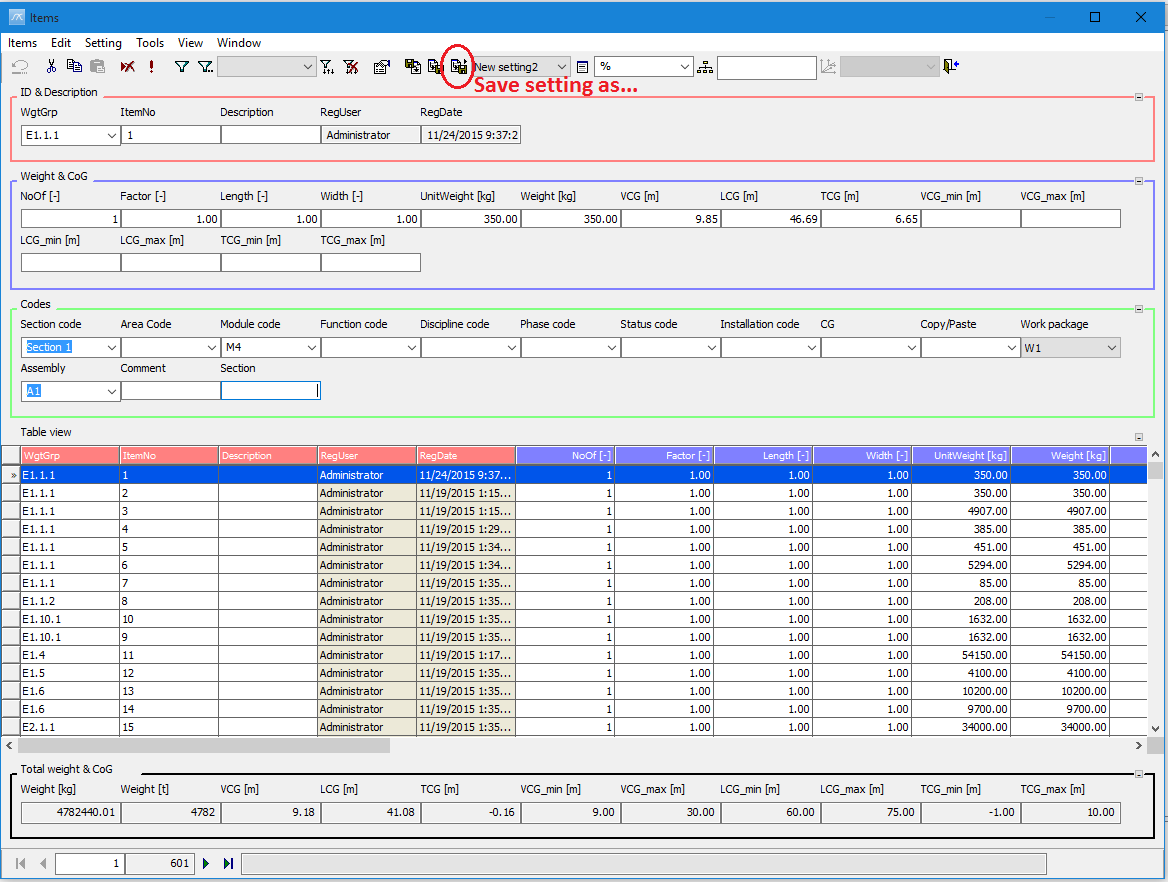
Save the current window setting: In the Items window, click the Save setting as… button on the toolbar. Enter a name of the new setting, e.g. ‘New Setting’, and click OK. Next, open the Item setting window. The saved setting will show in the tree.
Create new: Click the New button in the Item setting window.
Browse the tree
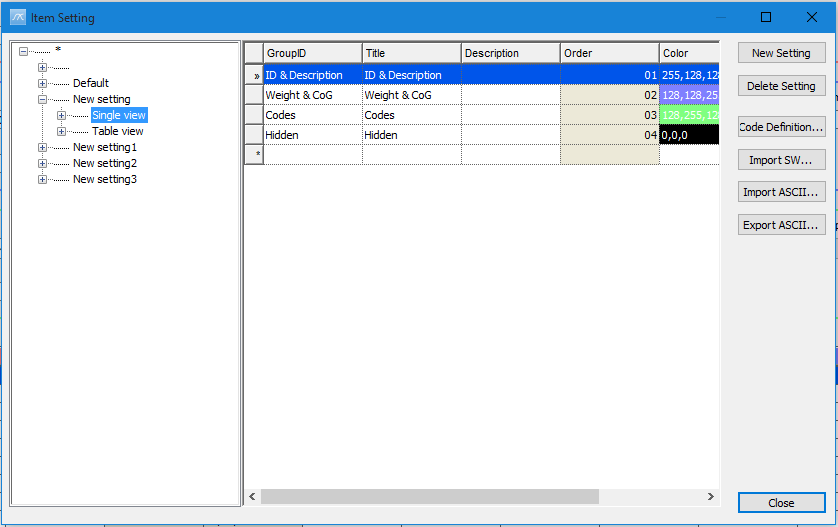
Now you can browse the setting. Click the ‘+’-sign at the left of e.g. ‘New Setting’ to expand the tree. To work with the Single view settings, click the ‘+’-sign at the left of Single view. Now the groups in Single view will show.
Add a new group
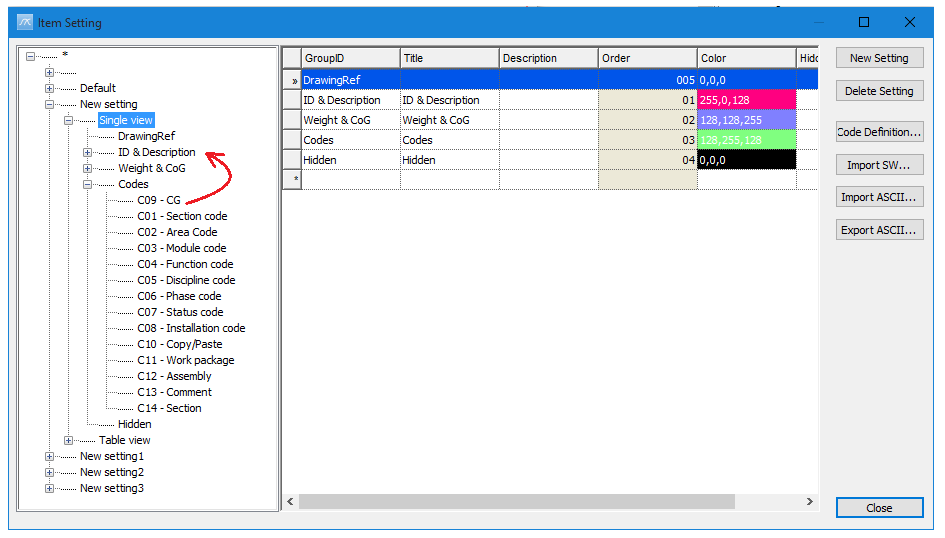
To add a new group, select Single view in the tree. Now the groups of the Single view will show in the table. Select the last line of the table, and click the GroupID cell. Type in the group id, e.g. DrawingRef. Press the TAB key to move to the next column. Enter a Title, e.g. Drawing References, and description.

To set the color of group, go to the color column and enter a color code. The color code is on the form xxx,xxx,xxx , where xxx is an number from 0 to 255. The first number is the amount of red, the second green and the third blue.
For instance: 255,0,0 is red, 0,0,255 is blue, 0,0,0 is black and 255,255,255 is white.
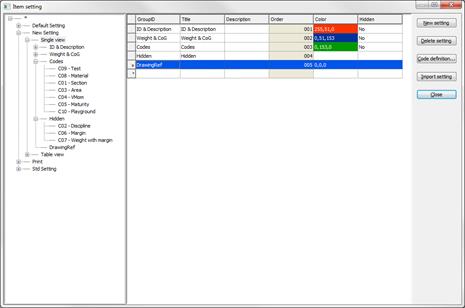
To create a group in the Table view, select Table view in the tree and repeat the same procedure.
Move fields
Fields can be moved between the groups by dragging and dropping the fields in the tree. Expand the desired group in the tree, e.g. Codes. Click and hold one of the codes, e.g. C01 with the left mouse-button. Drag the code to the desired group, e.g. Drawing References, and release the button.
The order of the fields within a group is controlled in the same way, by dragging and dropping the fields in the tree.
Hide fields
Codes can be hidden by dragging and dropping them into the Hidden group. E.g. drag and drop the field C02 from the group Codes to Hidden.
Load a custom window-setting (Items window)
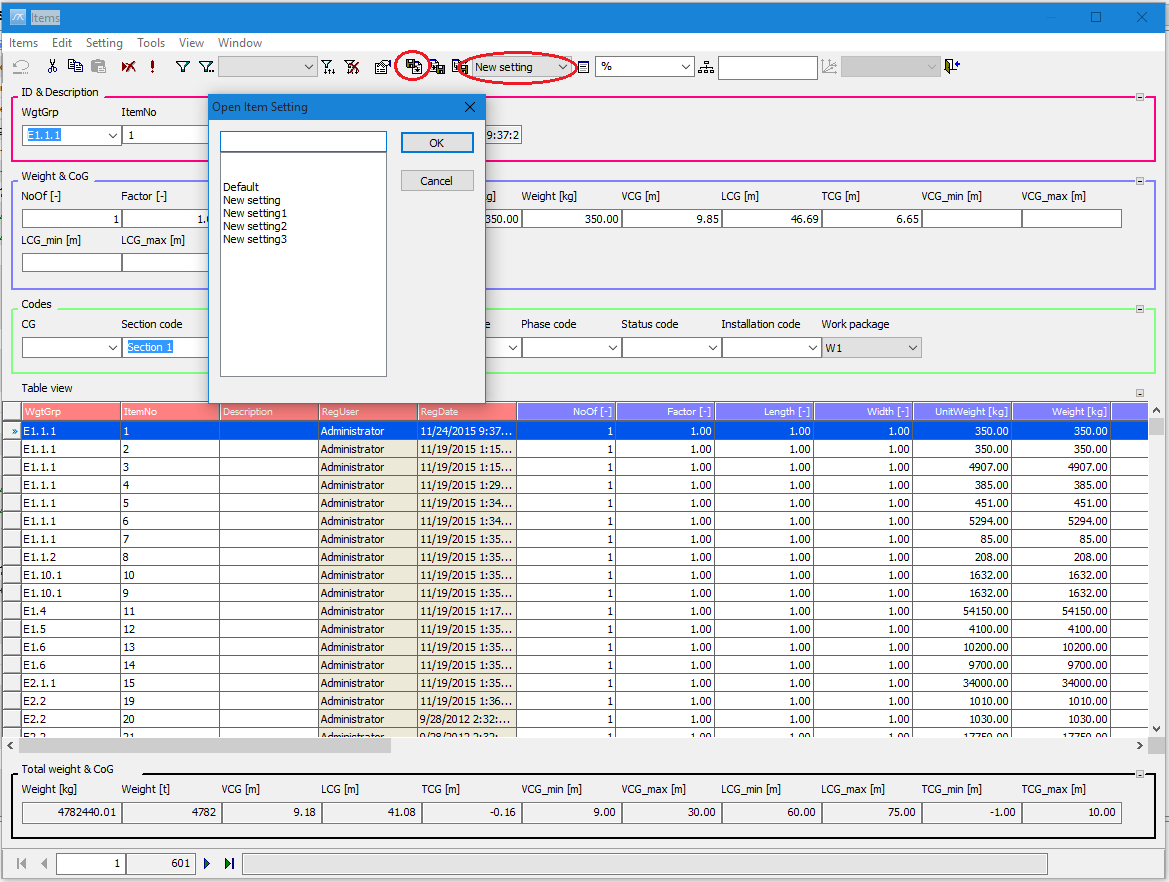
To see the result, go back to the Items window. Select Load Settings (either the button on the toolbar or the selection on the Setting menu), marked 1. Now the Open Item Setting window will appear. Select the custom setting, in this case New Setting, and click OK.
Alternatively, you can select the window setting to be used directly from the Window Setting dropdown list on the toolbar, marked 2.
Now the new Items window setting is active. In the Single view the group Drawing References has been added. The code (field) C01 has been moved from the group Codes to Drawing References in Single view. The field C02 has been hidden.