In this section:
•Navigating in the main window
•Manual input of weight data
•Item History and Deleted Items
There are three ways to open the item window:
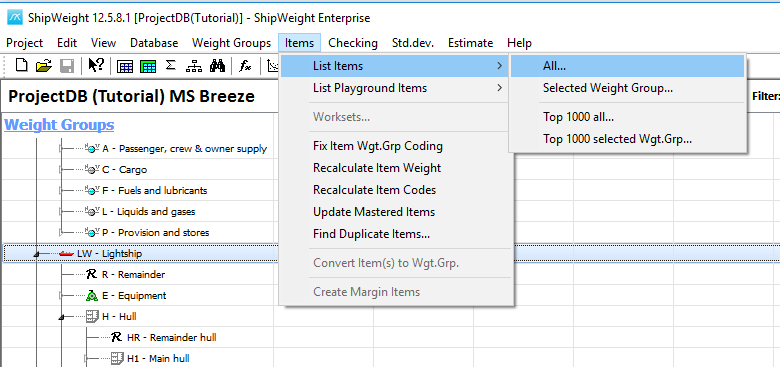
Select Items and choose List Items -> All
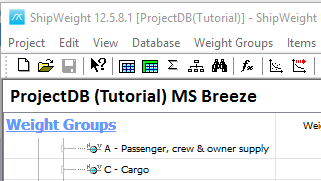
Alternatively, press the ‘Item level’ button on the toolbar:
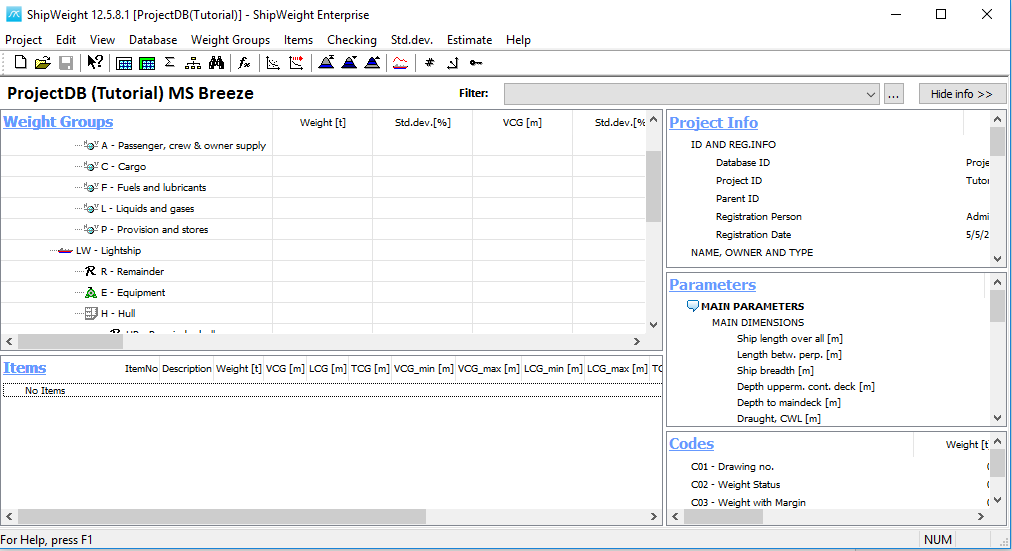
Or select Items header on this preview window:
Choose one of the specified options to open the Items window:

It is very important to know the link between the selected weight group in the main window and the actual item window that pops up.
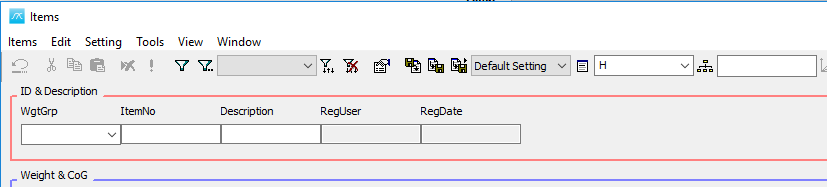
When the Items window was opened, the focus was on the SWBS group H – Hull, and this means that H is now opened in the item window. In the weight group filter we can see H:
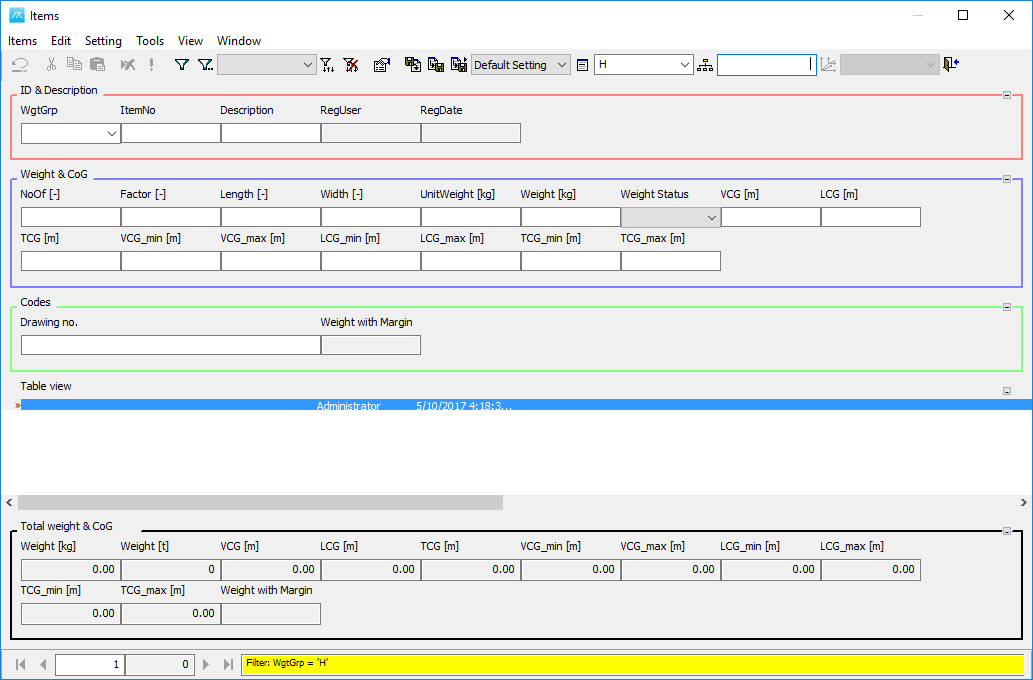
To close the Items window press the Close window icon![]() .In the lower part of the item window, in the highlighted area in yellow color, by pressing the arrow button, this will clear the fields of the single record view.
.In the lower part of the item window, in the highlighted area in yellow color, by pressing the arrow button, this will clear the fields of the single record view.
This procedure is only necessary if there already are weight items defined in the weight group.
Step 2: Add a Weight Item in the Item Window via the “Single View”
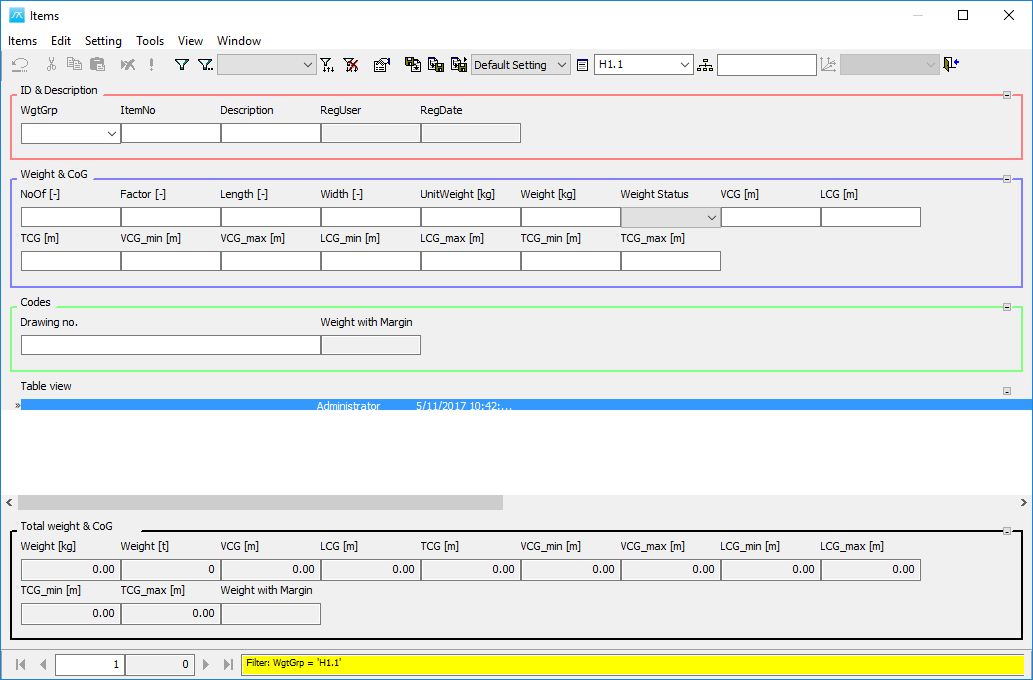
In the ShipWeight main window window, navigate to weight group H1.1 Aftbody and open the Item window.
Step 3: Add weight item ‘Section 1’ using the ‘Single Record’ area
To register a new item weight using the Single Record area of the Item window, you must start by selecting Weight Group H1.1 from the WgtGrp dropdown list.
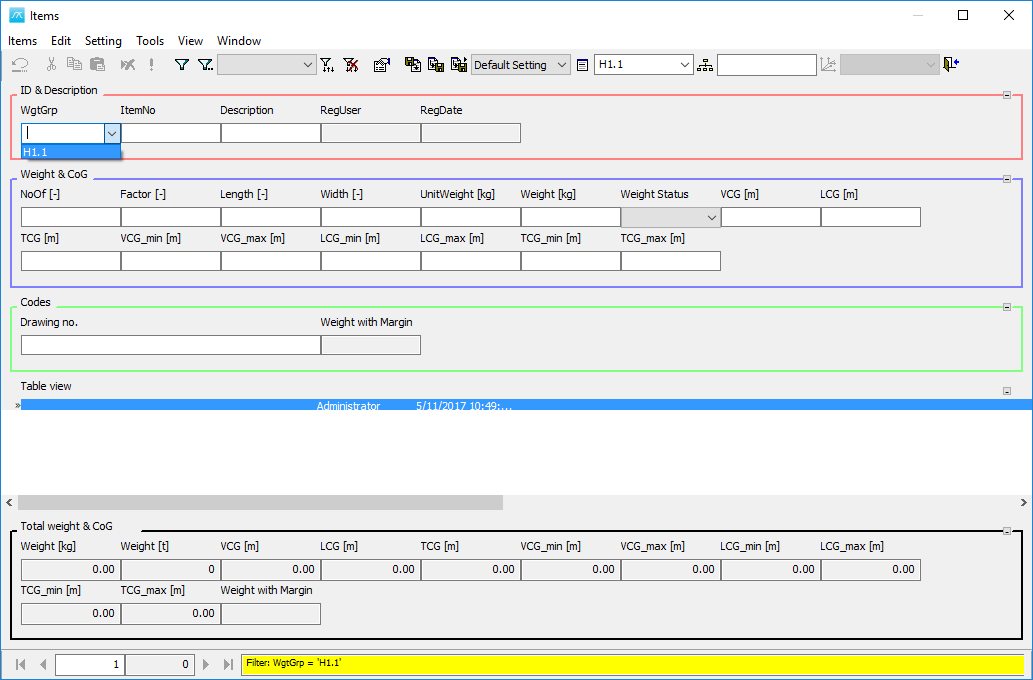
Jump to the ItemNo field by pressing the TAB button. Enter Item number 1. When pressing TAB once more, the item will be created. Continue filling in data for the weight item.
Data for Section 1, H1.1 Aftbody:
Field Value
WgtGrp: H1.1
ItemNo: 1
Description: Section 1
NoOff: 1.000
Factor: 1.000
Length: 1.000
Width: 1.000
UnitWeight: 66000.00
Field Value
Weight Status: C
VCG: 4.300
LCG: -1.250
TCG: 0.000
VCG_min: 1.500
VCG_max: 6.000
LCG_min: -5.000
LCG_max: 2.500
TCG_min: 0 (hidden field)
TCG_max: 0 (hidden field)
Drawing no. 123-456
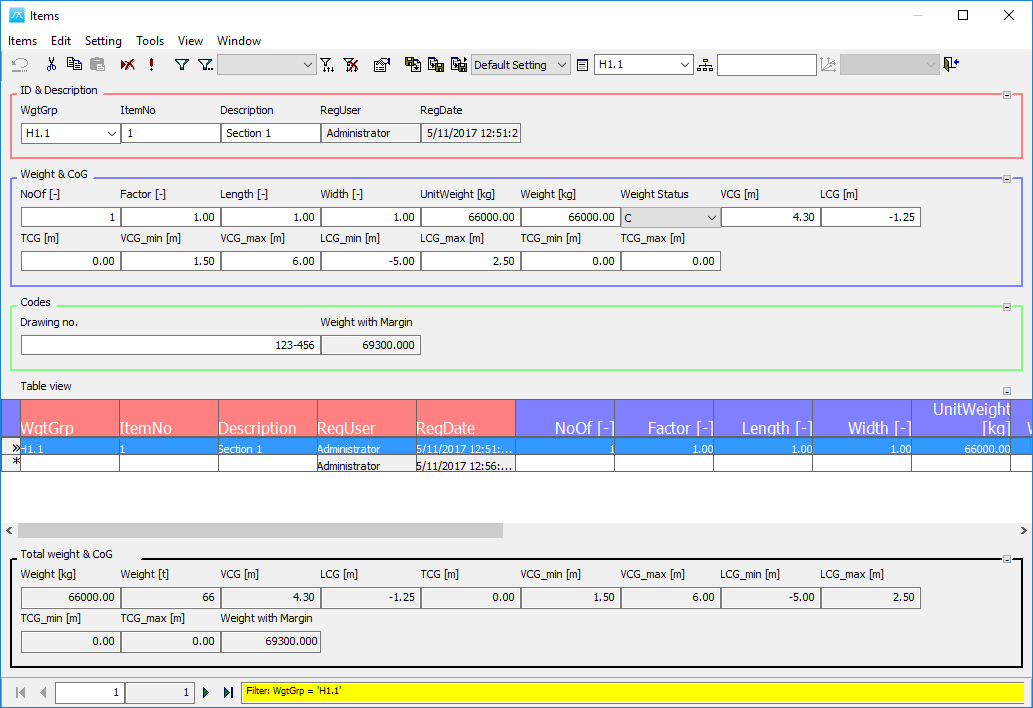
To complete the registration of the weight item, press the right-arrow on the toolbar, or click the empty row in the table.
Step 3: Add a Weight Item in the Item Window via the “Table View”
Select the empty row in the table and double click the WgtGrp cell. WgtGrp will now be set to H1.1. Click the TAB-key to jump to the next column. Continue entering item data for ‘Section 2’.
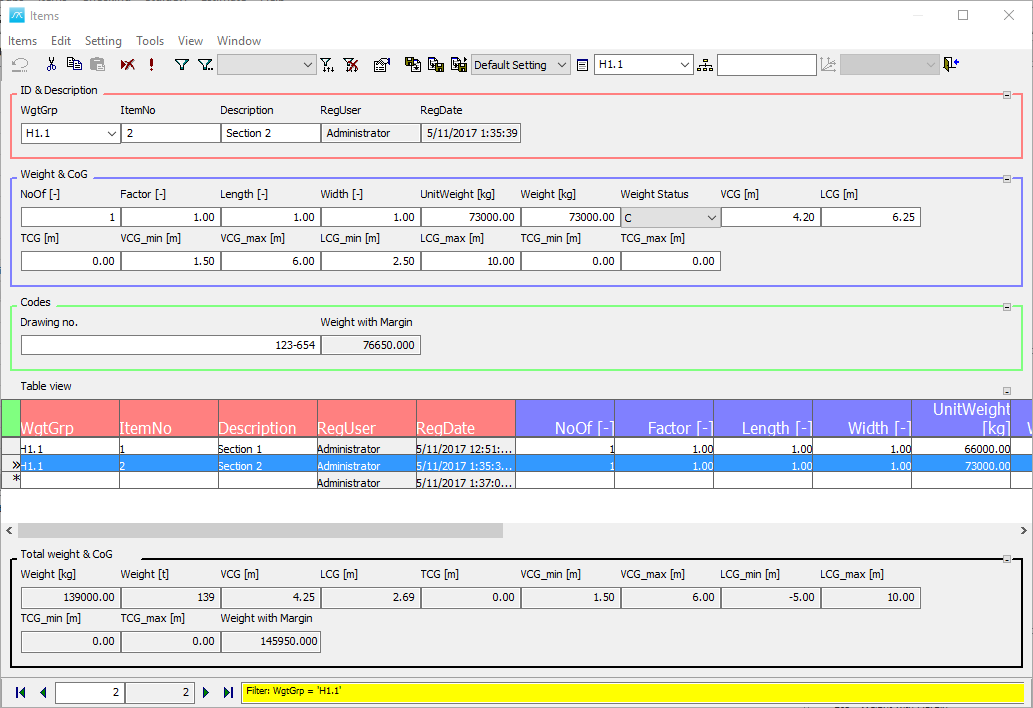
Data for Section 2, H1.1 Aftbody:
Field Value
WgtGrp: H1.1
ItemNo: 2
Description: Section 2
NoOff: 1
Factor: 1
Length: 1
Width: 1
UnitWeight: 73000
VCG: 4.2
LCG: 6.25
TCG: 0.000
VCG_min: 1.5
VCG_max: 6.000
LCG_min: 2.500
LCG_max: 10
Drawing no. 123-654
Weight Status: C
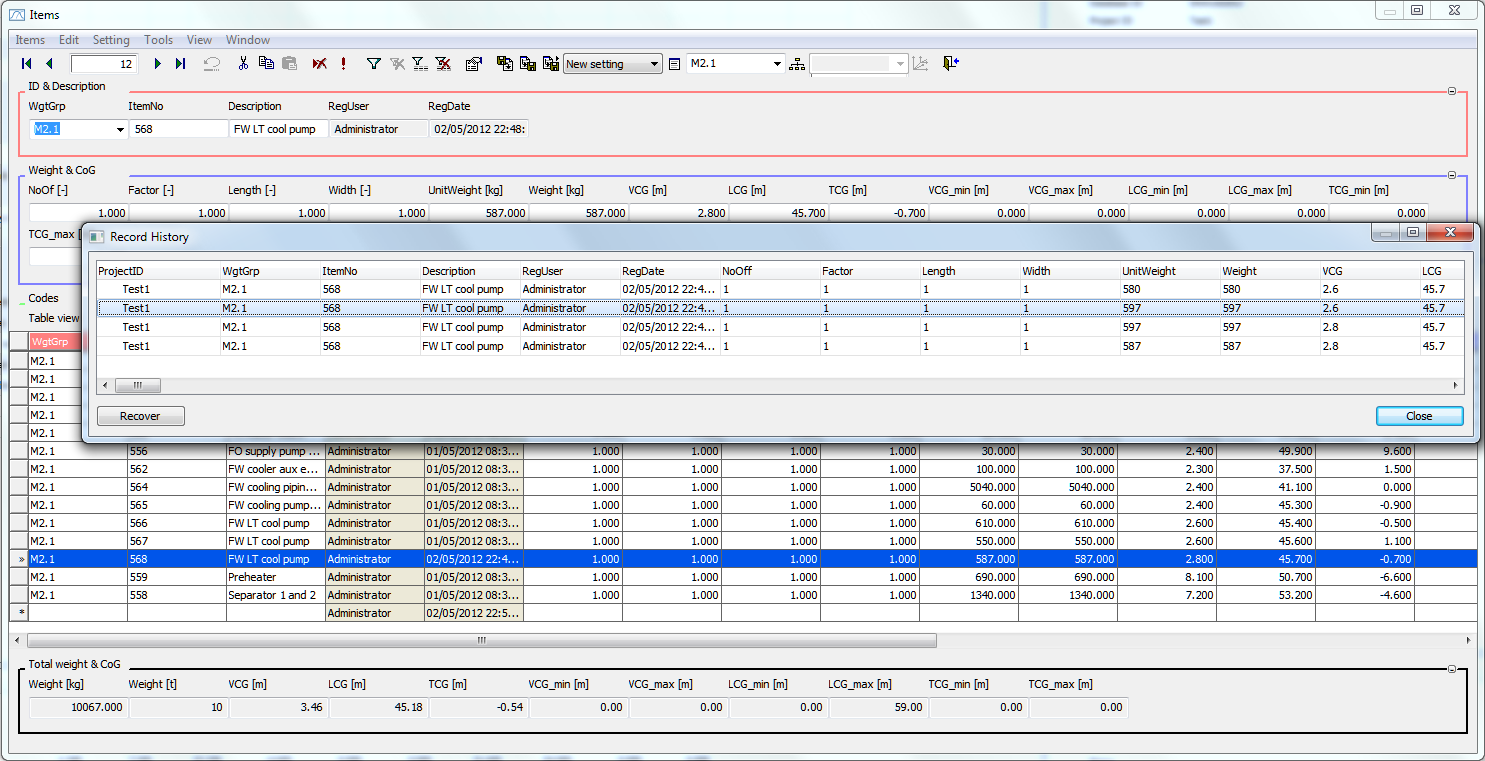
Step 4: Make a Change to a Weight Item
Make a change to an item by editing one or more values in fit the item.
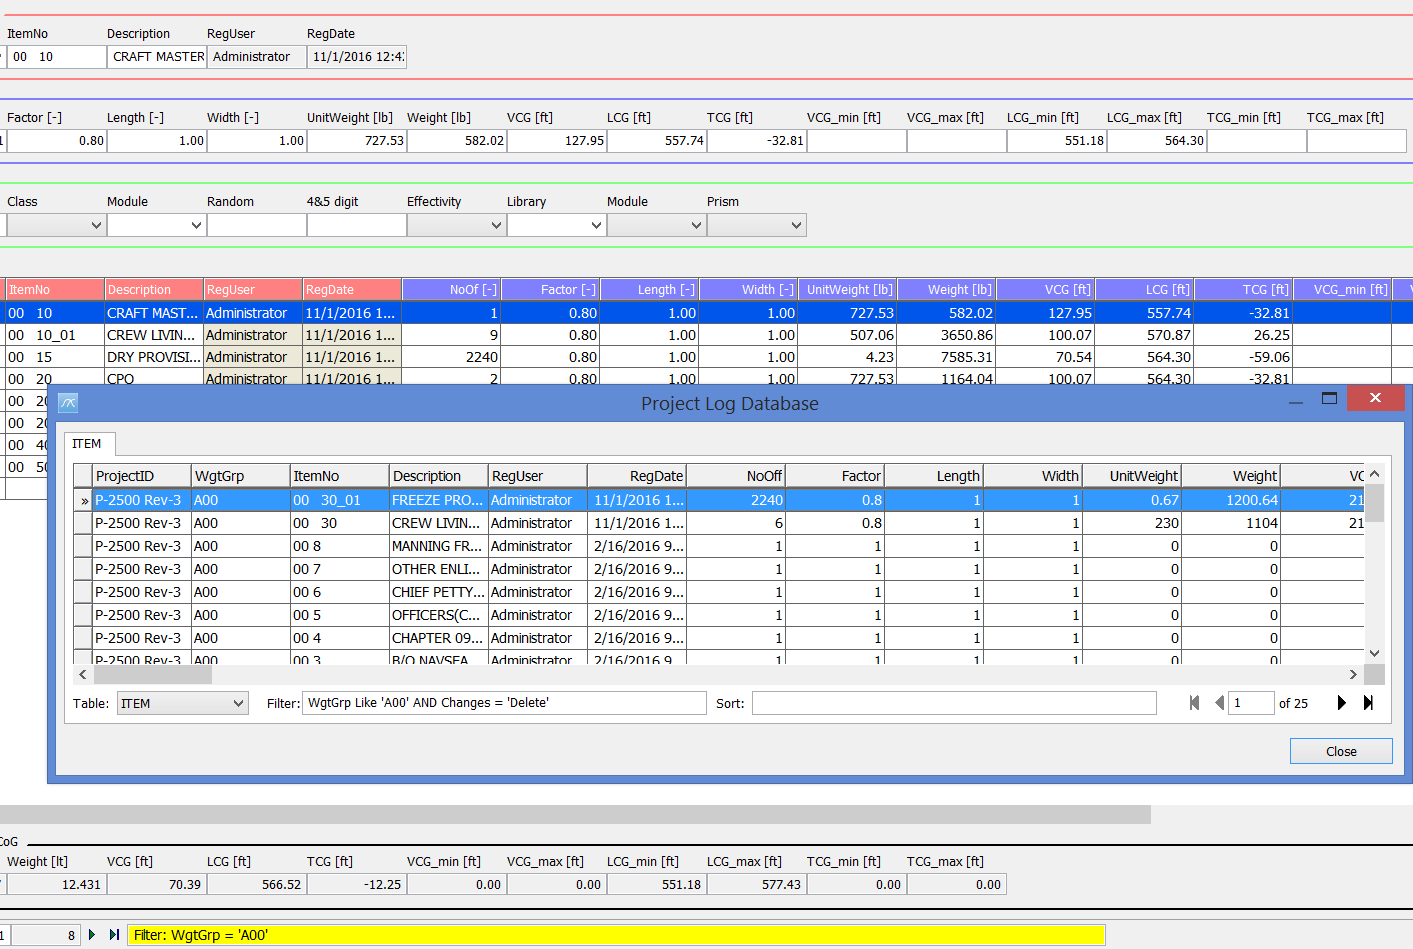
By right-clicking and selecting “Item history”, the user can see all the changes that have happened to the selected item.
Now, it is possible to recover a previous version of the item by selecting a previous version of the item and click the “Recover button”.
Now delete the item you changed. Right click in Items window, select “Deleted Items…” to recover the deleted item.
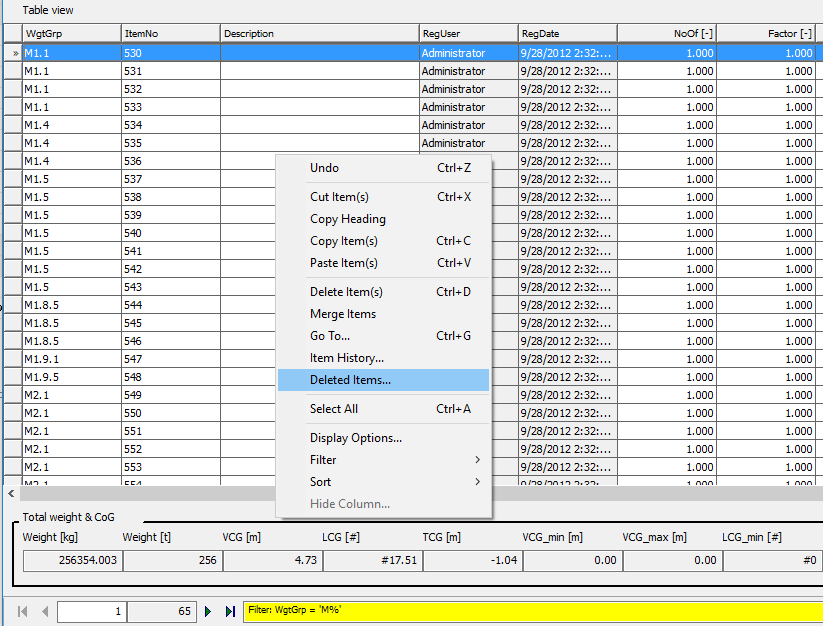
The Project Log Database window will open: