This section will give an introduction to the import of weight data from Excel.
Step 1: Open the “Data File Import” Window
We will import weight data from an Excel workbook. This can be done using the ‘ShipWeight Data File Import’ window.
Open the Data File Import window from menu: Project -> Import -> Data file…
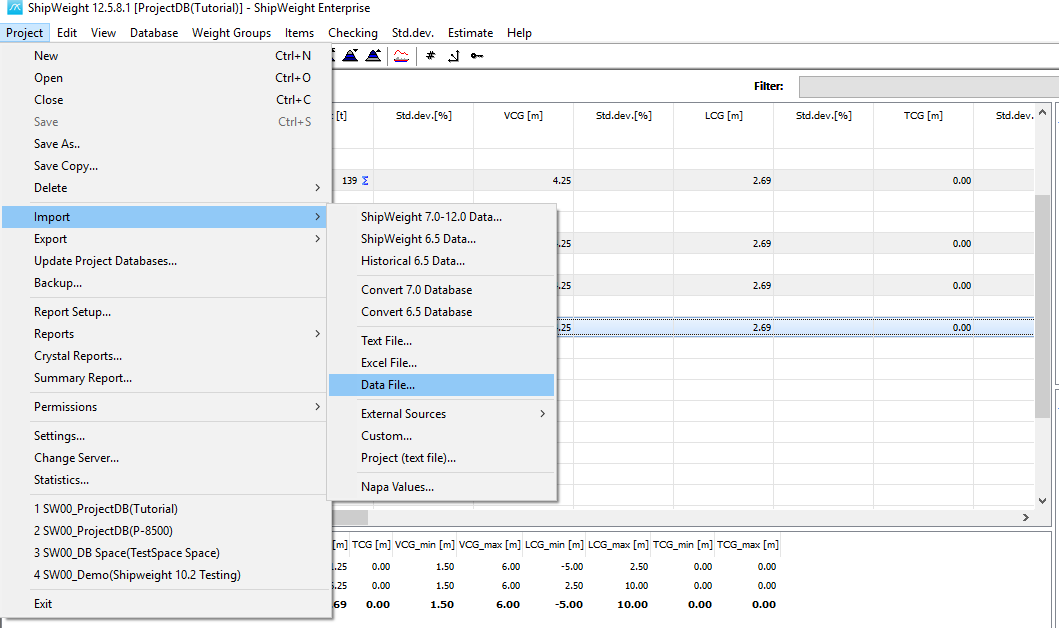
Step 2: Browse and Select a Spreadsheet File
First we browse and select the spreadsheet file. On the ‘Assistant’ tab-sheet, we press the Browse button. Using the ‘Open window window, we locate the Excel file to import. Press the Open button to select the file “Tutorial.xls”.
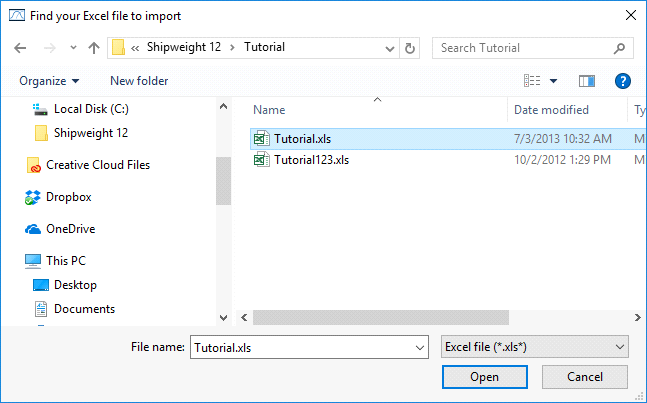
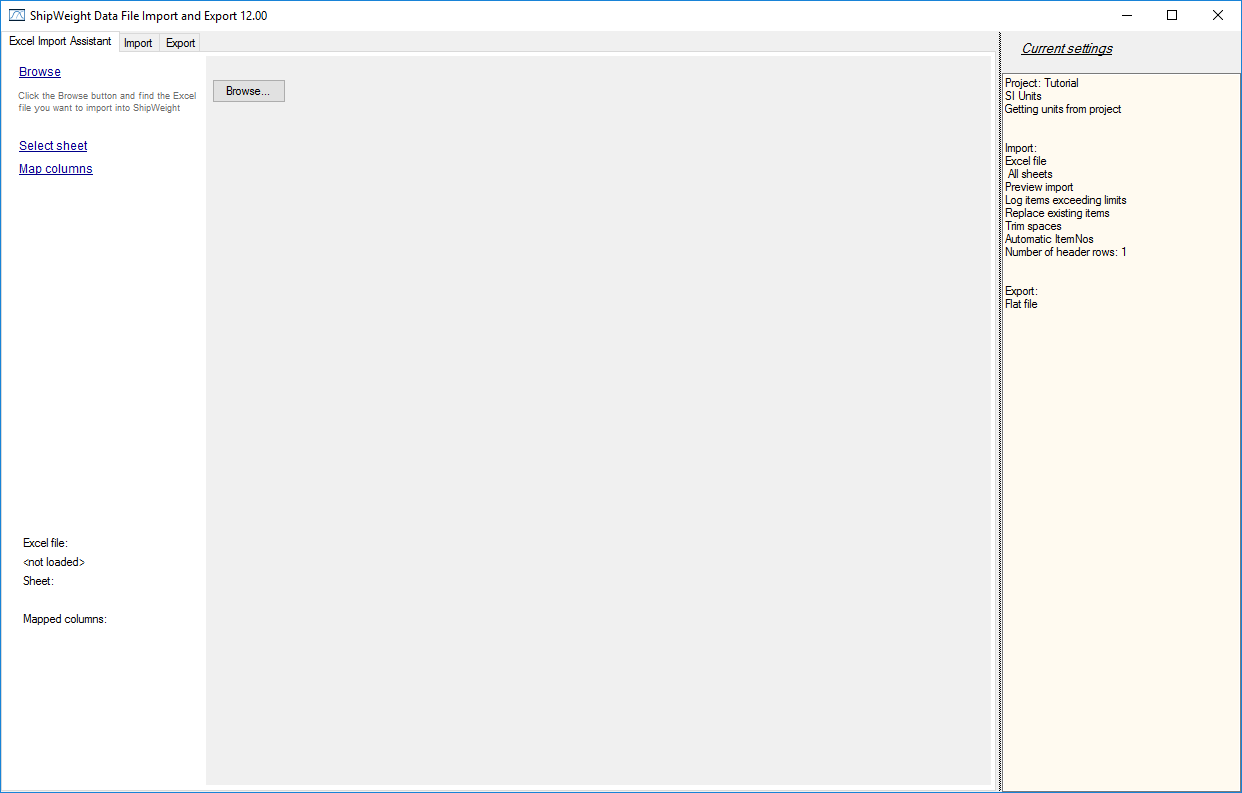
The Data File Import Window supports the import of XLSX files in addition to XLS files. Once the Excel File has been selected, a preview of the sheet included in the file will be shown.
Step 3: Select the sheet in the Import
Then, the next step is to select the sheet to import.
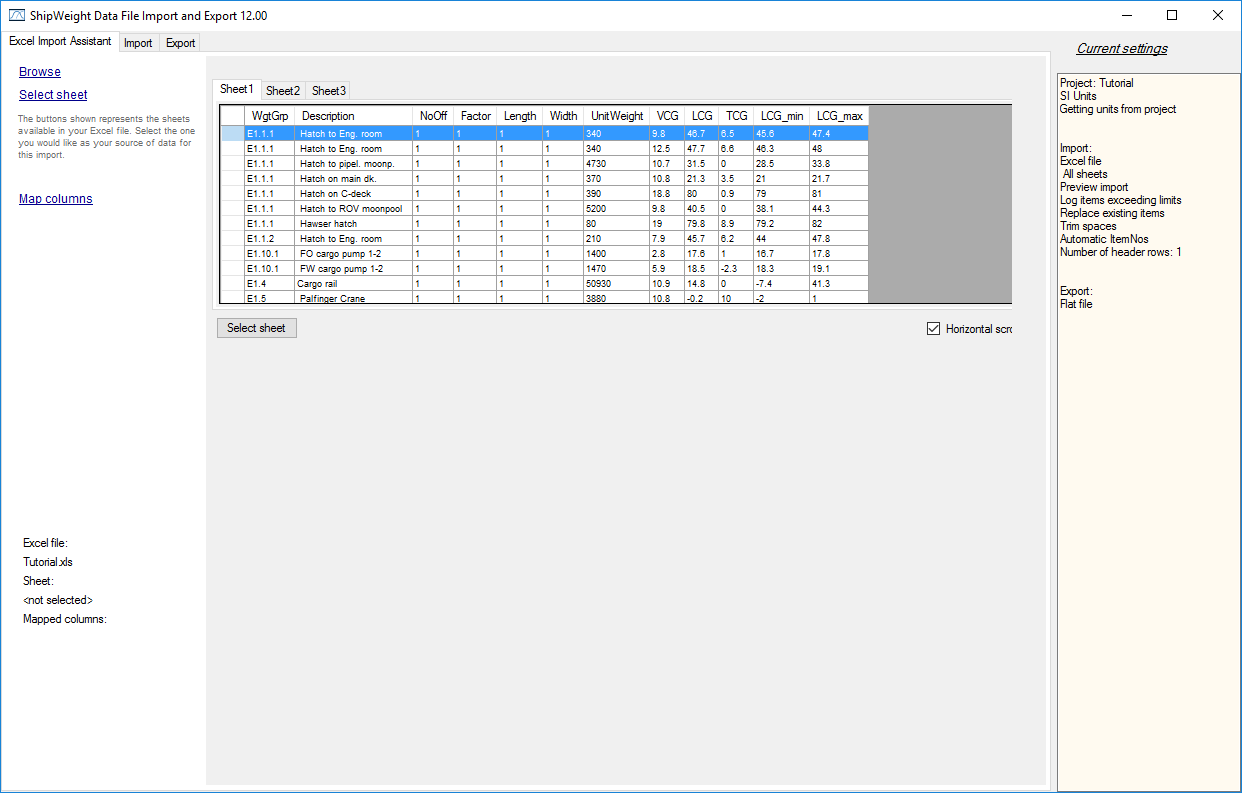
When the sheet is selected, the import window will try to guess the mapping between the columns in the spreadsheet and ShipWeight fields, based on the column headings in the spreadsheet.
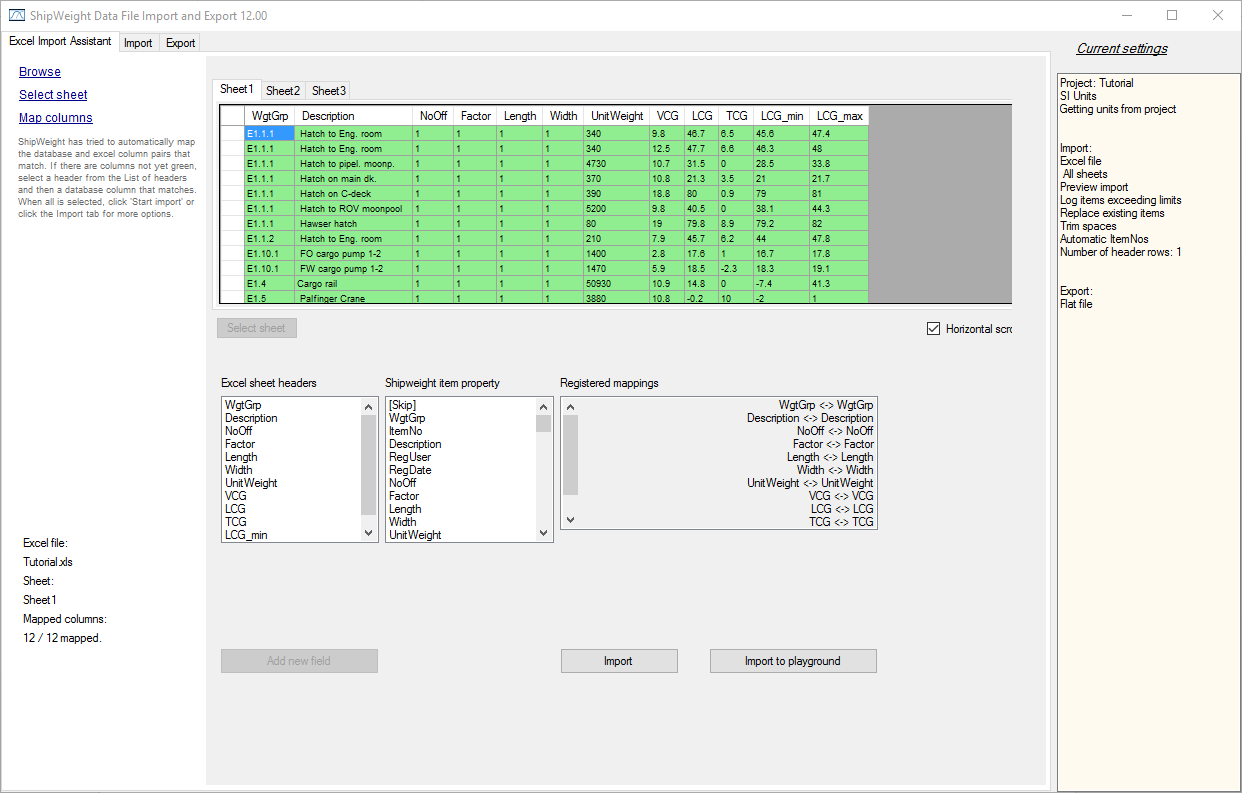
Columns where mapping have been found automatically will get a green colour and the mapping will be shown in the list below. If this mapping is wrong, you can deselect the column either in the sheet preview or in this list of linked columns.
Step 4: Manually Add Any Missing Import Mapping
To manually add columns not automatically mapped, click on the column either in the preview sheet or in the column list and select the corresponding ShipWeight field from the ShipWeight list.
An import can be run directly from the ‘Import’ tabsheet (either to main database or to Playground area), or the mappings and settings can be transferred to the normal data file import for more advanced settings and checking.
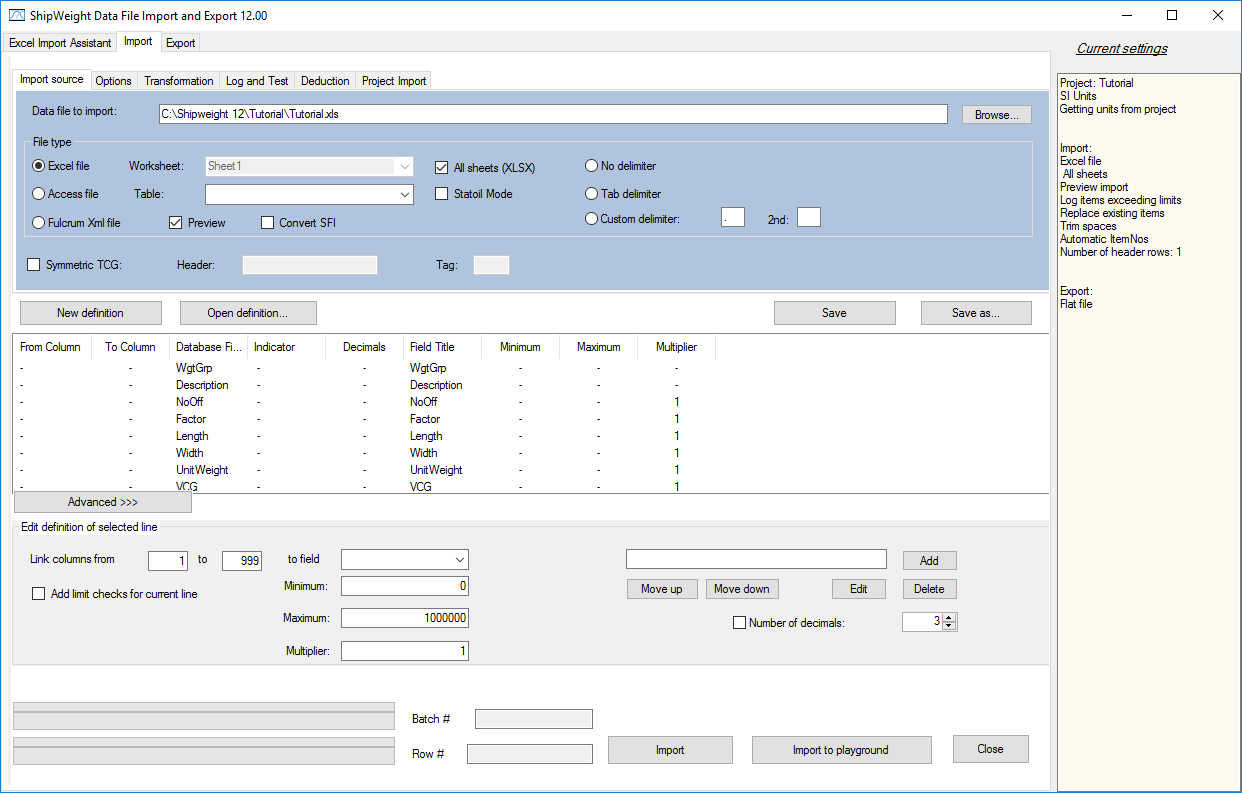
This import definition list may be saved (click “Save” button in the window) and restored by clicking from the “Open” button later.
Step 5: Check and Set Import Options
Before we start importing data, we must set the import options. Click the ‘Options’ tab sheet. First we will keep the option ‘Auto ItemNo start’. The reason for this is that our spreadsheet doesn’t contain a column for item numbers.
Please note that the import will fail if you try to import data with item numbers already in use in the database. If this is the case, please try to increase the number in the ‘Auto ItemNo start’ field.
The ‘Pad ItemNo’ button will change the format of the item number of existing items. First set the number of characters the item number should include. Pressing the ‘‘Pad ItemNo’ button will add the digit 0 in front of the item number, so that the item number includes the proper number of characters. Please note that the option ‘Number of header rows’ is disabled. The ‘ShipWeight Data File Import’ always assumes that the spreadsheet contains one header row.
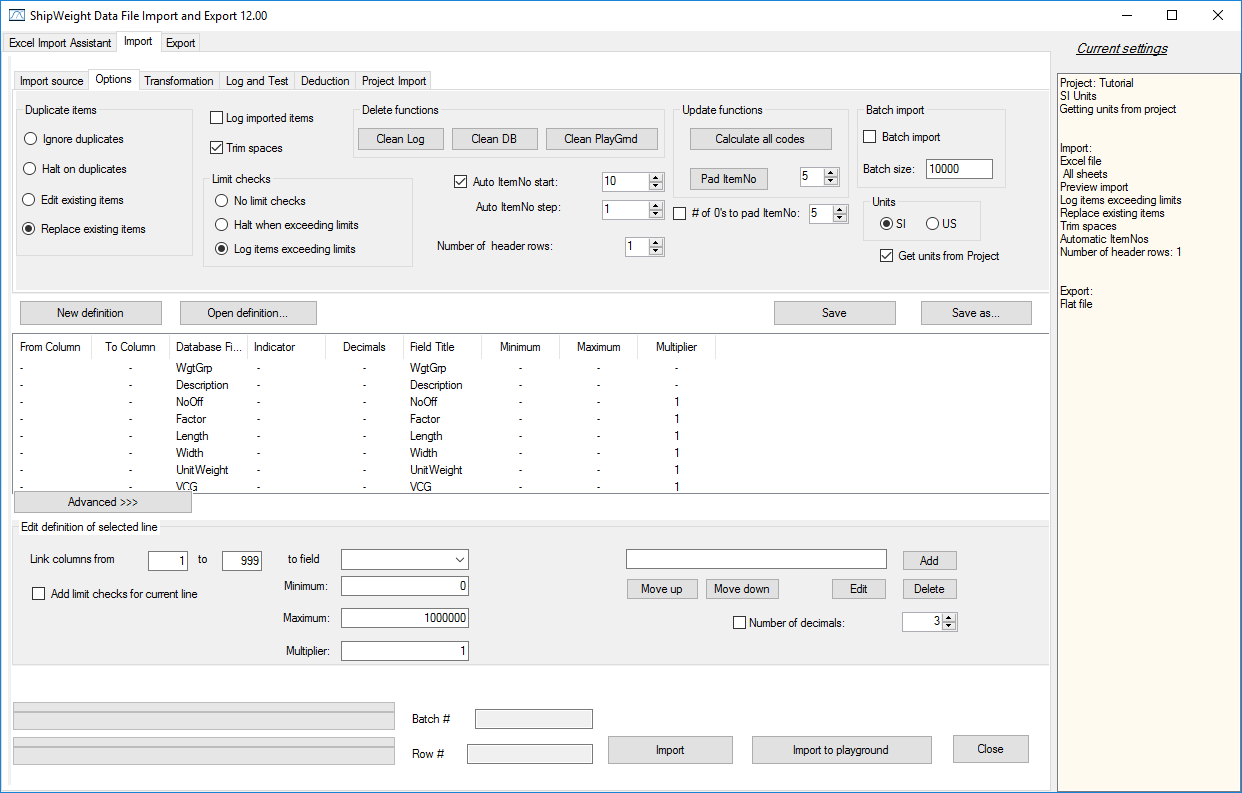
Now when the settings are ready we can choose either to Import or Test it.
Step 6: Test the Import Prior to Importing It
To test the import, first we go to the ‘Log and Test’ tab sheet:
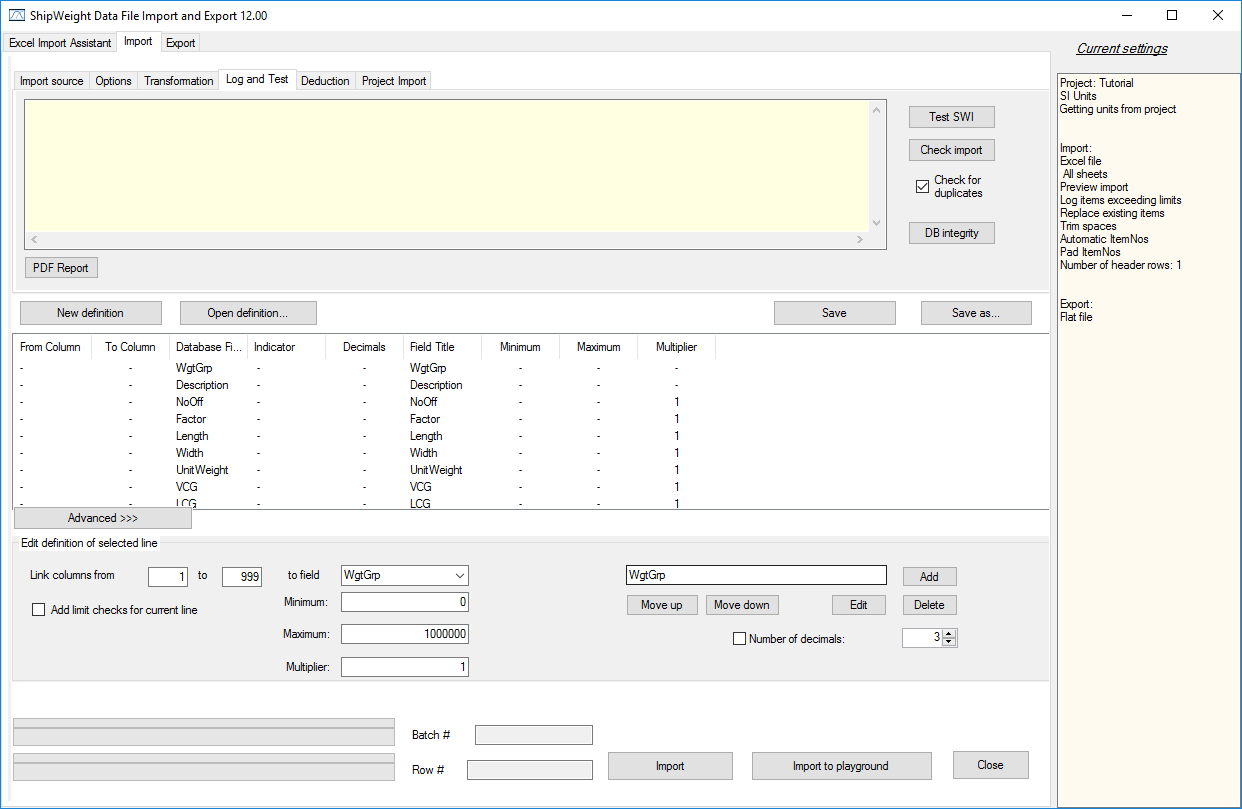
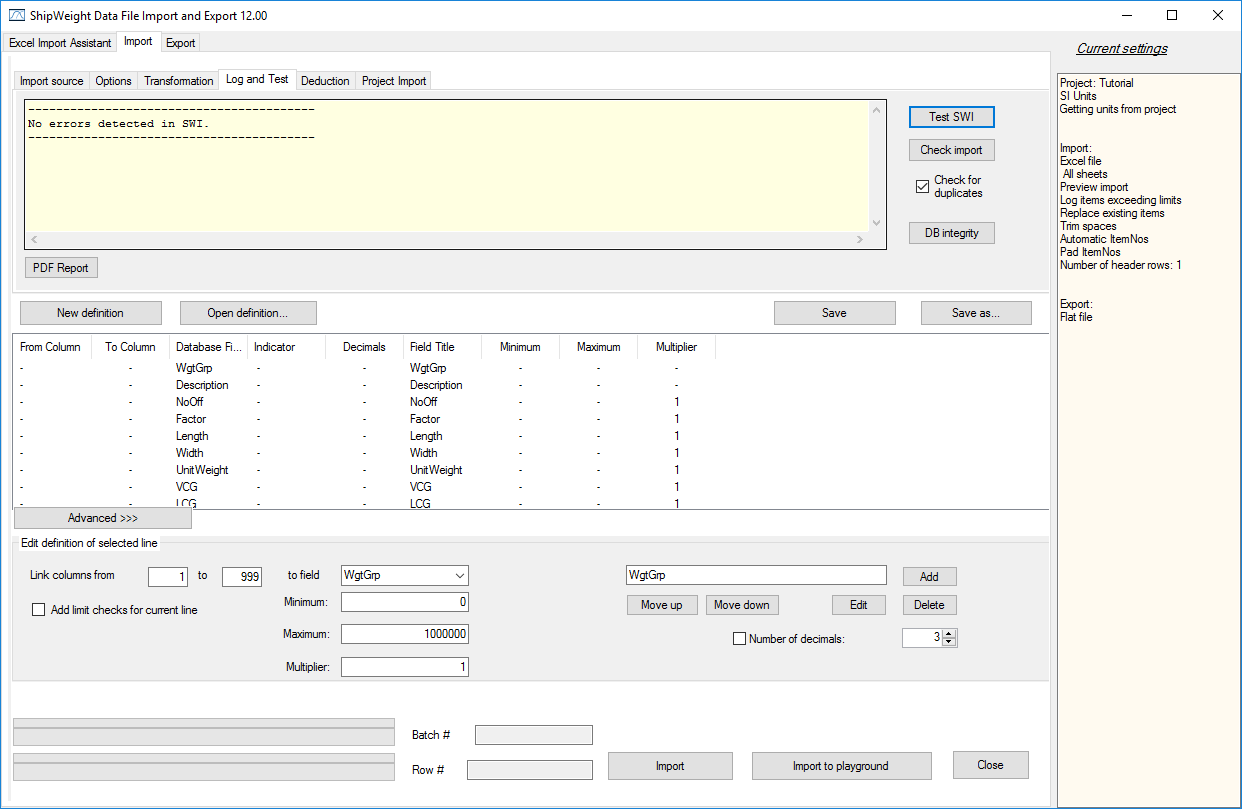
Select ‘Test SWI’ button to see if there are any errors detected in the import definition file. As we can see, right now there is no errors:
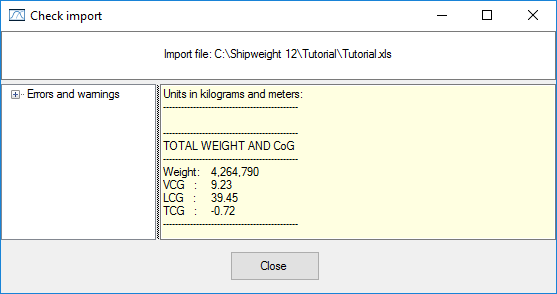
Then, we can also select the ‘Check import’ button, to perform the import without actually importing it. Now it runs throught the import and it will show you a small report, that the import is completed:
Now we are ready to start importing data. Make sure that the spreadsheet you are going to import is not open in Excel.
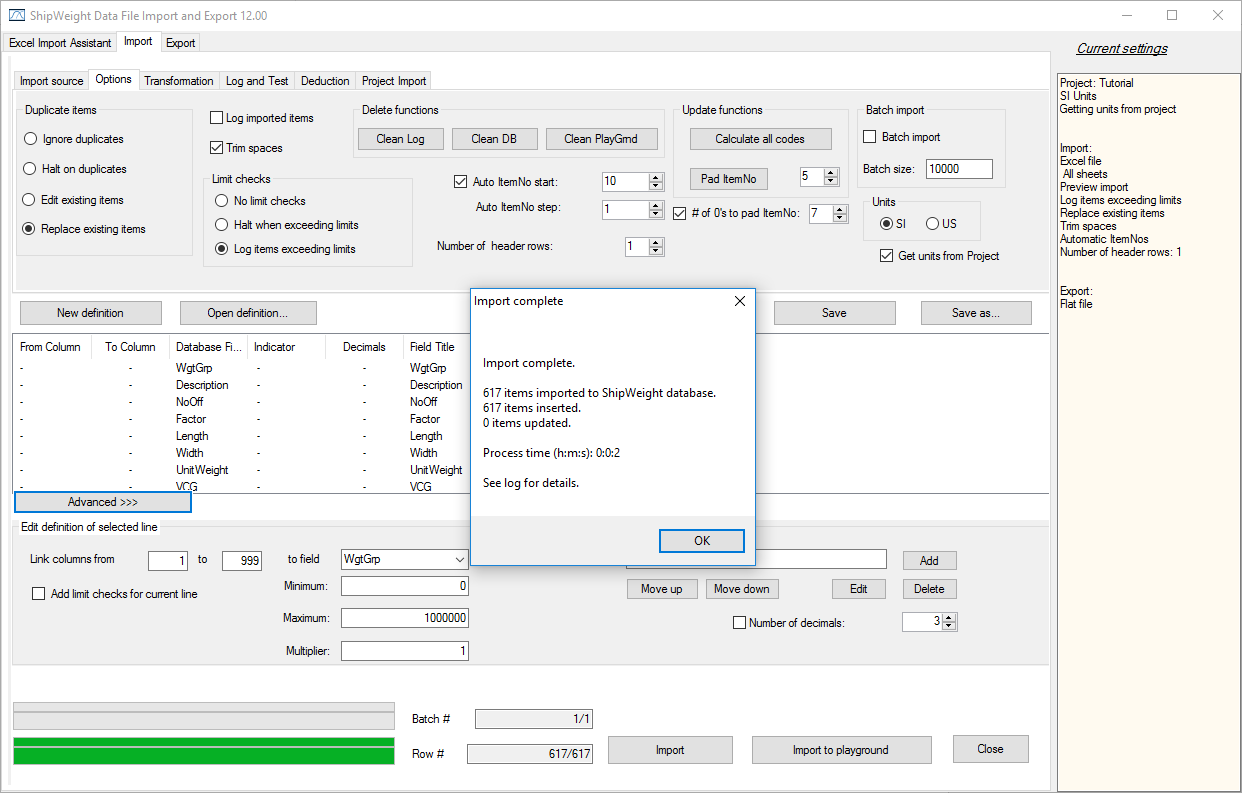
In the Import complete window press OK button. Then press Close button in the Import window. The Update Information window will appear, asking you to ‘Summarize wgt.grp.’ in the ‘Wgt.Grp’ menu.

Click OK.
Step 8: Update the Main Window
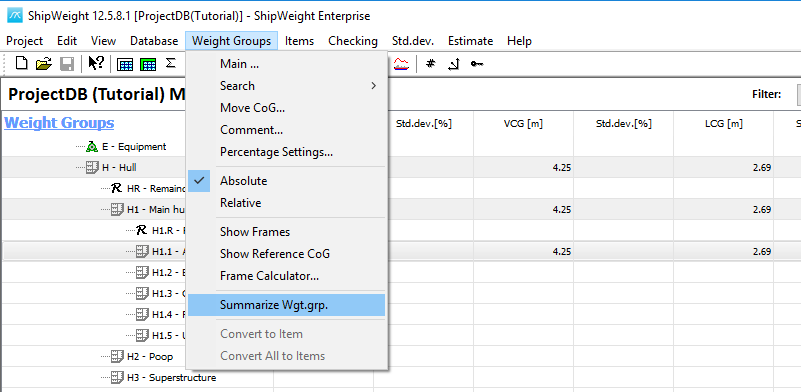
Now, in the main window window of ShipWeight, go to Weight Groups menu and select ‘Summarize Wgt.grp’:
