When starting ShipWeight, the Login window will appear.

The Authentication and SQL Server fields should be prefilled and values set from the installation. In normal use of the software you will not need to change these settings.
To start working with ShipWeight you need to enter a valid user name and password. The first time ShipWeight is started, you must log on with the following user name and password:
User name: Administrator
Password: admin
Have you previously logged in the User name is preset with the values from the previous session.
Next, use the System dropdown list to select the appropriate work breakdown structure (WBS) structure. If you do not have a specialized WBS for ShipWeight select Standard. Have you previously logged in the System is preset with the values from the previous session.
Check the box Open Last Project if you would like to open the last open project. Then click OK to continue. The main window of ShipWeight will now be opened. Be aware, some companies have activated a security warning message, read the message and click "I agree" to proceed to the Main window. To set up a Security Warning message read more about how to set it up here.
After successfully logging in, the main window of ShipWeight will open. If no project is open the main window will show No project open and look empty.
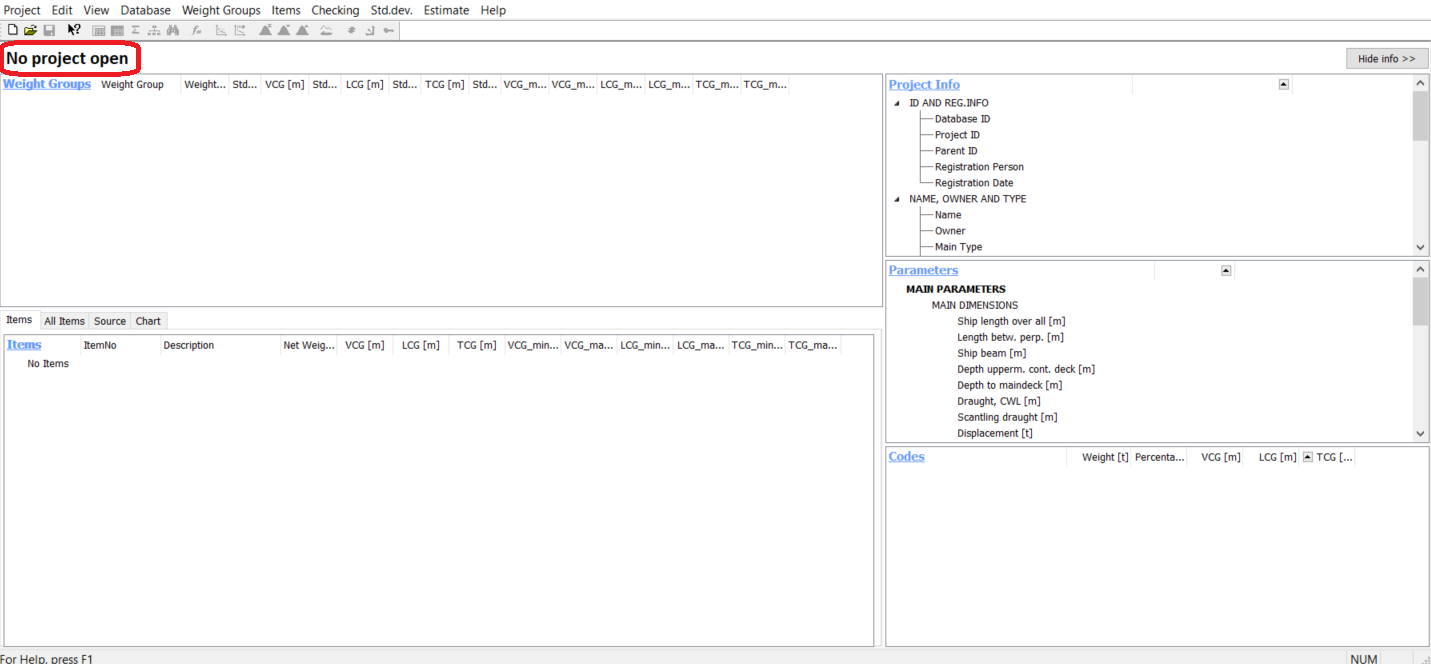
To open a project click ![]() . See Opening an Existing Project to see how to open an existing project.
. See Opening an Existing Project to see how to open an existing project.
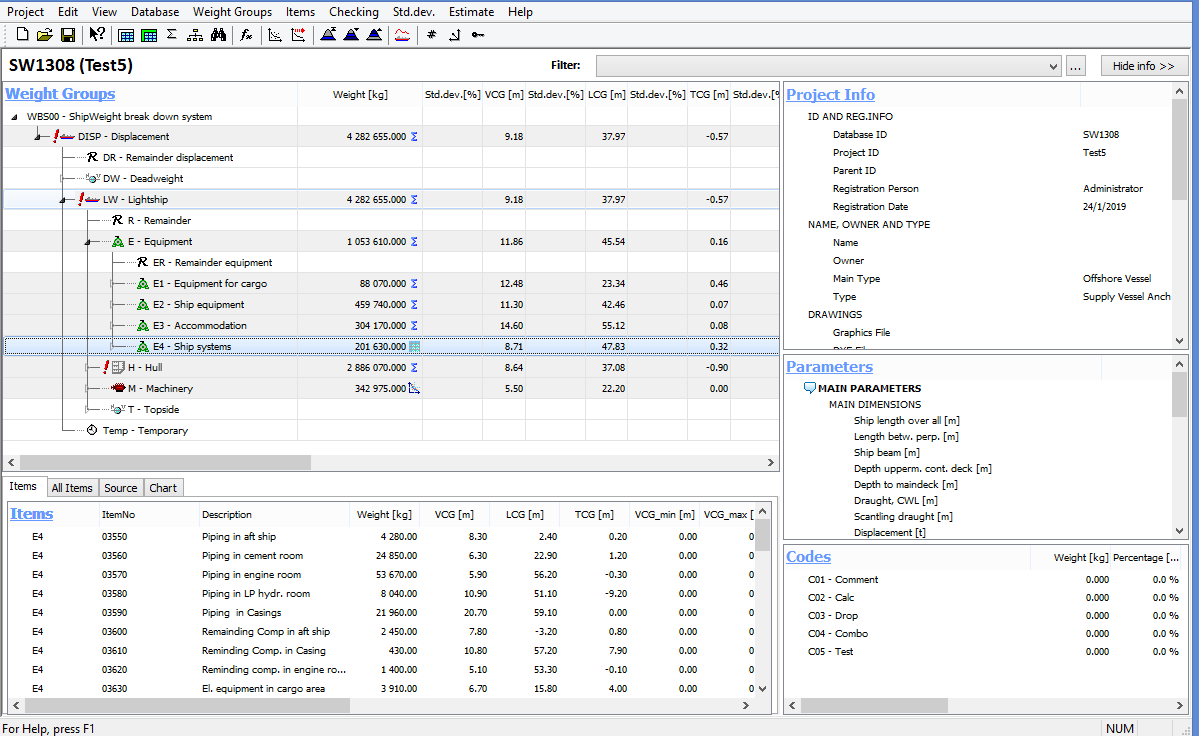
In the left part of the main window the Weight Group view is shown on the top and the Item view is shown on the bottom. The Items view has 4 tabs; Items, All Items, Source and Chart. Where the Items tab show the item for the selected weight group in the Weight Group view above the Items view. The All Items tab show all items in the project. The Source tab show the values for all sources related to the weight group selected in the Weight Group view and give the user possibility to change to a different source. The last tab Chart draw a pie chart showing the distribution for the selected weight group in the Weight Group view if it is a summarized weight group.
In the right part of the main window, several information windows are shown. This shows Project Info, Parameters, and Codes. This area can be hidden all in one by clicking the Hide info >> button, in case maximum space is required for the weight group hierarchy. Each individual window may also be hidden by clicking on the Show/Hide button (small arrow) to the right in the heading. Clicking this button will show/hide the area for every second click.
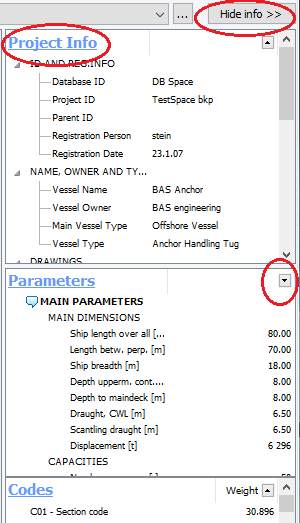
For all the views in the main window the heading title itself is clickable and works as a hyperlink to open up windows for editing the information in the area.
For the Weight Groups icons are used to inform the user about the origin of the weight group summary.
![]()
A Grid table icon indicates that the weight group is a summary of weight items in that weight group.
A Sigma icon indicates that the value is a summation of subgroups – not items.
Finally, a Graph icon will indicate that the value is estimated by parametric formula.
Grid table and Graph icons are also click able and will open the Items window and Estimation window respectively.
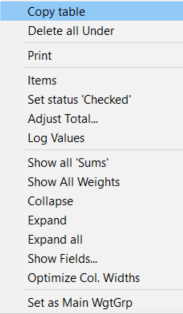
For each of the views an extended submenu is available by right-clicking the mouse button. The submenu includes various selections for expanding and collapsing, optimize column widths and copying the information to the clipboard and other selections specialized for that view.
In addition to displaying the values for parameters, the Codes window will show a summary of the weight per code. This can potentially slow down speed on very large projects, so there is an option in the Options window to turn off this summation.

The icons showing weight group types are:
|
Remainder |
|
Deadweight |
|
Lightship / Lightweight |
|
Machinery |
|
Hull |
|
Equipment |
|
Temporary |
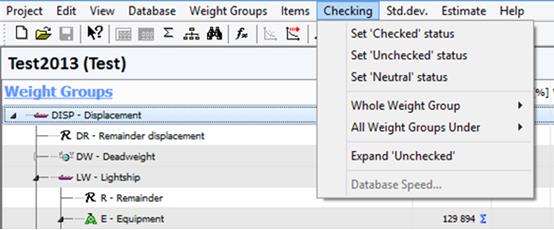
The icons showing status of a weight group may be set to:
|
Checked |
|
Unchecked |
|
(No icon) Neutral |
To set the status, select one of the options on the Checking menu.
