This section will show how to
•Set up a Playground Area (sandbox environment)
•Use Playground Area as a net change and approval tool
Step1: Create (or select existing) Code for Worksets (or use Weight Groups)
To set up a successful playground area first we have to select a custom code that will work as our work packages or that will group the items that we need to check in and out of the playground area.
Go to the View menu and select Code Definition…
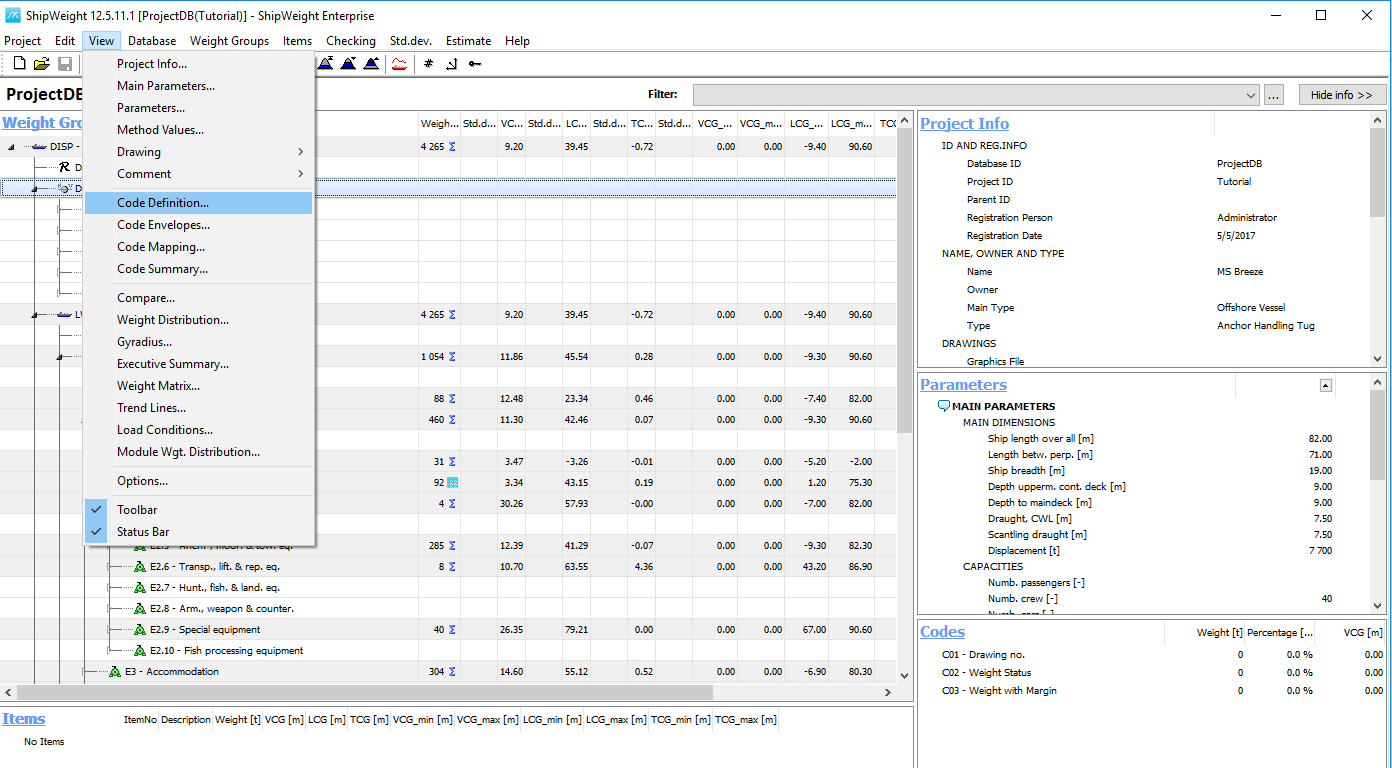
The Code Definition window will open:
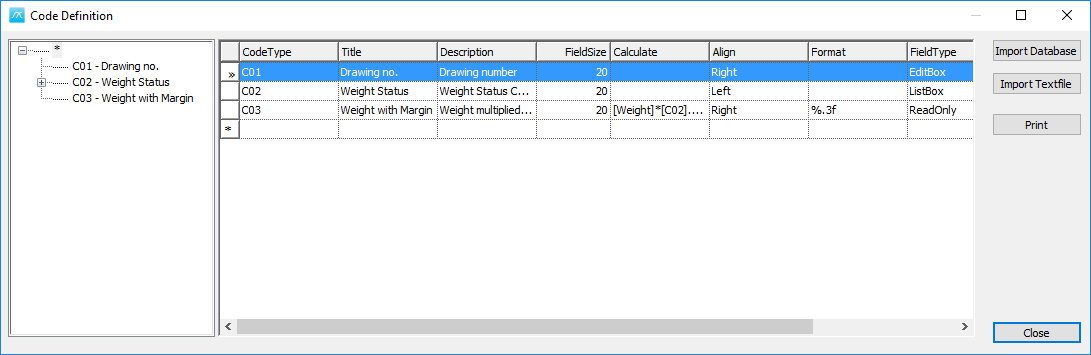
Within the code definition window we could have selected any of the existing codes to be used as our playground area codes:

or we can define our own code, specific playground area code:
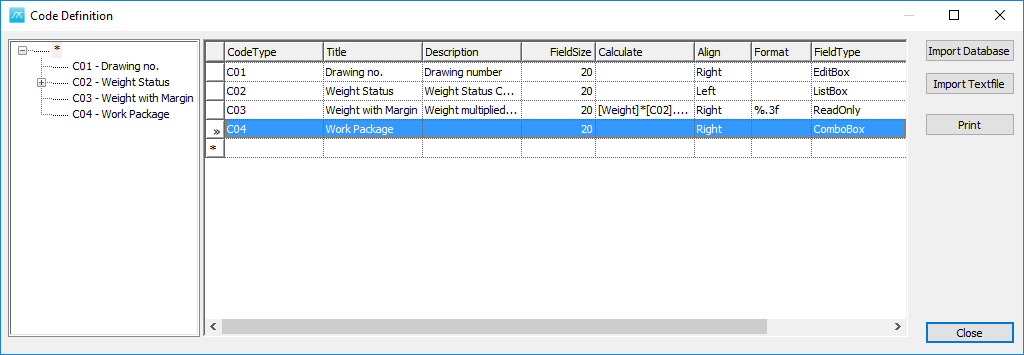
Now we need to add few subcodes for the work package so that we can use to group items to check them in and out of the playground area. Select the new code C04 – Work Package:
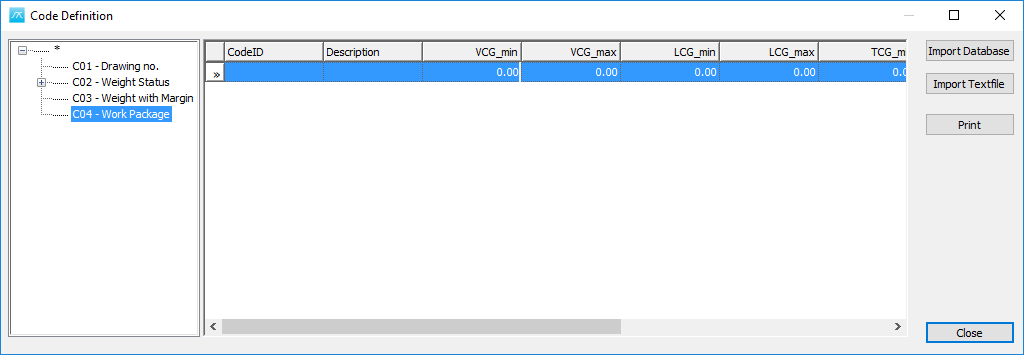
And add the following subcodes:
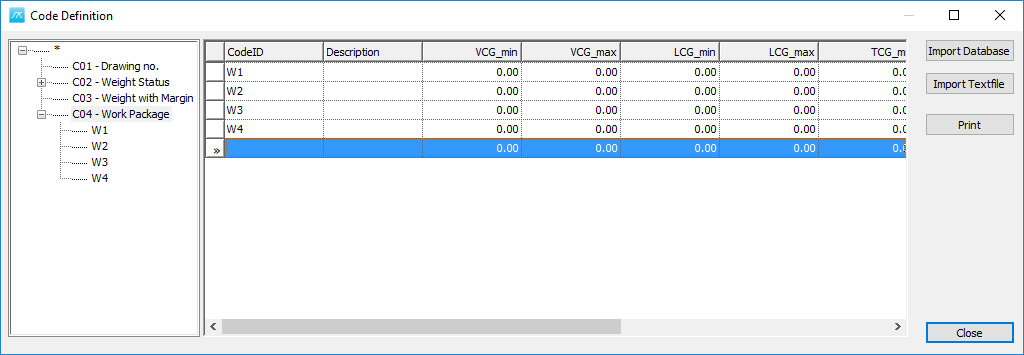
So, basically we have the code to groups the items that need to be checked in and out of the playground area.
In principle, any code may work as a workset code (drawing number, CAD package, department number, etc…)
Now Close the Code Definition window.
Step 2: Enable the “Playground” in the Option window
Go to the View menu and select Options…
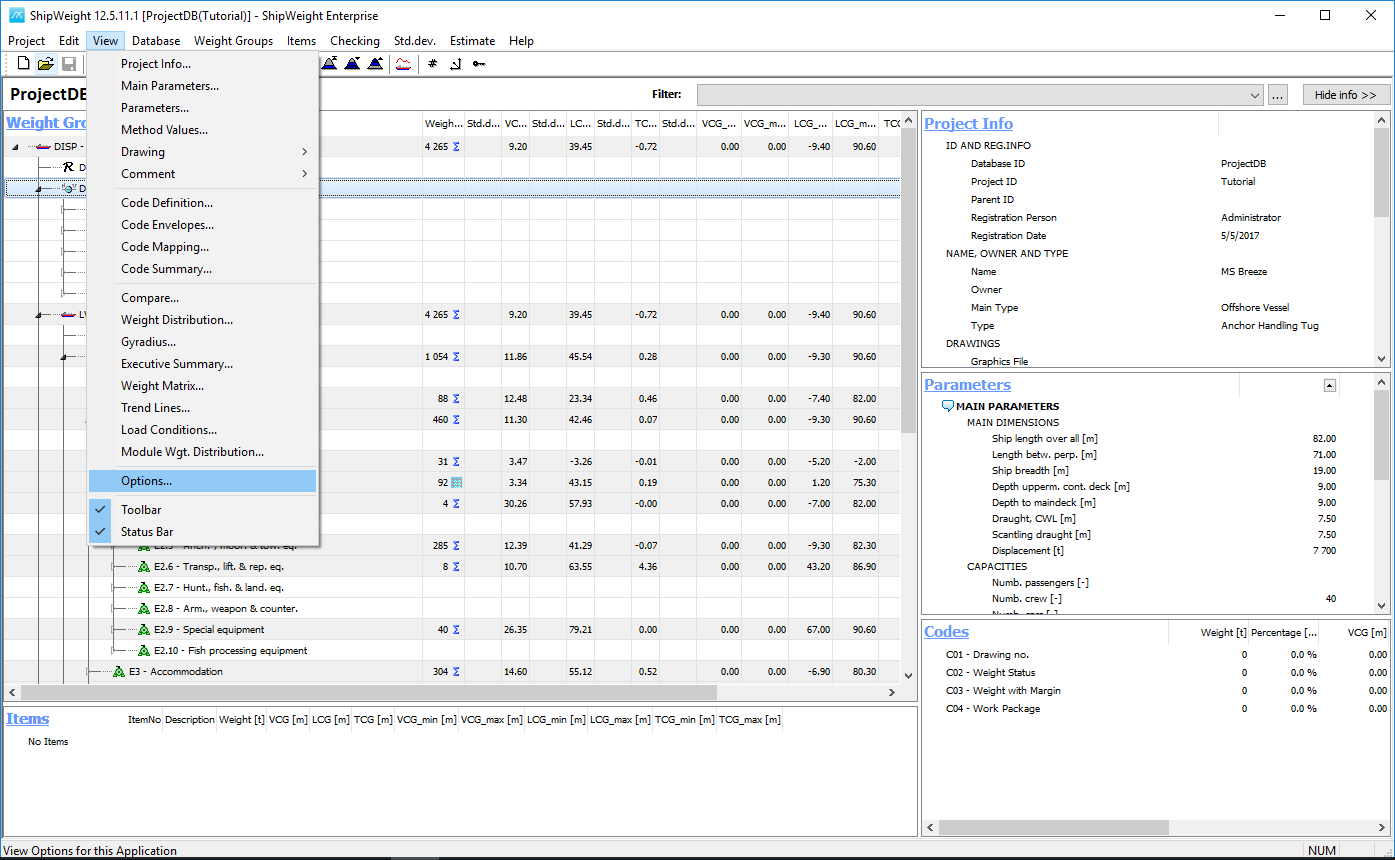
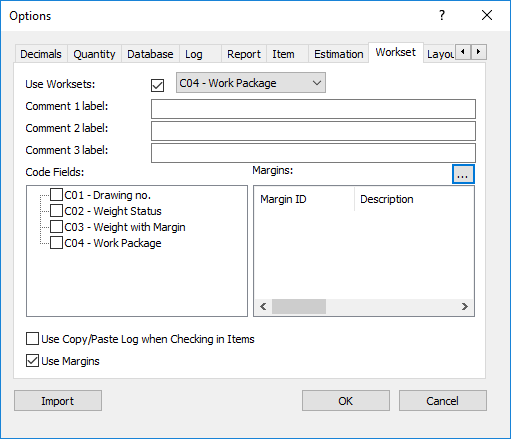
The Options window will pop up:
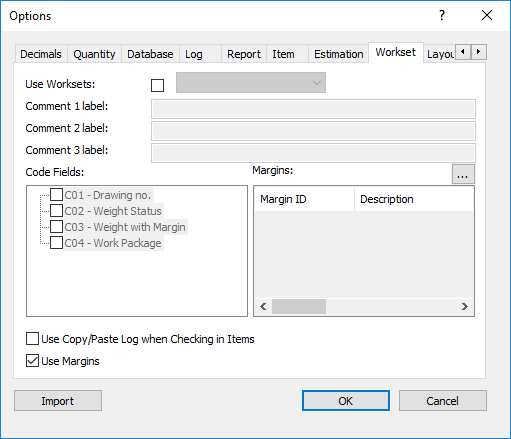
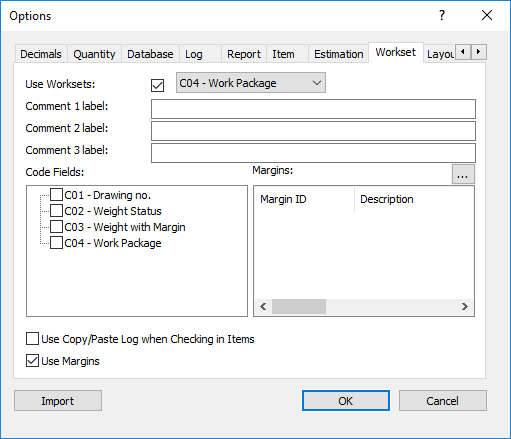
Now, enable the workset, by checking the Use Worksets box, and select C04 – Work Package code:
Below there are some Comment Labels which can be freely edited.
Finally, in the Options window are the margins, in the lower right corner. These margins can be set and defined in the Margins window. To open the Margins window, press the browse button:
The margins window pops up:
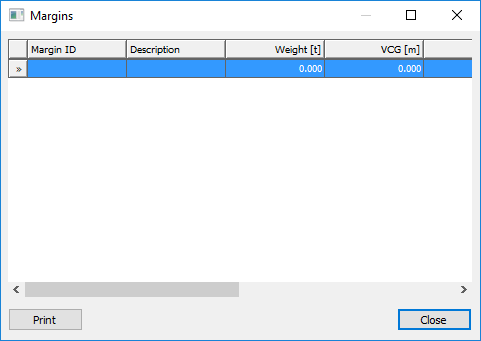
Define the following margins:
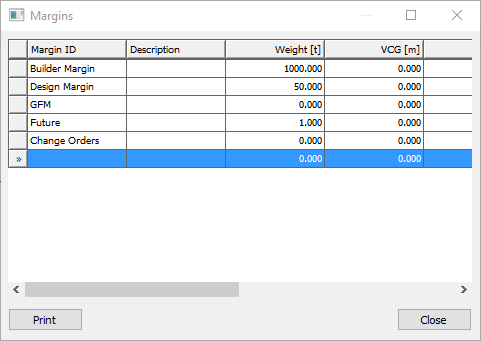
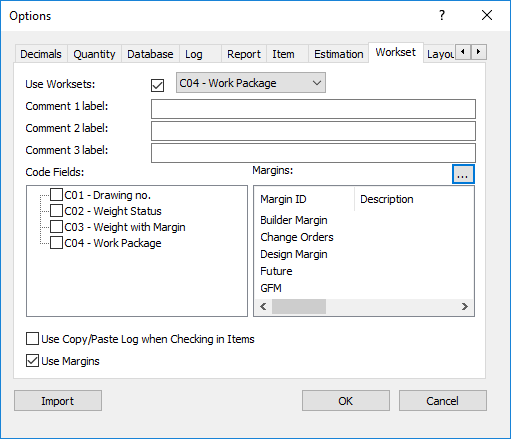
Click Close.
So, now we have defined the Workset to start working with the Playground:
Step 4: Choose a background color for the Playground item window!
The last thing is to select the Playground Color. To do this, from the Options window, go to Layout tab and click the Browse button:
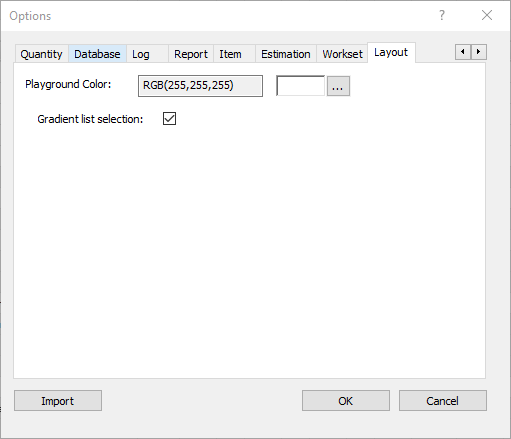
The Color window will appear:
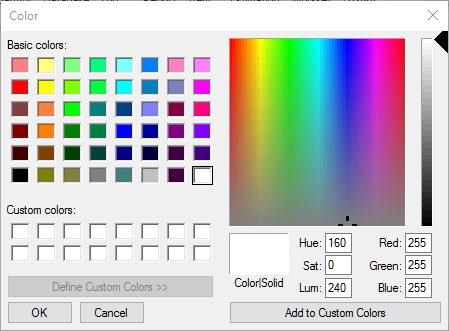
Choose the background color:
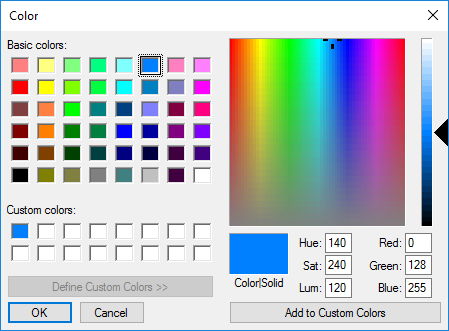
Press Add to Custom Colors and click OK.
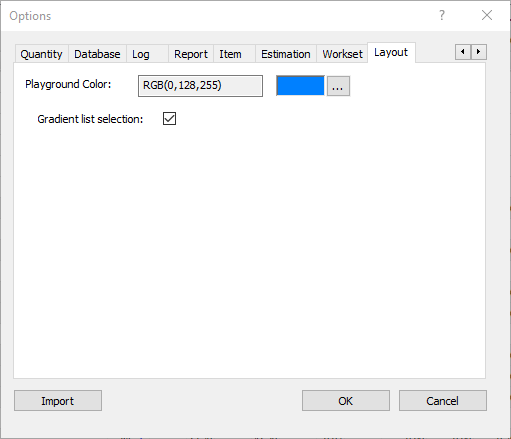
This was done to distinguish the difference between the live database and the playground area database.
Click OK to close the Options window.
Step 5: Open the Item Playground Window
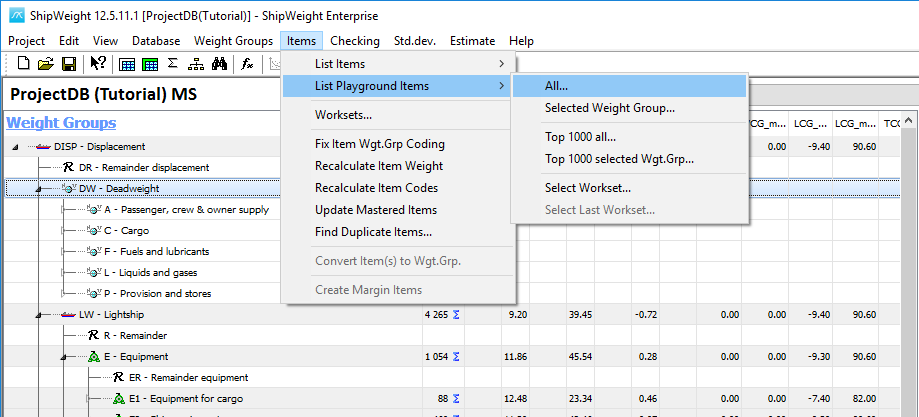
From ShipWeight main menu -> Items -> List Playground Items -> All…
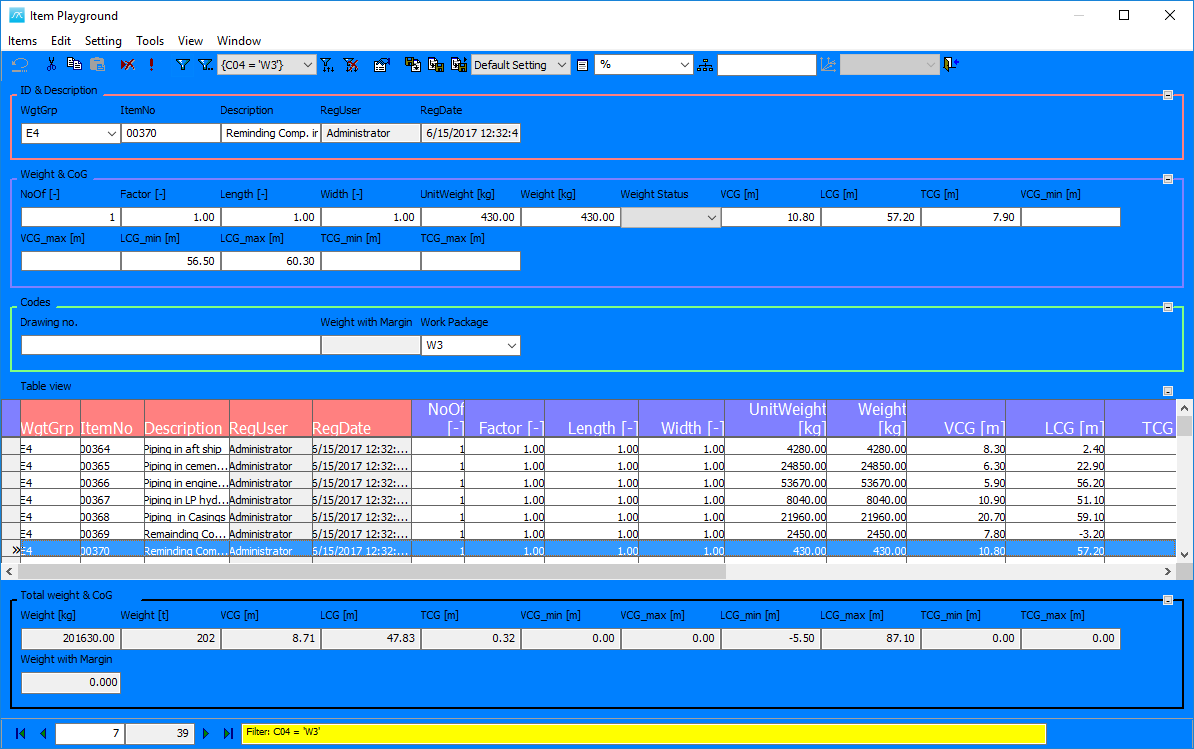
The Item Playground window opens:
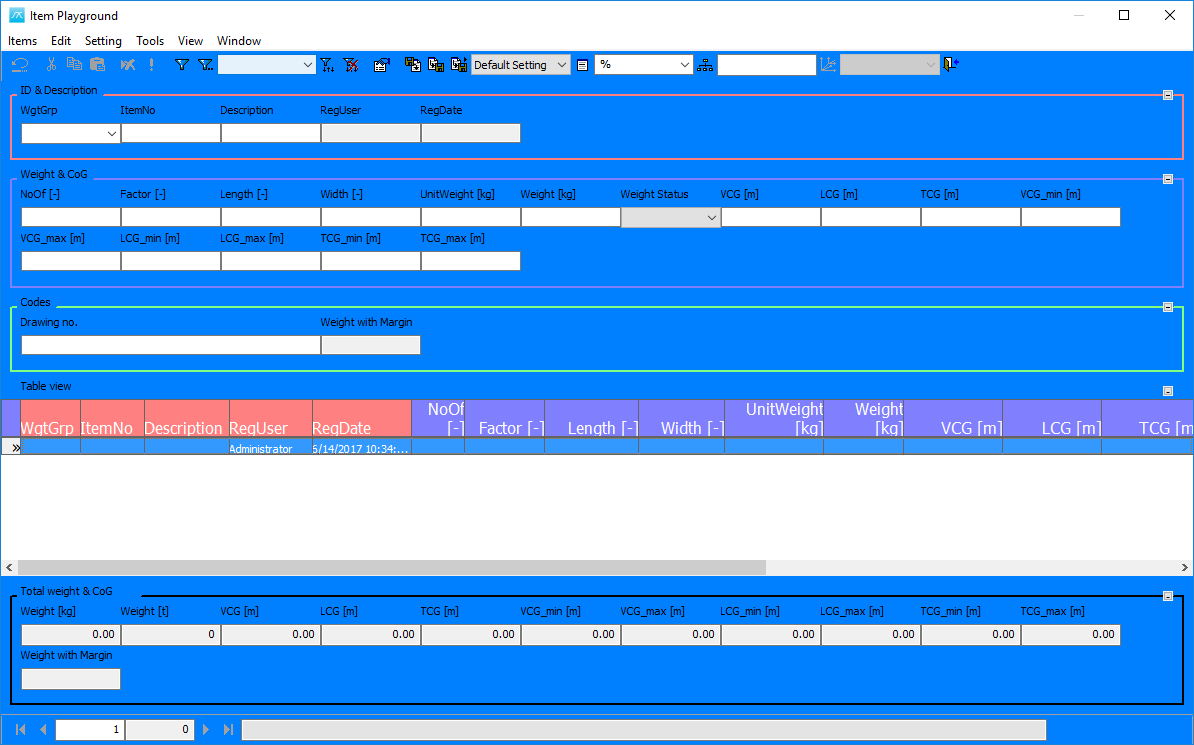
The playground window got the blue background, so we clearly can see this is working in the playground and not in the live database (the Items window).
So, currently there are no items in the playground window. Now we have to check some items into the playground. Close the Playground window for now.
Step 6: Assign items to a workset and check out the workset
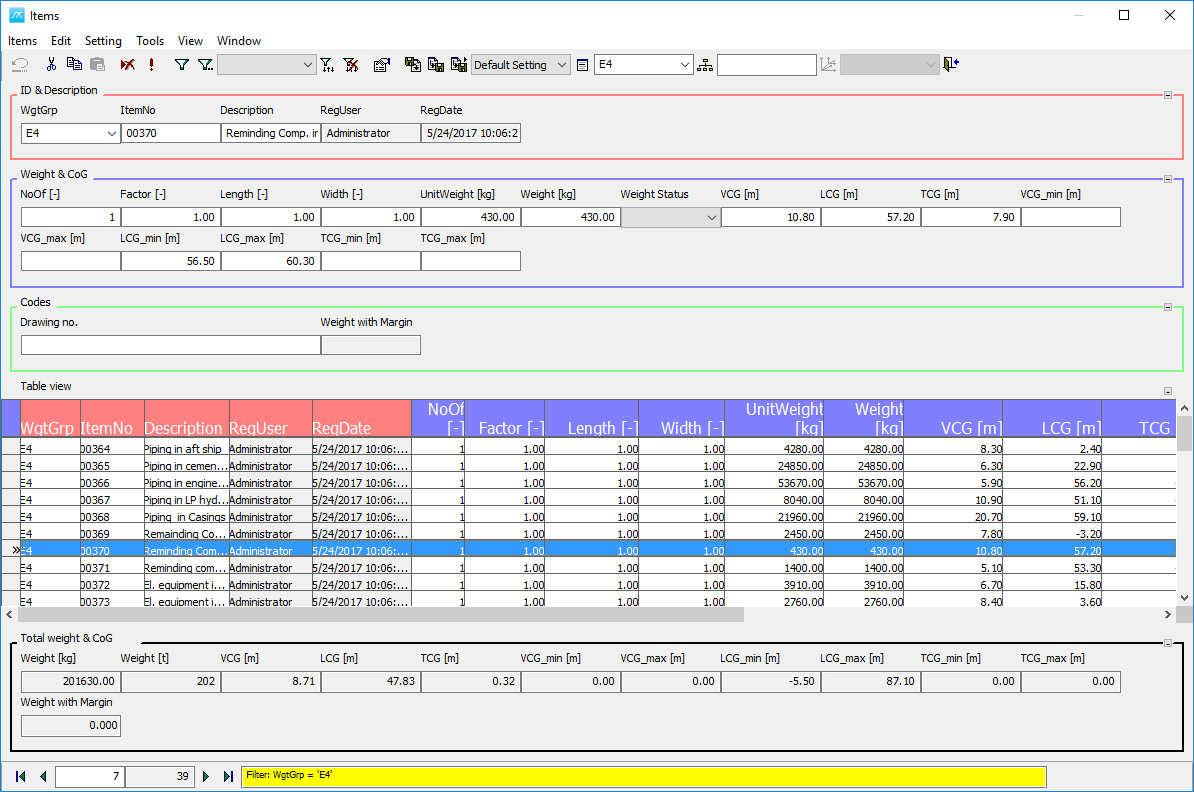
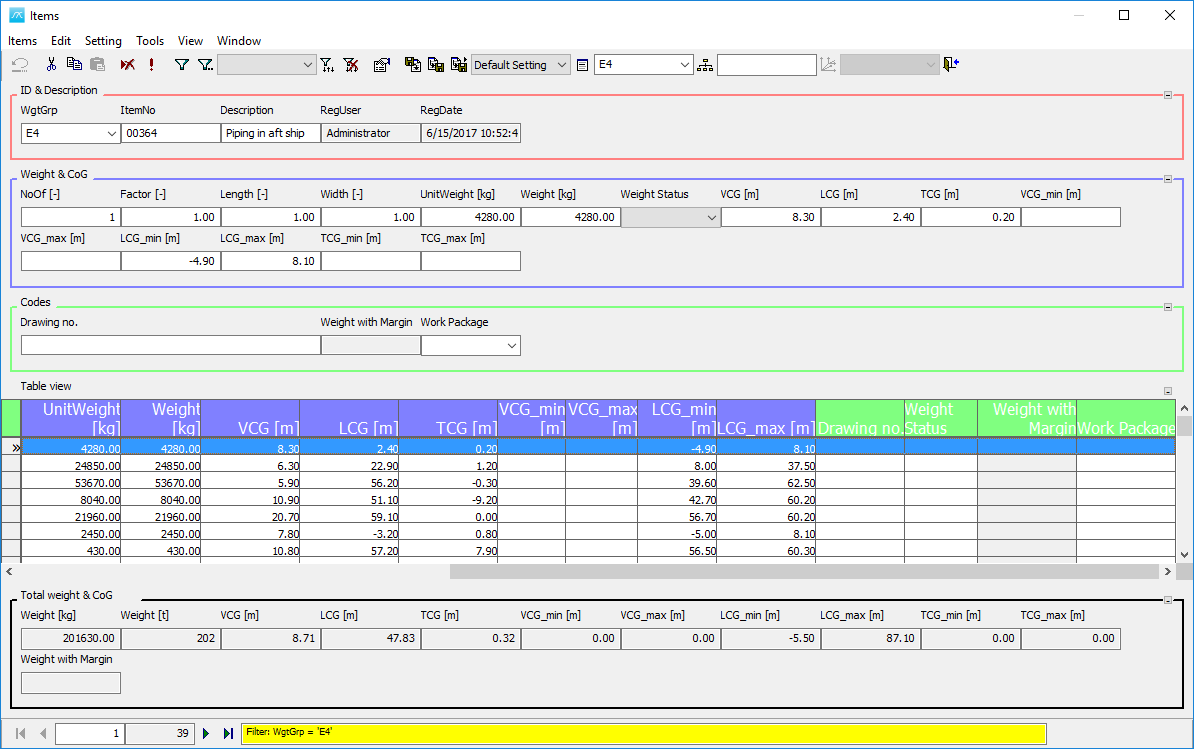
To do this we need to select items in the live database, mark them with the work package and check them out. So, open up the live database:
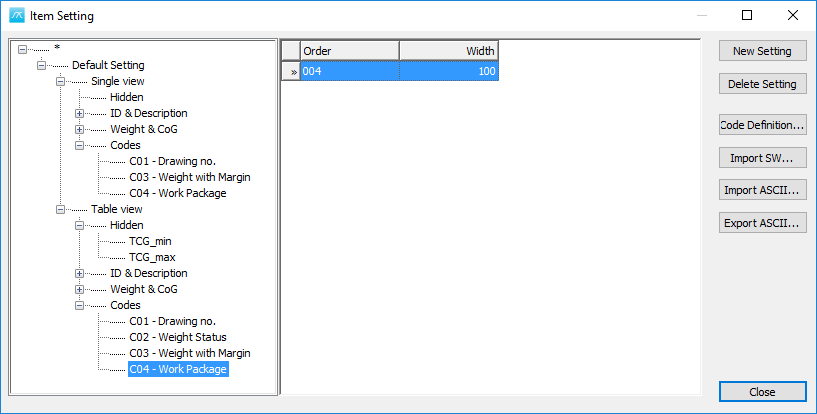
The Work Package column should already be visible in the Table view area. If it is not visible, then it means it is hidden and needs to be moved from Hidden to Codes in the Item Settings window. So, open the Items Settings window from Setting menu -> Item Settings… and expand the single and table view Hidden folders:

Because C04 – Work Package is hidden, we need to drag and move it to Codes folder:
Now press Close. You will notice that the Work Package column has been added in the Table View:
Select all of the items in group E4 using Ctrl A

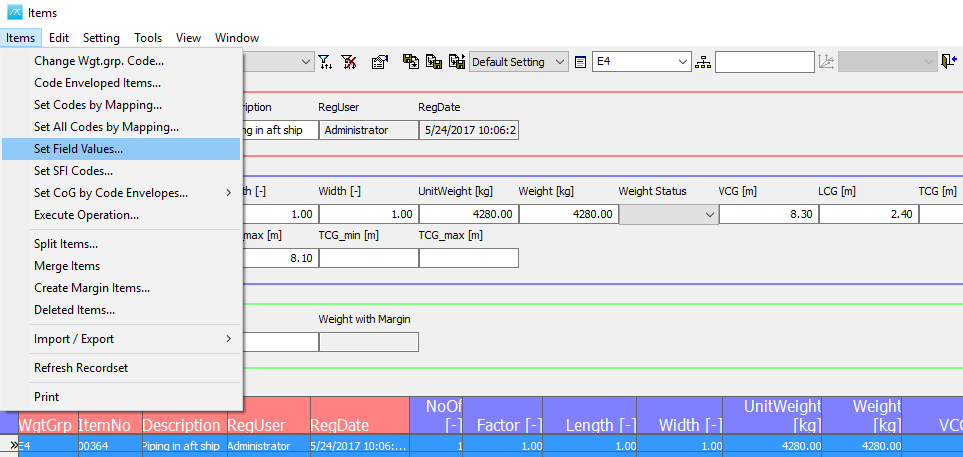
and go to Items menu and select Set Field Values…
The Select field type window will open:
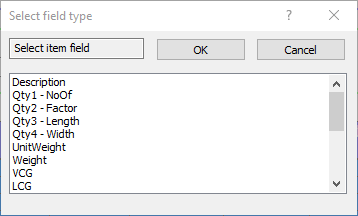
Select C04 – Work Package:
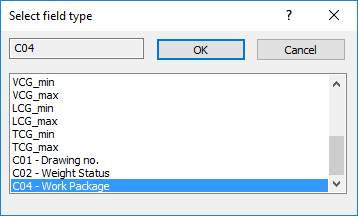
And then press OK.
The Select code window will appear:
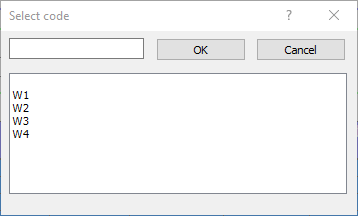
Assign all of this to W3 code to group the items:
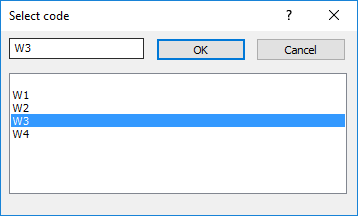
And press OK.
Now, if we scroll to the right, we can see the work package, we have W3 for all items from E4 group, and they are still in the live database:
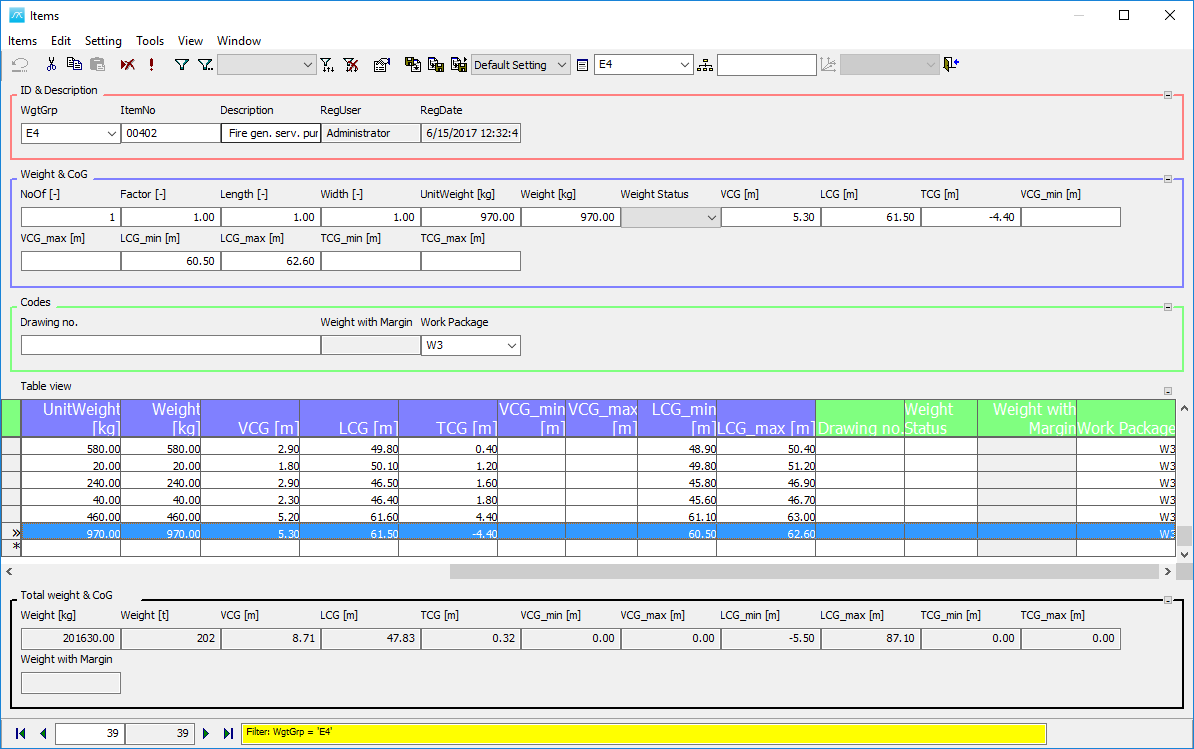
To get these items into the playground area, we need to check them out.
Go to Items menu and select Worksets…
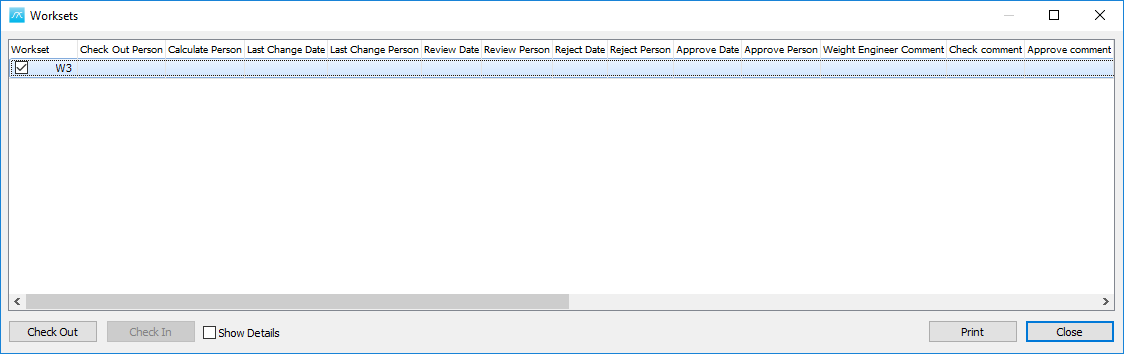
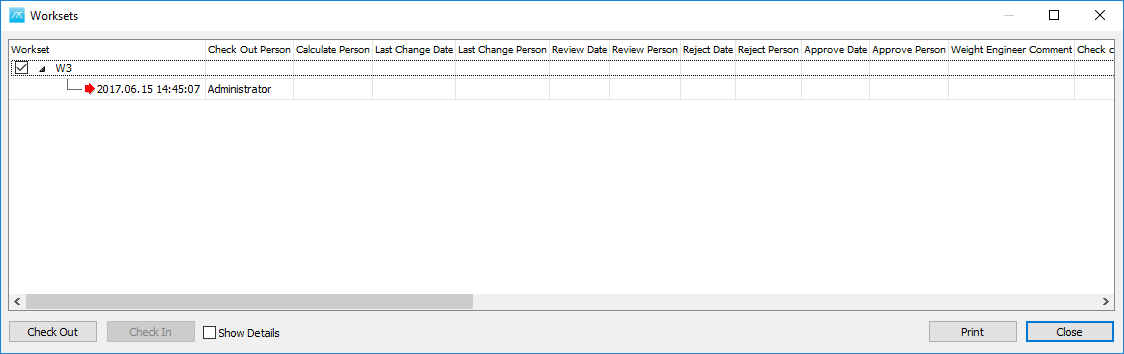
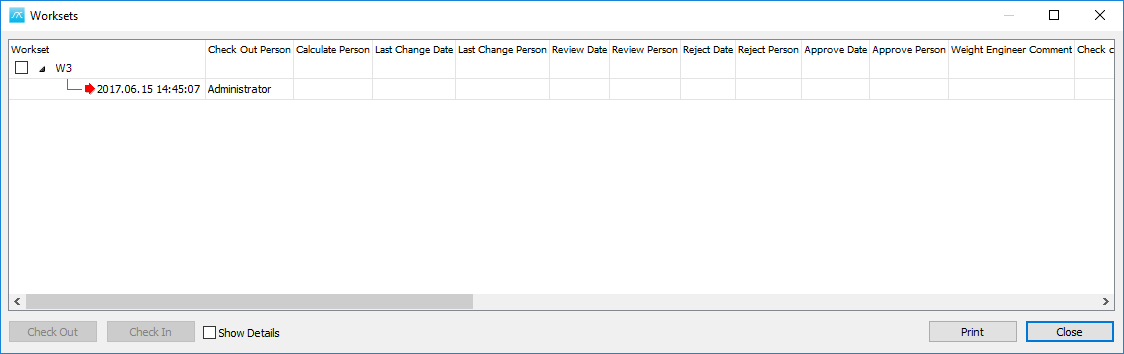
The Worksets window opens:

Now to check out the items market with W3, in the Worksets window select W3 and press the Check Out button:
The following message will be displayed:
Click OK. Now we can see we have a new line with a red arrow which indicates that items with W3 have been checked out:
Close the Worksets window.
These items are still existing in the live database (Items window), but also a copy of them have been moved into the Playground area.
Step 7: Make your changes to the weights in the playground area!
For example delete one item, by using right click and Delete option:
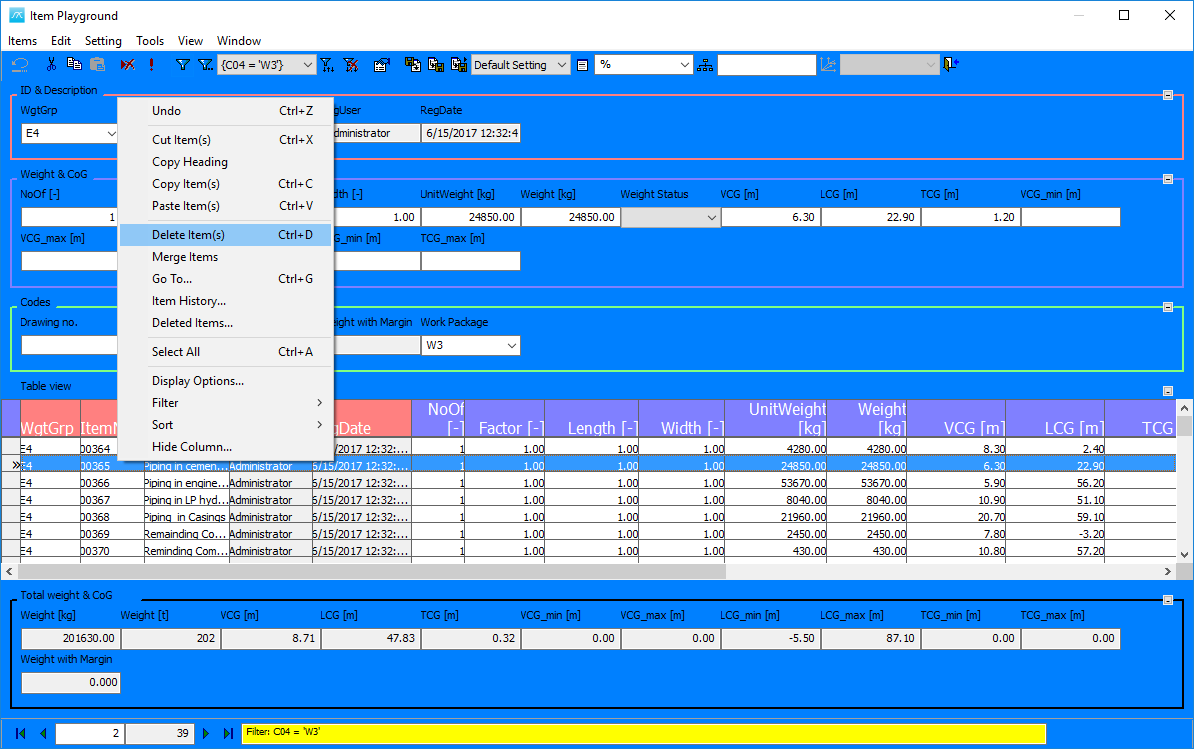
You will be asked the following:
And click Yes.
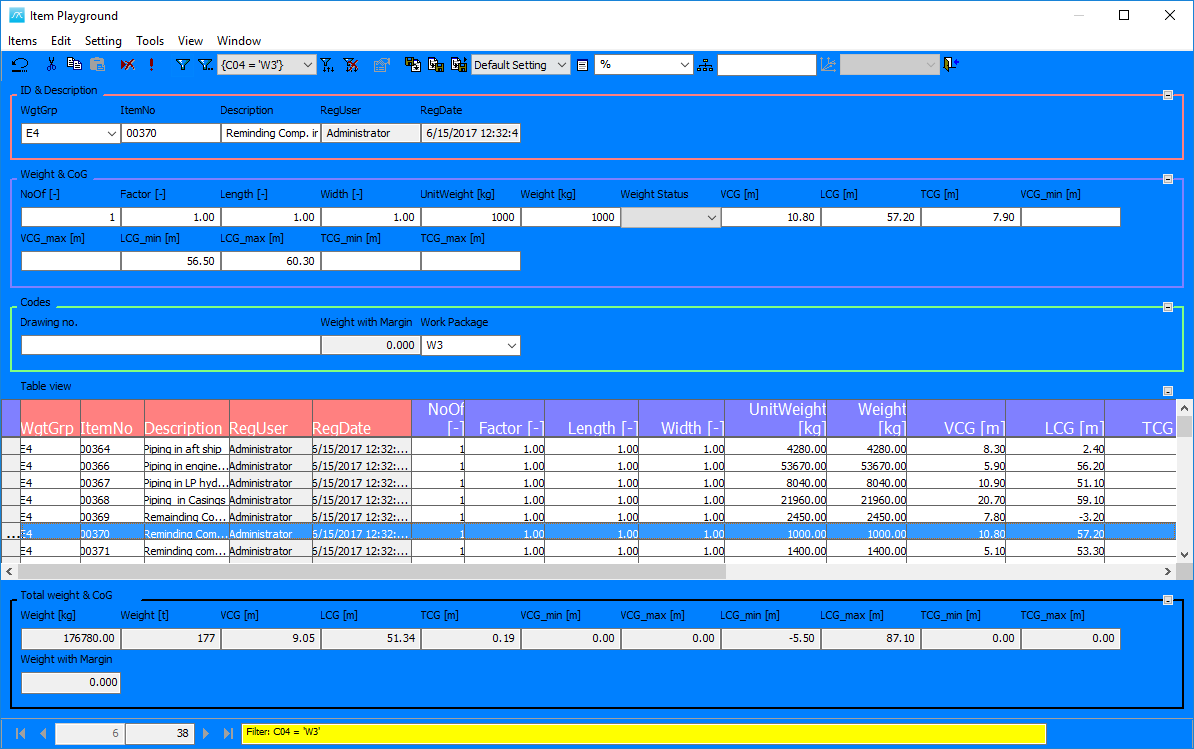
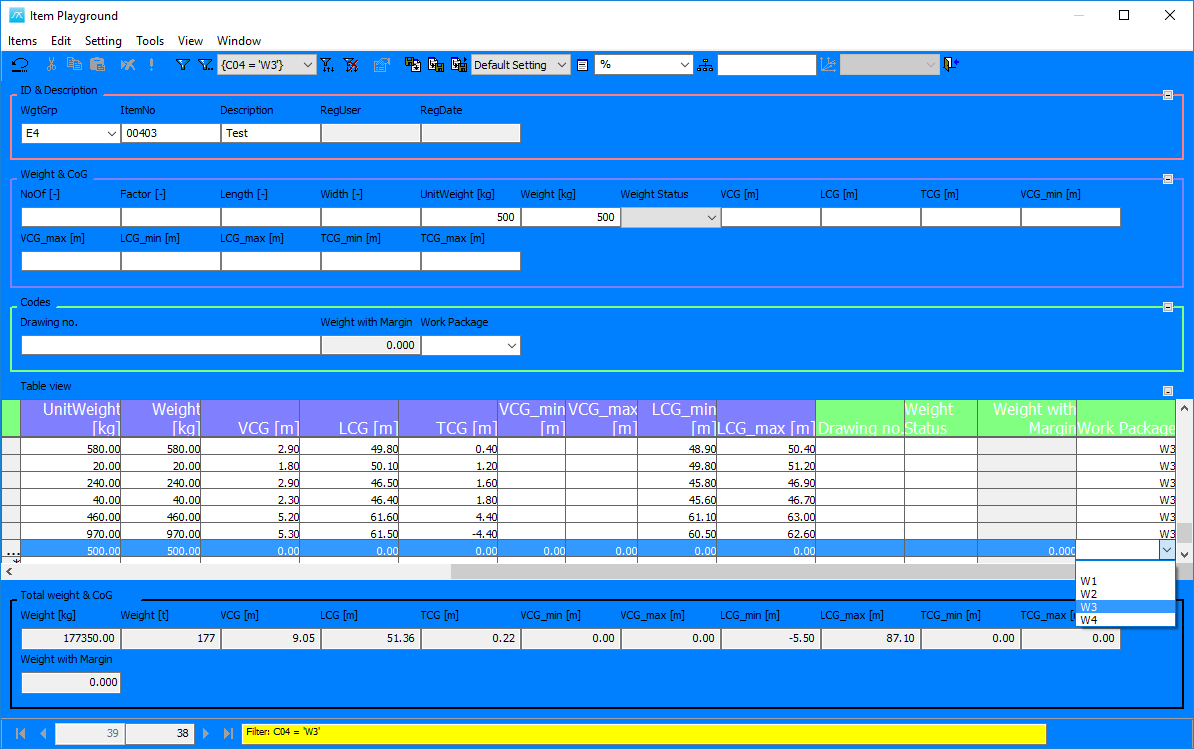
You can also change the UnitWeight for one item, for example:
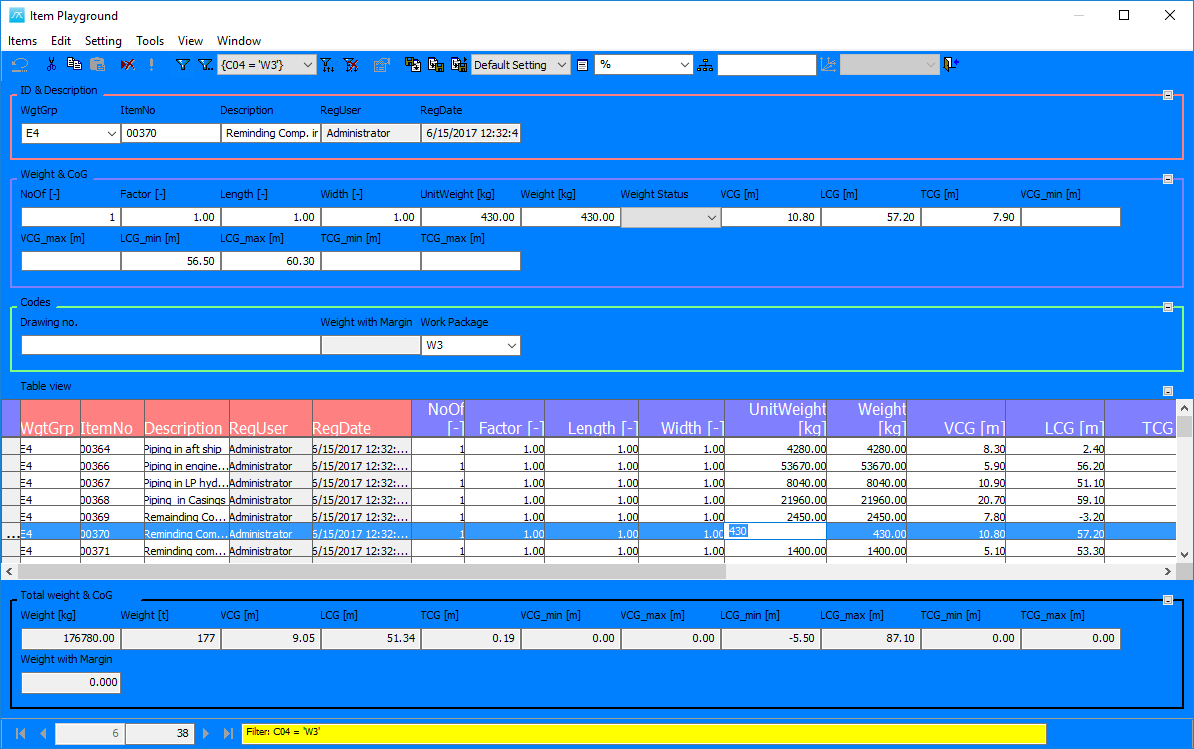
For item no 00370 instead of 430 for UnitWeight, type for example 1000:
Or add a new item:
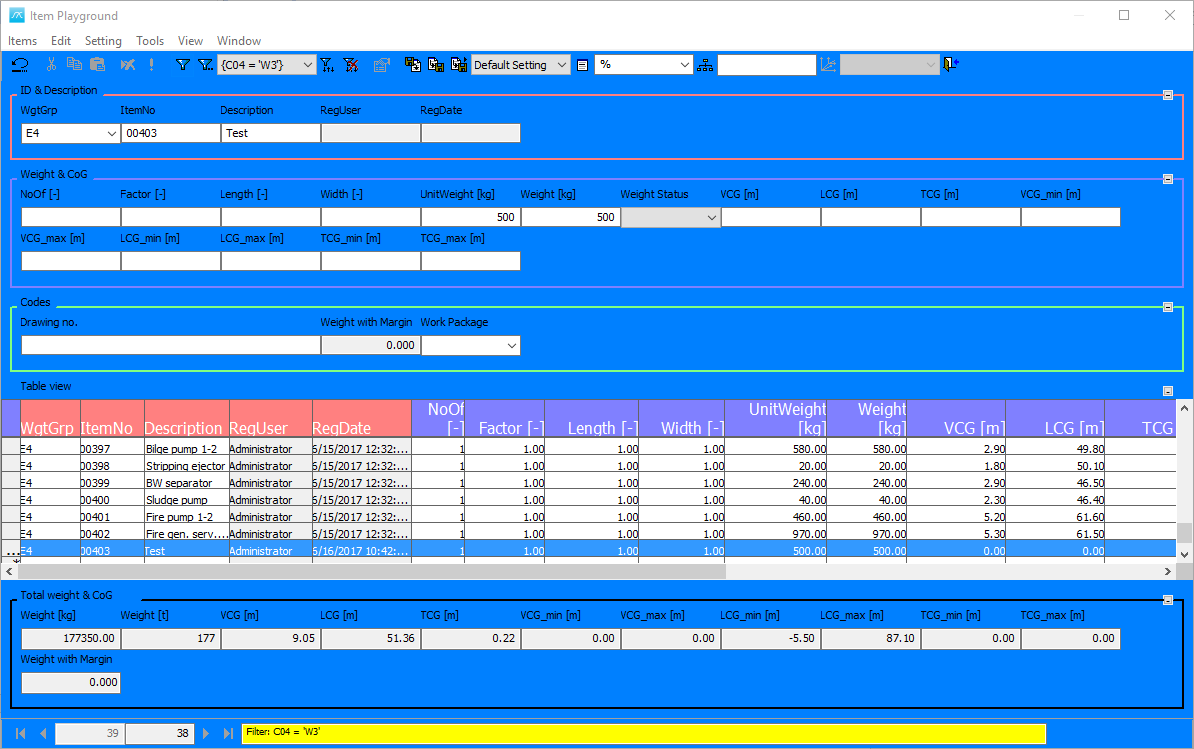
After we added the new item, we also need to assign it to the work package. So go the Test item line, to Work Package column and select from the list W3:
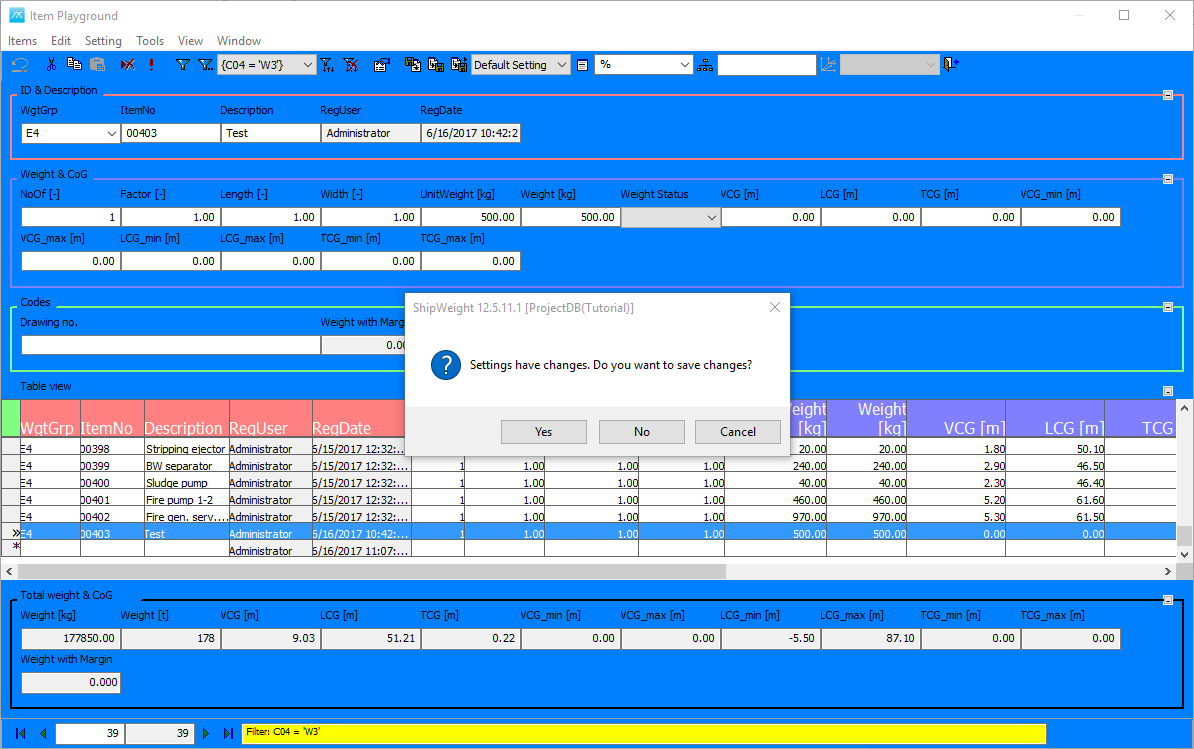
Close the Item Playground window and save.
Step 8: Validate the change in the net change window!
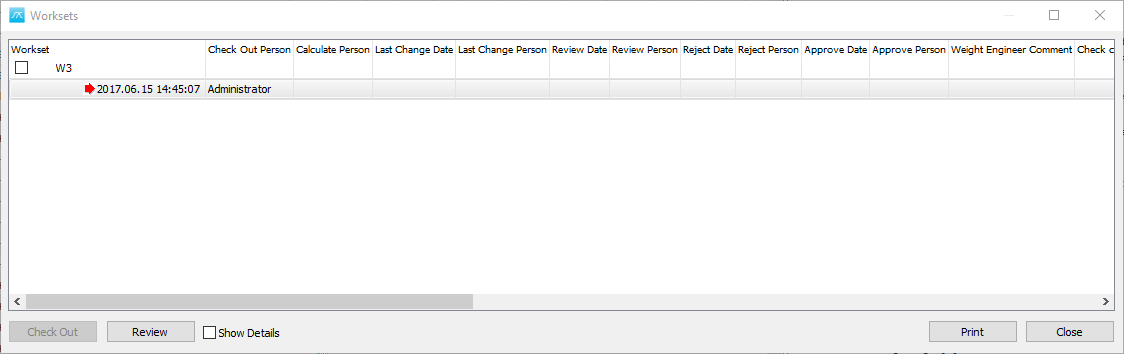
Now we can go and check in the net changes. Go to Items menu, then Worksets…
Click on the red arrow, which represents the items that we checked out and click the Review button.
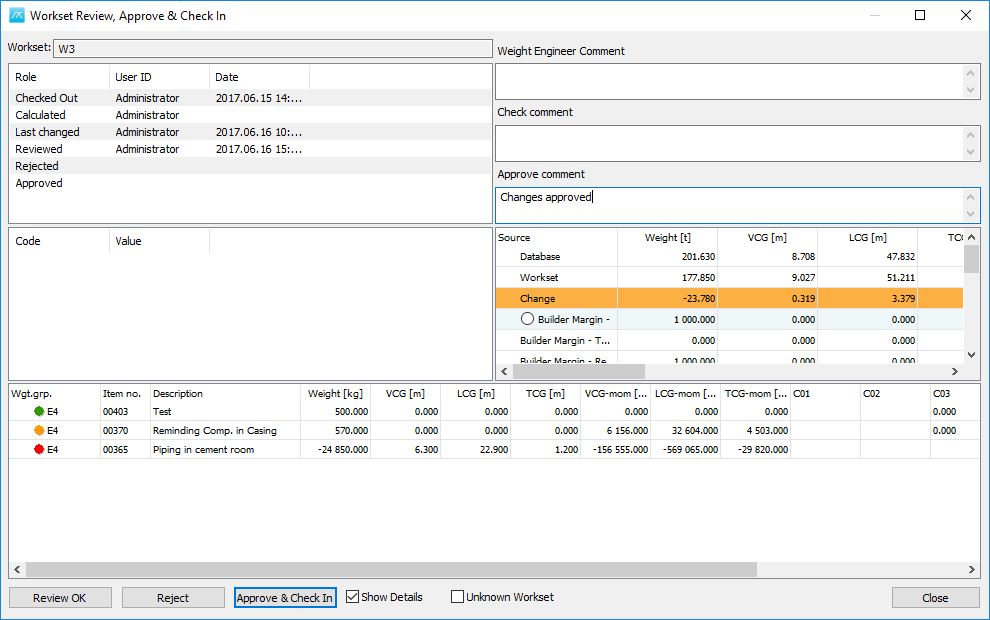
Once Review button has been clicked, the Workset Review, Approve & Check In window will appear:
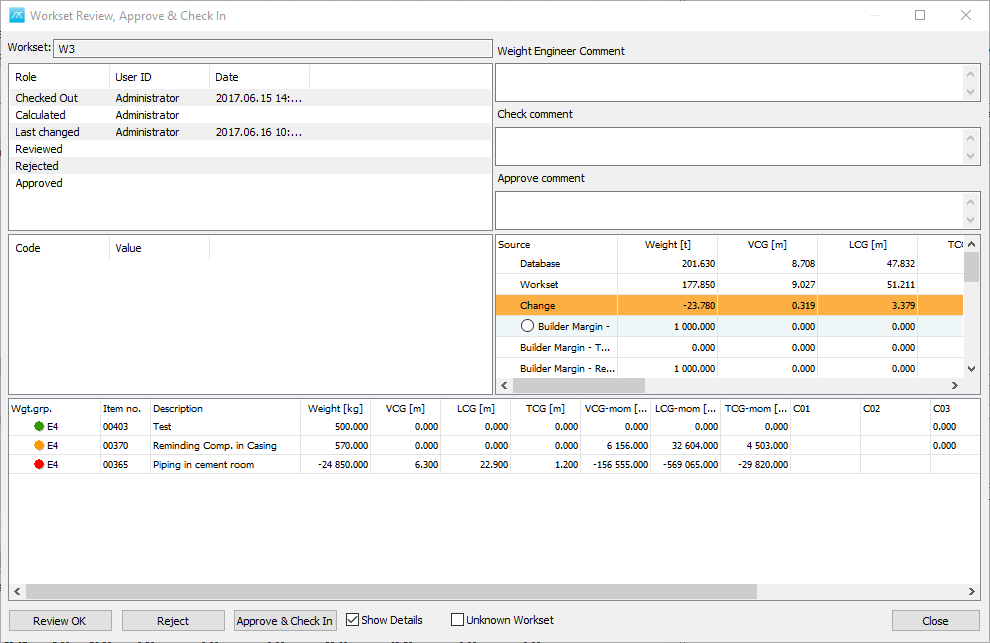
In this window we can see the net changes that have been done to the workset.
In the upper level, it can be noticed the User ID detail, who checked the workset out, and the date, also who is the last person that changed it.
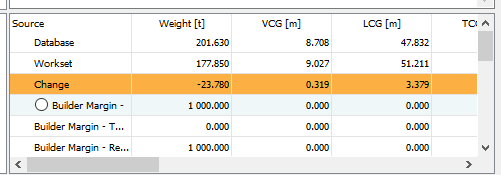
Also, the net overall changes can be seen here:

Also the detail changes, under the overall changes:

From the detail changes, we can see a new item (Test) has been added. The green circle means it is a new item.
Orange circle indicates that the item had some changes to it.
The red circle means that the item has been removed.
Finally, the net change of all these items is shown here, in the orange line:
Step 9: Review, Accept (or Reject) change
Now to approve this click Review OK.
If the results are not satisfactory click Reject.
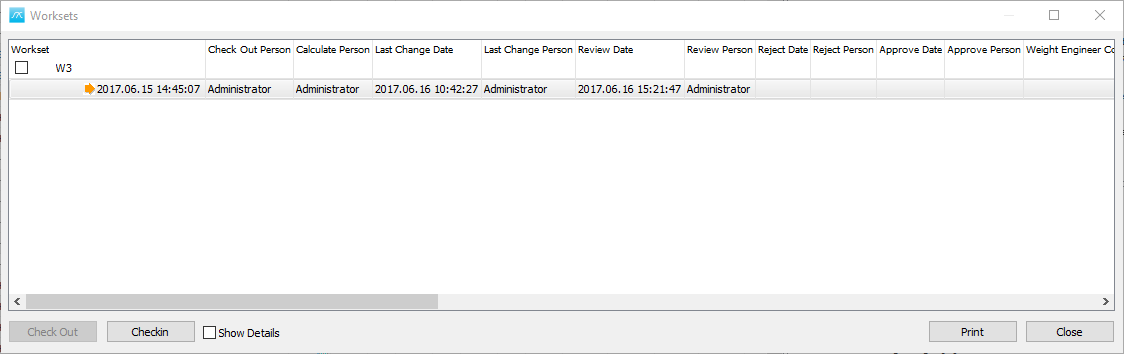
If we click Review OK, and close the window, we will see the arrow changed from red to orange, meaning that this has now been reviewed ok, but it has not yet been checked in.
So, no changes has currently been done to the live database. To make the changes effective to the live database, select the orange arrow and click Checkin button:
And the Workset Review, Approve & Check In window will open:
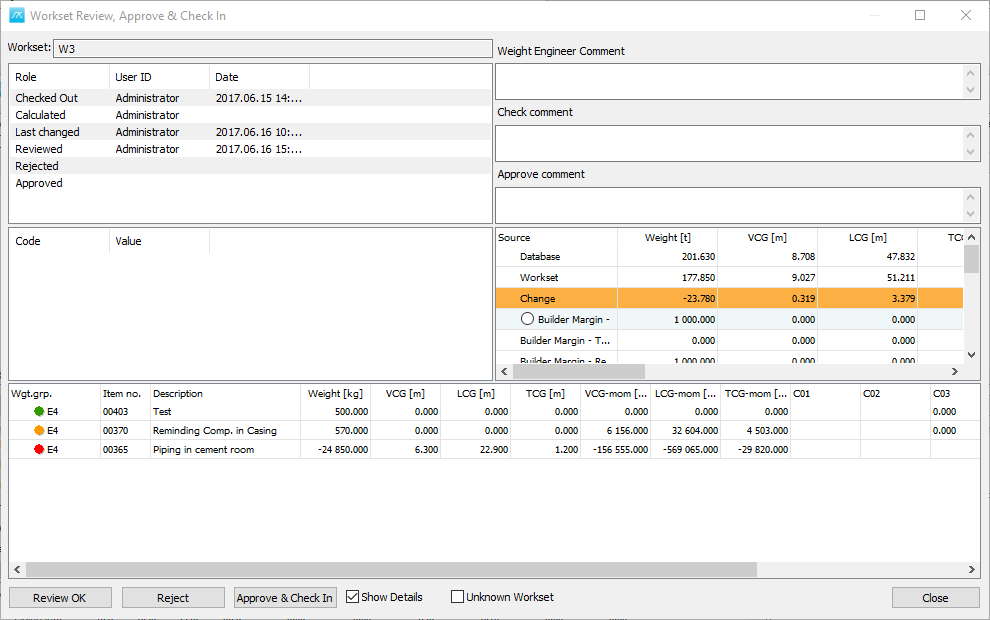
Step 10: Approve and Check In Workset
Give an approved comment:
Net change must be assigned to a margin:
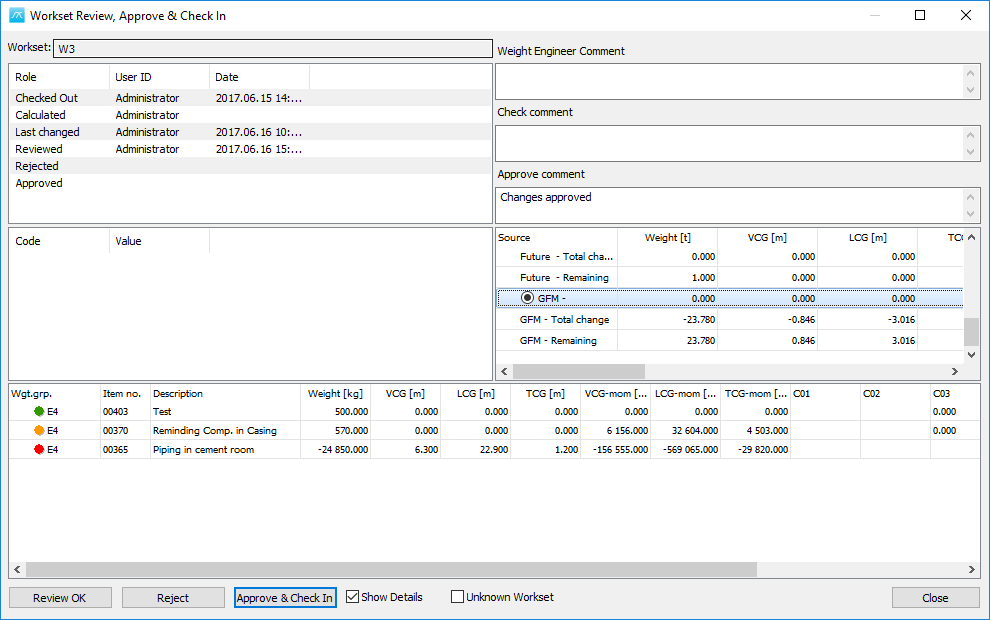
Then select Approve & Check In button. 40 items checked in:
And the orange arrow become green:
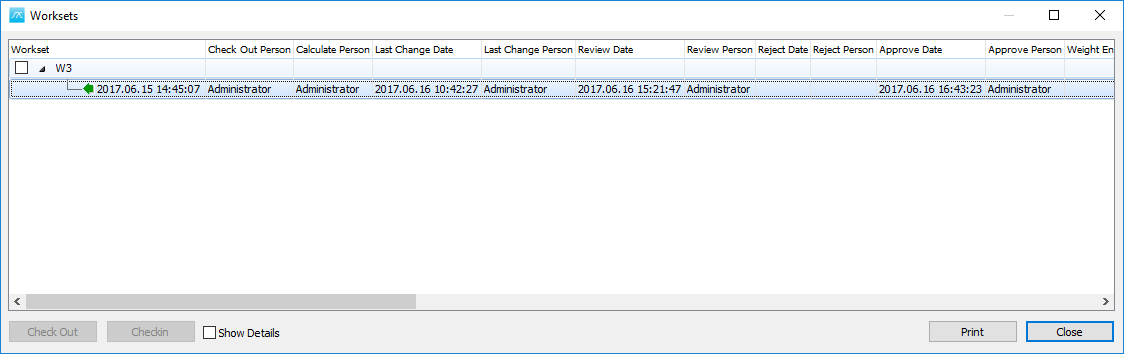
Now close the workset window. Then open the Playground area. It is empty, the items have been checked in.
And the live database has been updated with the changes done in the playground area.