Below, the following QA methods will be shown:
•Find duplicate weight items
•Checking for extreme values
•Compare function
•Code Envelope Check
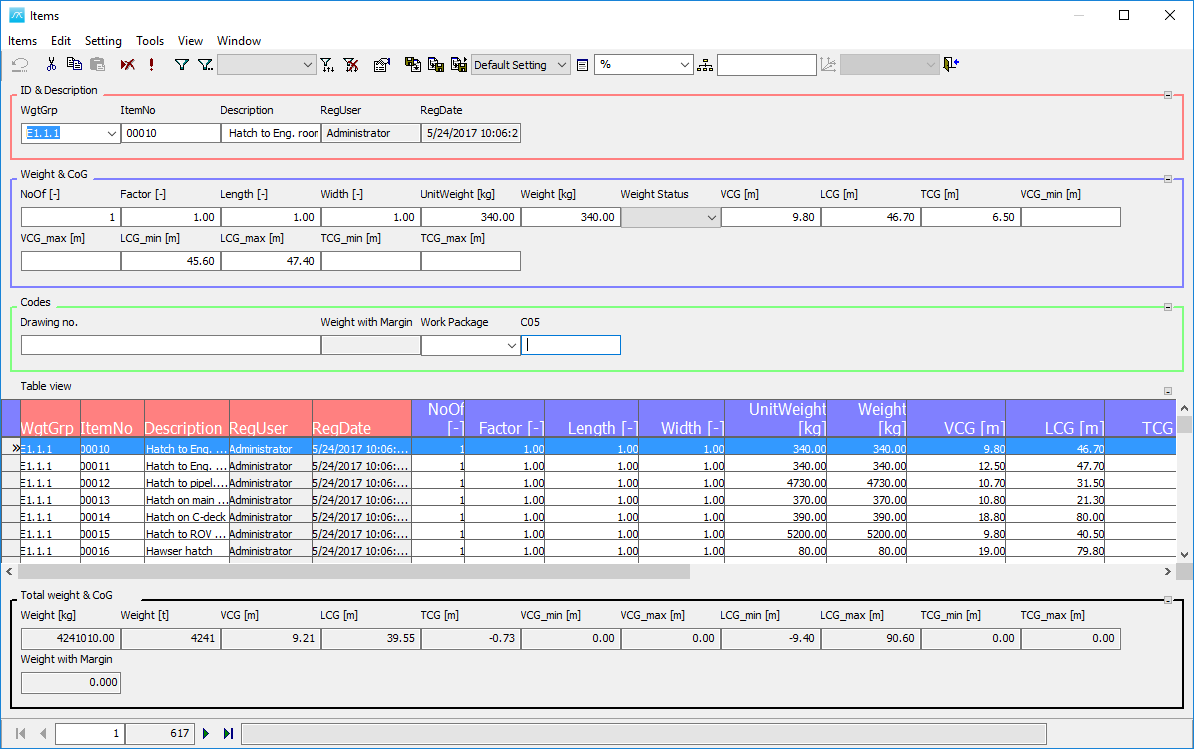
Open up the items window to see all items:
On the Tools menu choose Find -> Identical Items…
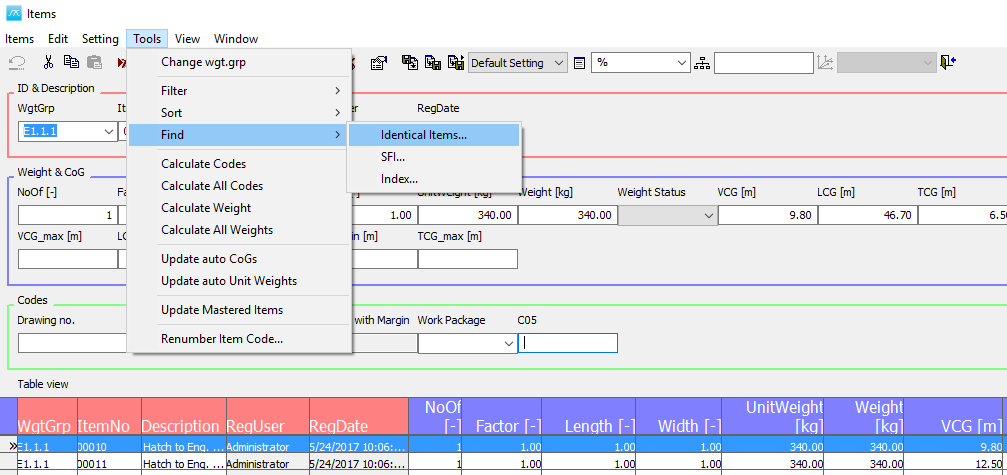
This will bring up Find Items window to help you find identical items:
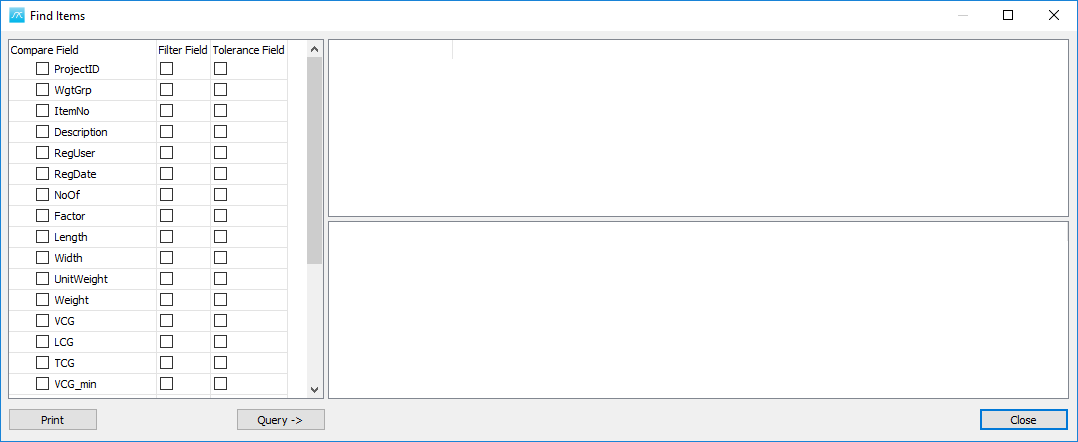
The combination of weight group and item number has to be unique in ShipWeight, so you are not allowed to enter any items with the same combination of weight group and item number. So, that is the first way to prevent duplicate items going into the database.
There can be errors that make duplicate items going into different items number and different weight groups, so you can use this tool to detect those.
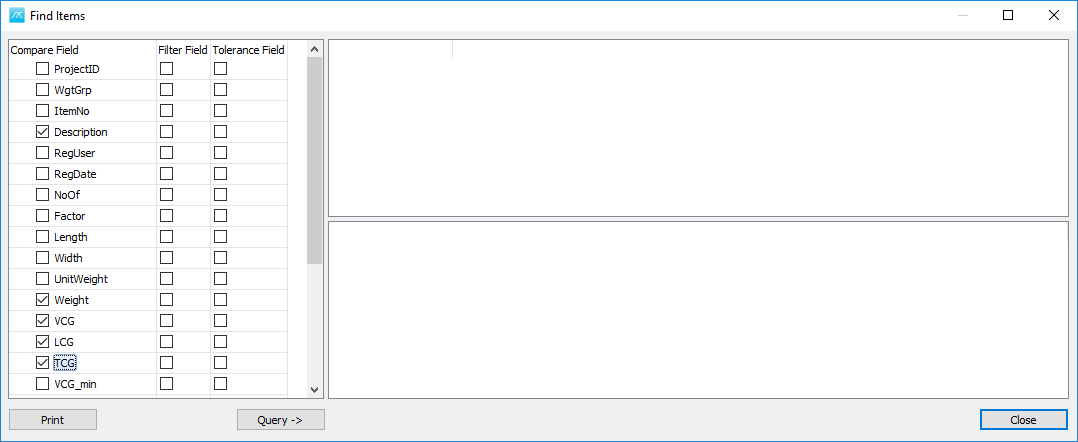
Firstly, the user checks the boxes next to the Compare Field. For example if we want to find any items in the database that share same Description and Weight:
Then click the Query button, the window is going to search through the database:

On the right side we can see several instances with items that share the same Description and Weight:
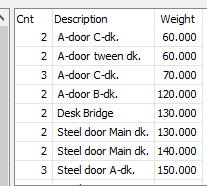
And if we click on the first one, then we get the details under:

The detail shows that weight group E3.3.1 contains two items (00214 and 00217) with the same Description and Weight.
Step 2: Check for Extreme Values
Another typical mistake is entering in wrong CG or Weight, by for example putting in mm instead of meters, or somehow else getting some extreme value.
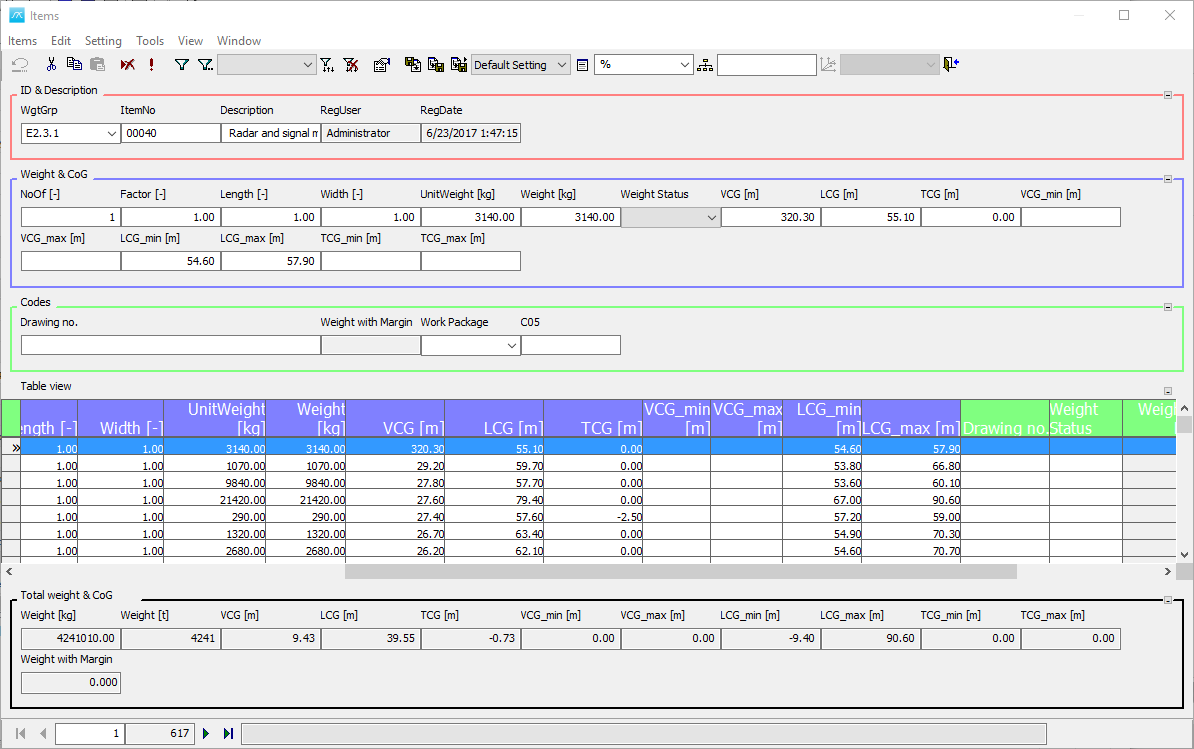
The easiesnt way to check is by going into the Items window, make sure you are listing all items:
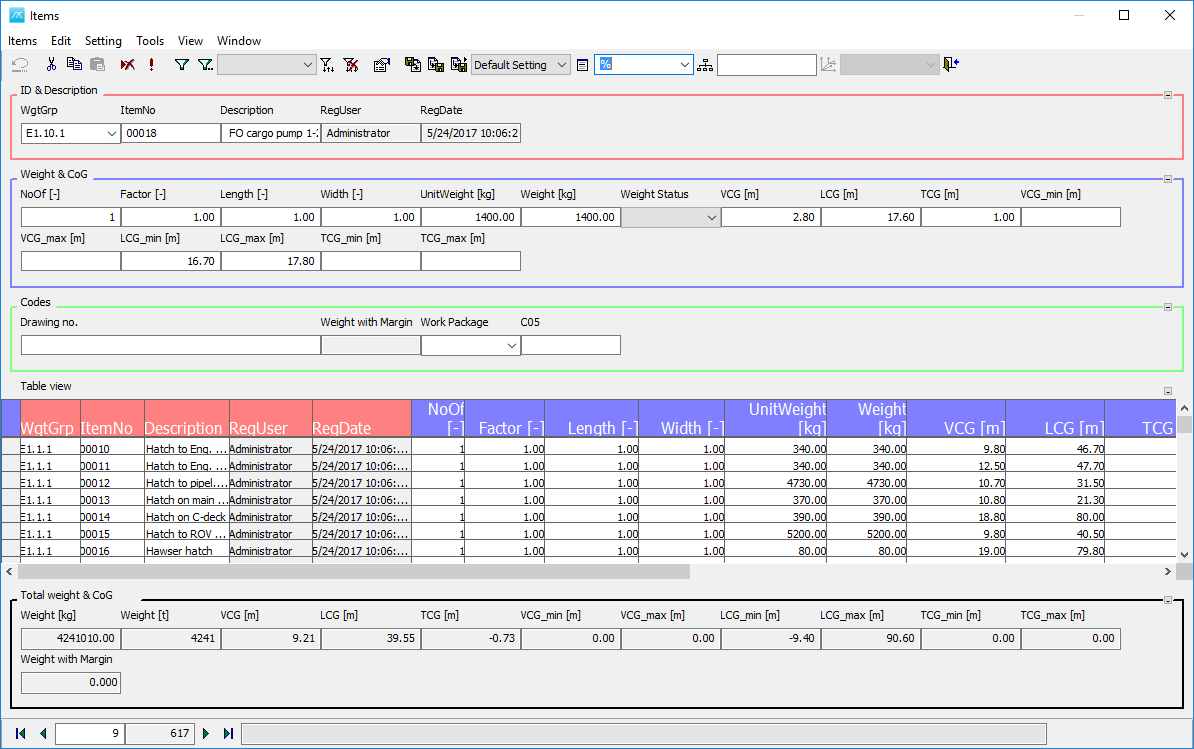
Then go to the Table View, and click on the headers to sort. For example, go to TCG column and click once on the header. It’s going to start with the lowest TCG value
-11.4:
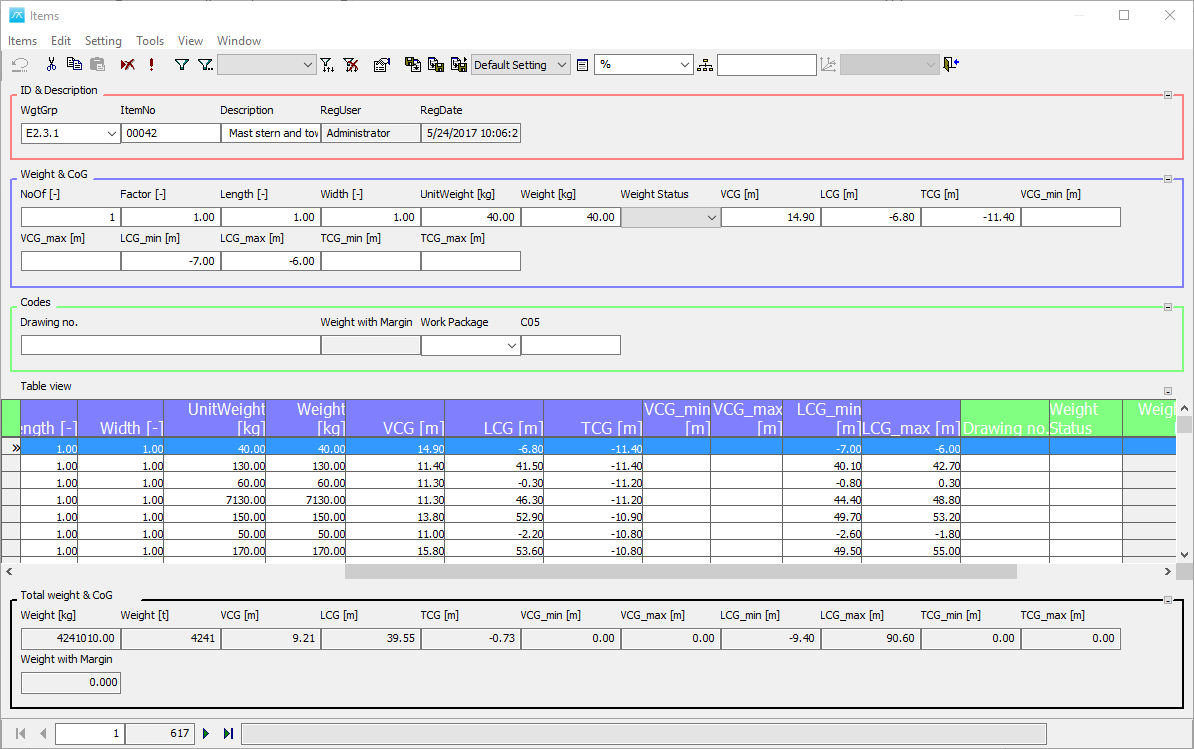
If we click again, the largest value will be the first one displayed:

So, here is a typical mistake, when someone entered millimeters instead of meters.
So it is very easy to find the extreme values, by clicking on the header.
Now we can just go and correct the value, by putting the decimal:
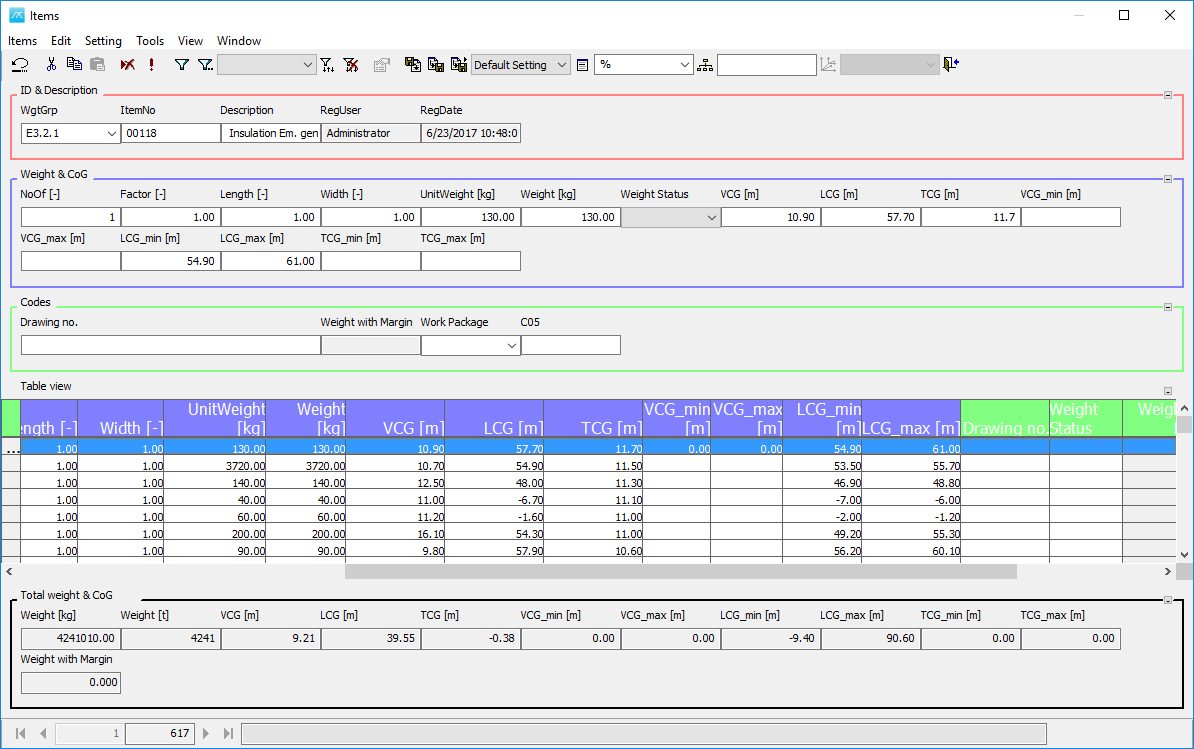
And we can also do the same procedure to check the LCG and VCG.
We can notice the VCG value is also not introduced correct, and we will show you another way to find the extreme values.
Another way to discover errors is to compare on the weight group level.
Close the items window.
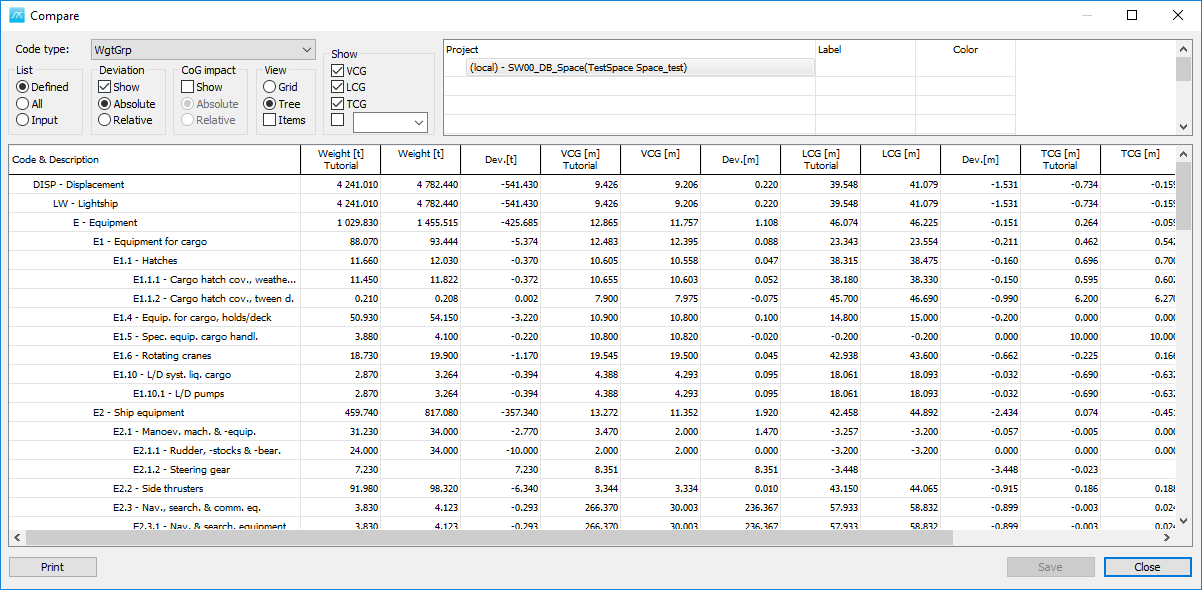
Step 3: Compare Projects at Weight Group Level
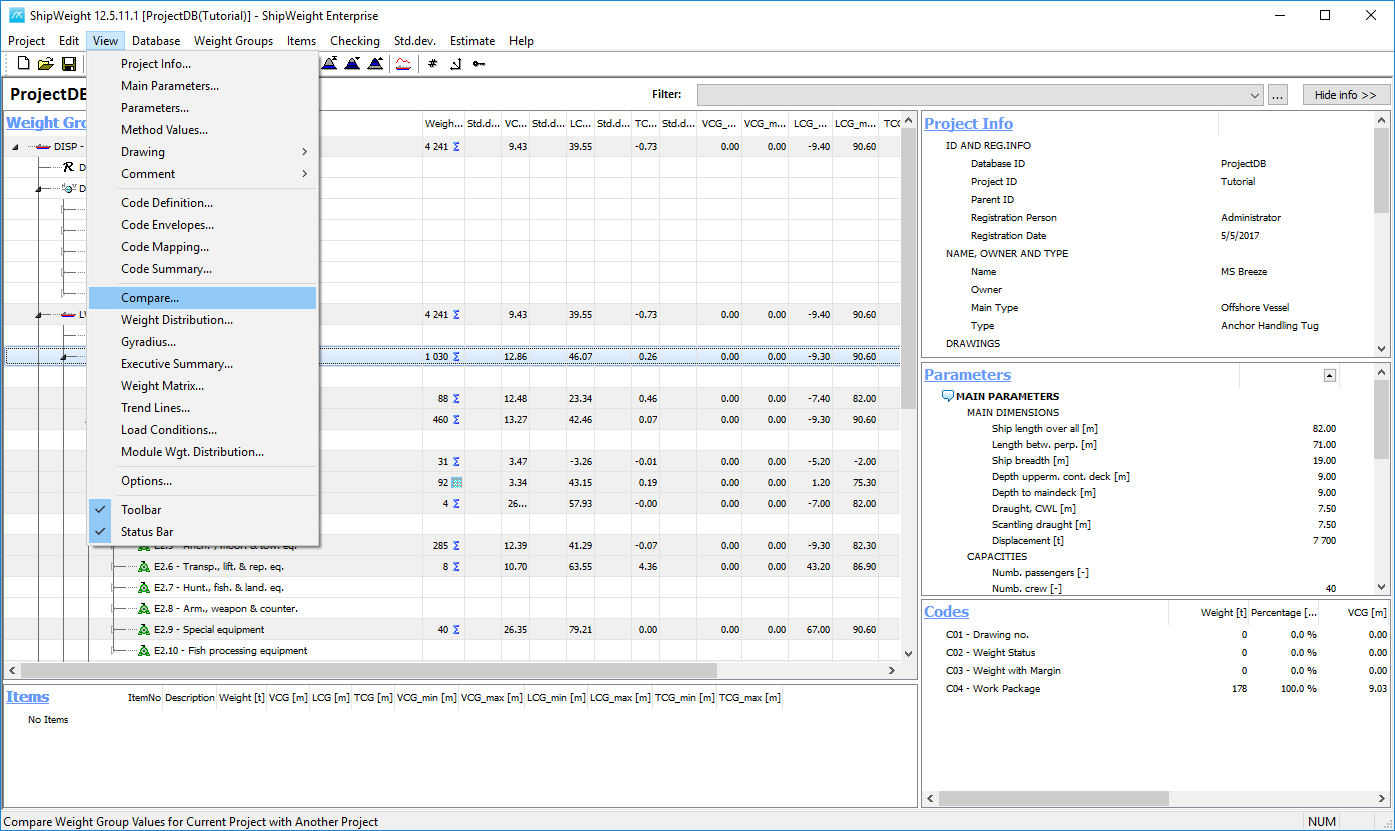
This brings up the Compare window:
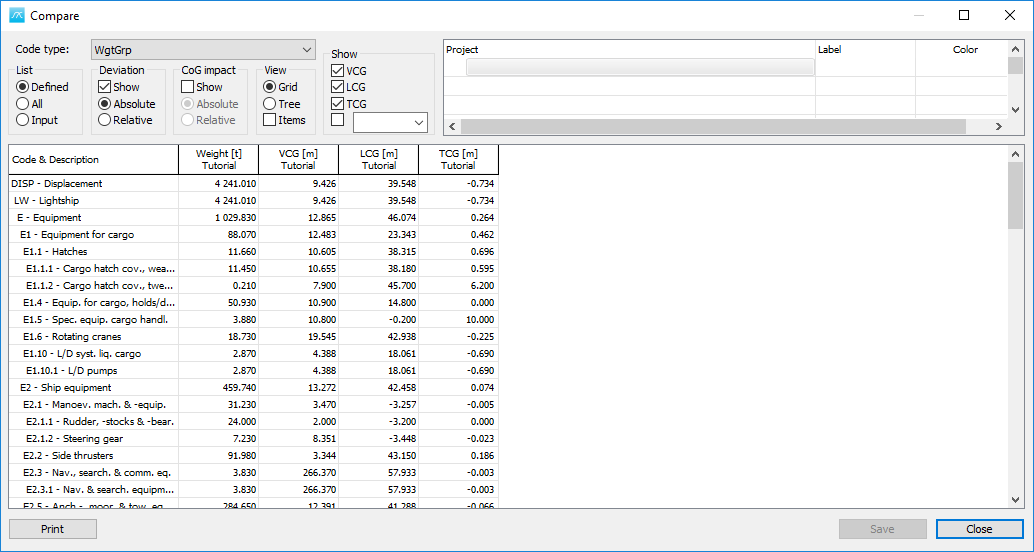
Which will show the Weight, VCG, LCG and TCG. It is sorted by hierarchy, and you can add previous revisions or previous projects in the upper right area, and compare values on the weight group level.
To add more projects, right click in the Project area and select Set Project Database…:
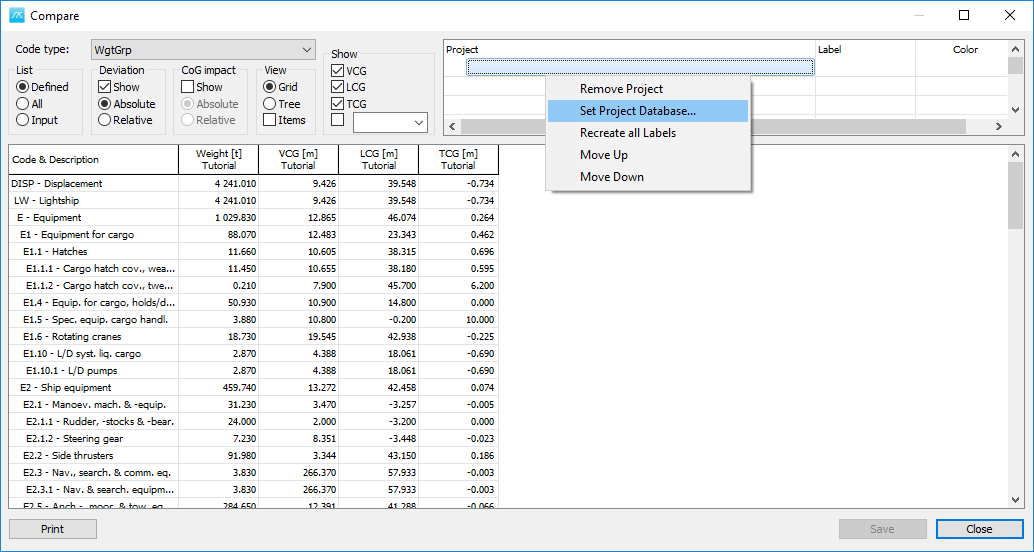
The Open SQL project window will open. For example, SW00_DB_Space database and TestSpace Space_test project ID:
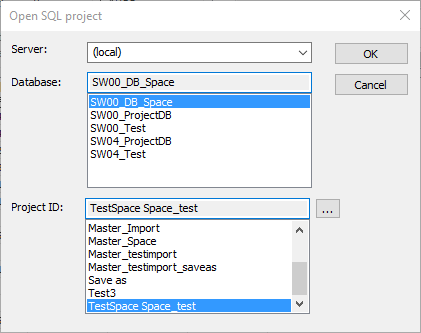
Then click OK.
Now it will show the values for the weights and center of gravity for the current project compared with the weights and center of gravity values for the selected project:
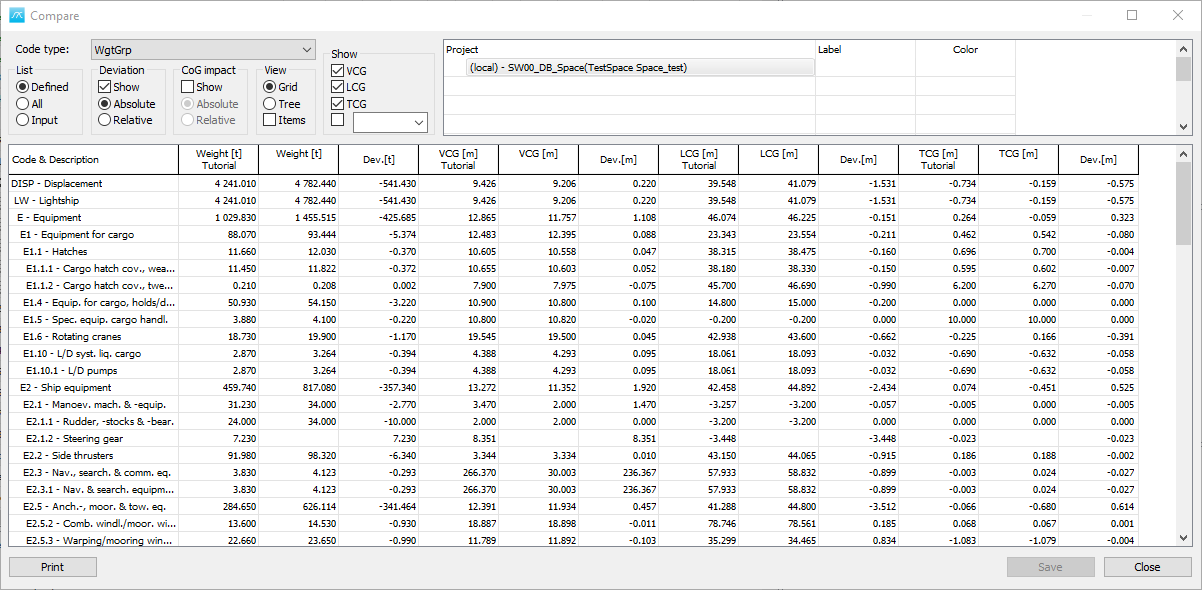
By default is sorted by Absolute deviation, and obviously if you list all the hierarchy, then the agregated weight groups to top weight groups will come up on the top of the column.
To avoid this, go to List and select Input:
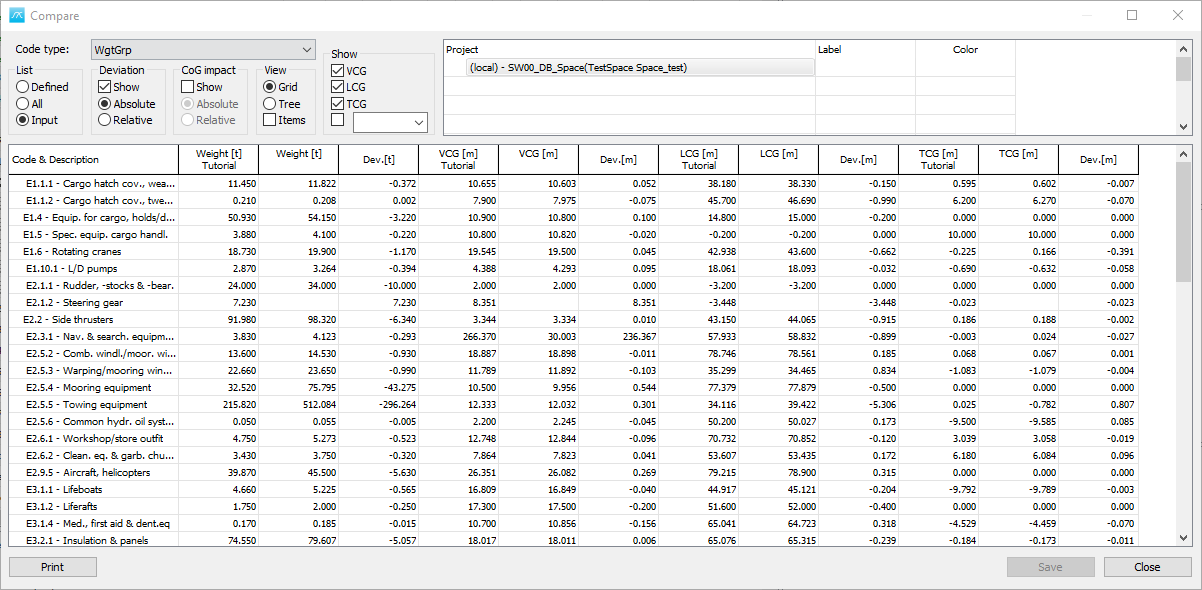
We can also sort by Relative deviation, to show which group has the largest relative deviation.
All the information can be copied with Copy Table option and paste it to excel:
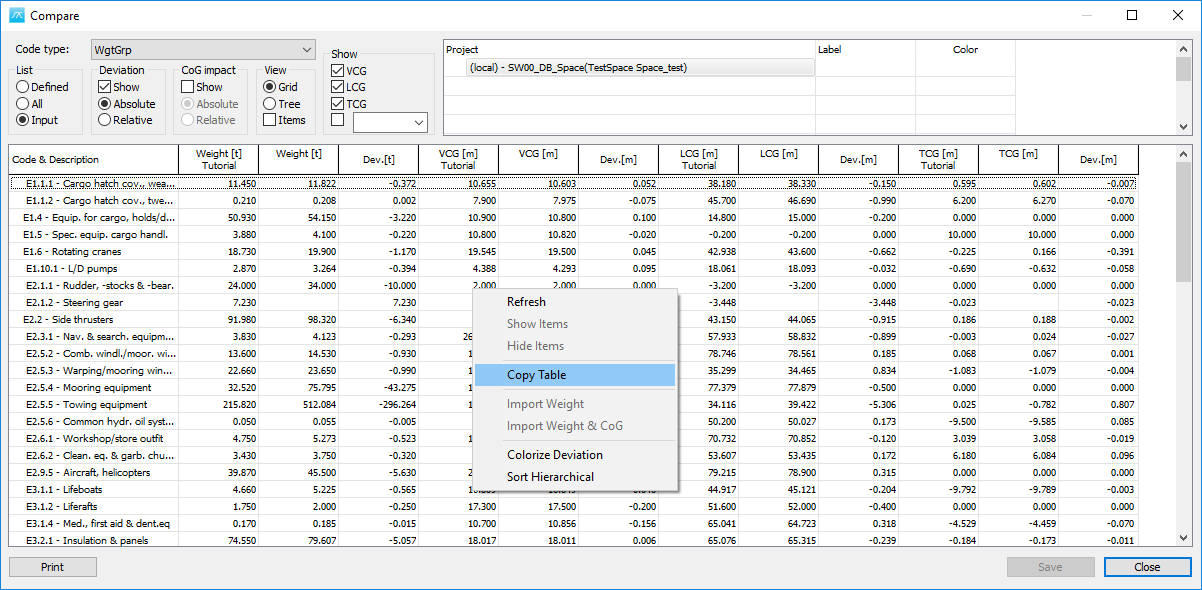
We can also print the table to make the report, by using the Print option.
You can also shift from the Grid View to the Tree view, which will show you the weight groups in a hierarchy tree.
Step 4: Run a Code Definition Envelope Check
If you have defined a custom code, for example for area:
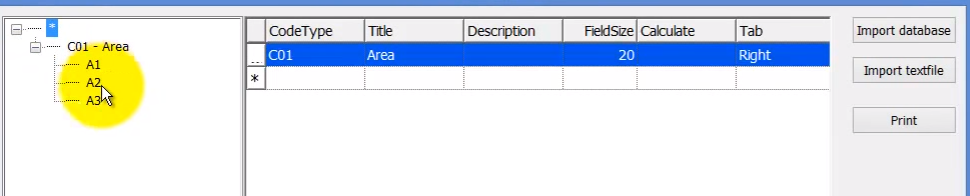
And this custom code C05 has sub areas A1, A2 and A3 (these areas have been given box limits):
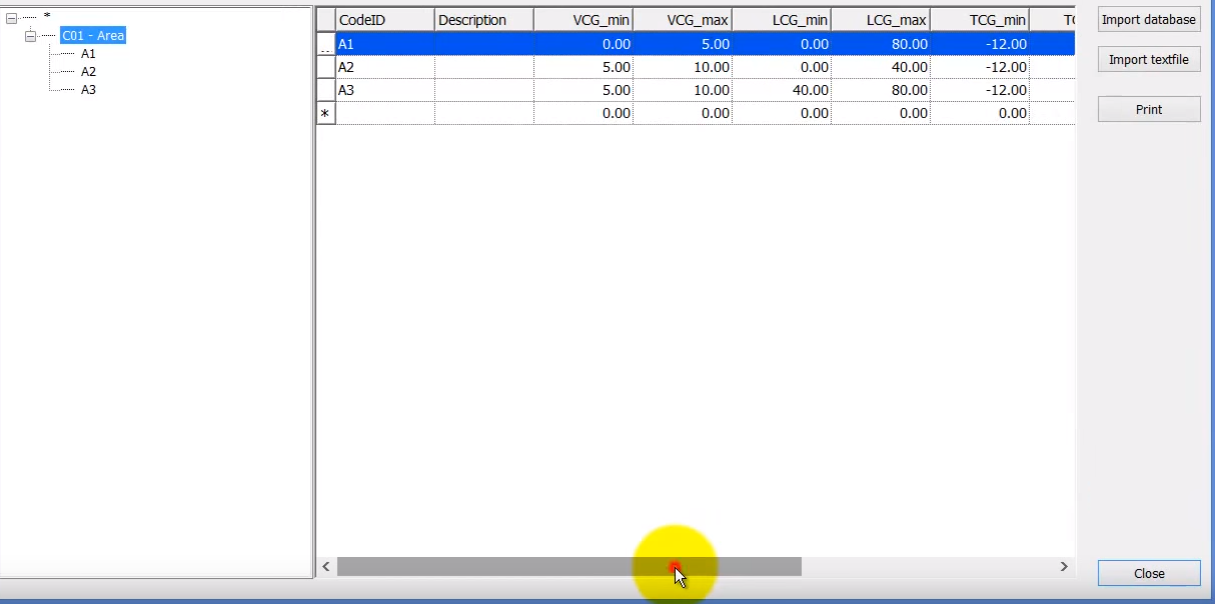
Press Close.
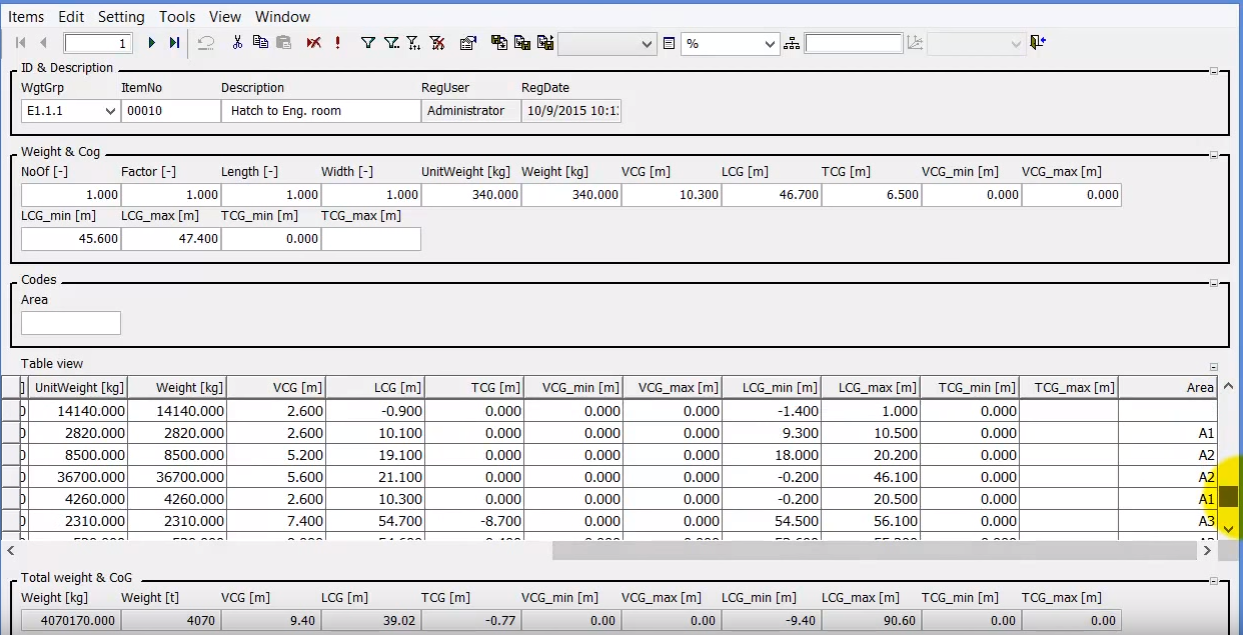
Now in the items window, Items have been tagged to various areas:
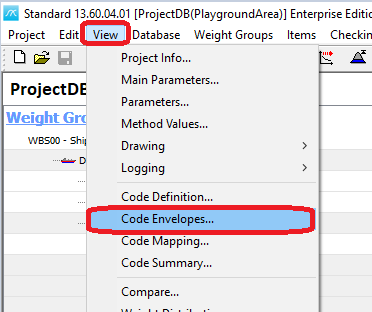
Now we can check the correctness of these in the Code Envelopes window. To open this close the item window and select Code Envelopes in the View menu.
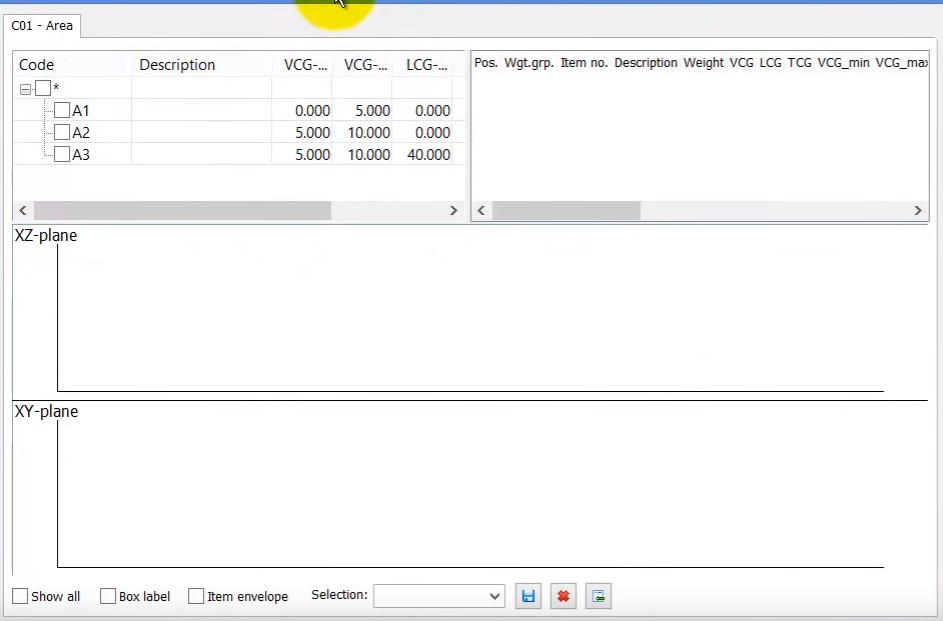
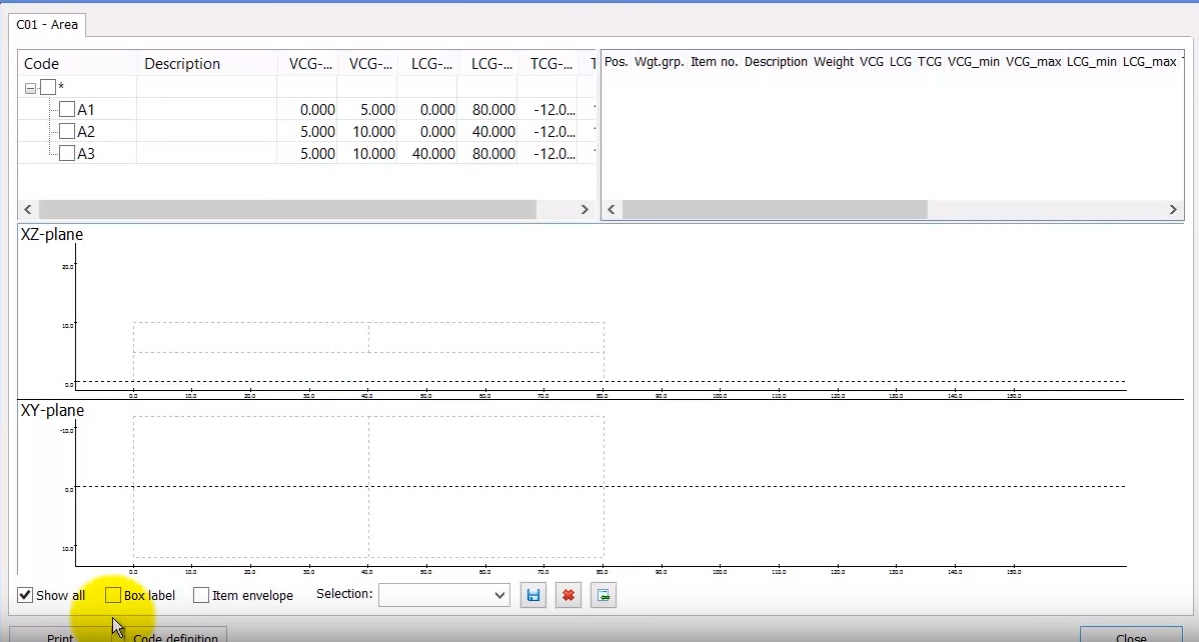
This will show the custom code. If we select Show all option, the boundaries of the boxes will be displayed.
Now check the Box label option and by clicking in A1, A2 or A3 row, various boxes will be highlighed:
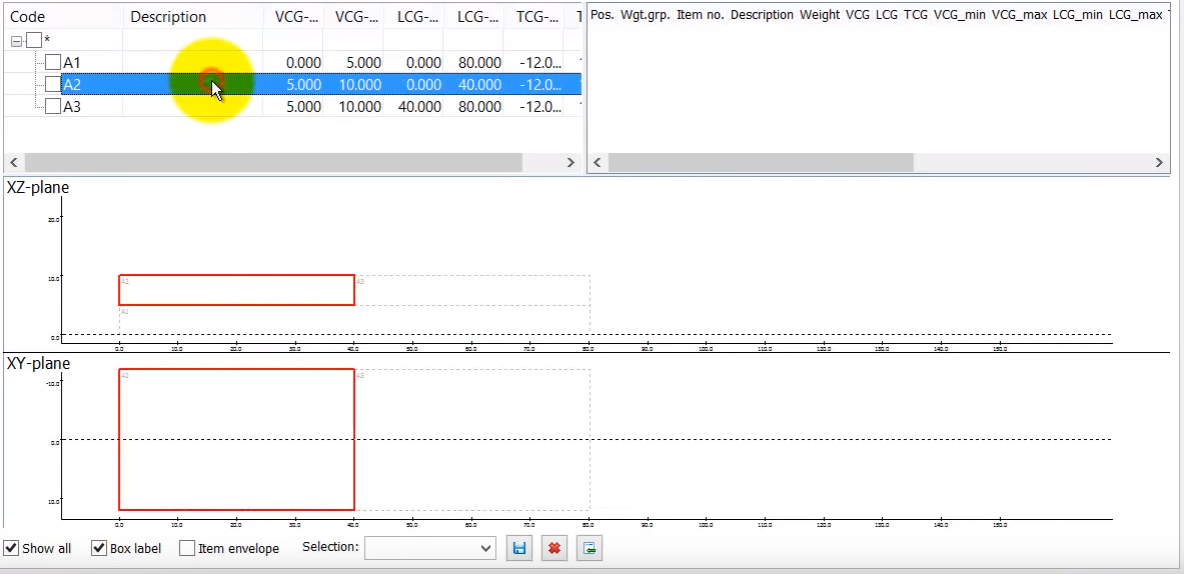
If we highlight A2 and also check the box in front of A2, all items tagged to A2 will be printed in the XZ-plane and XY-plane:
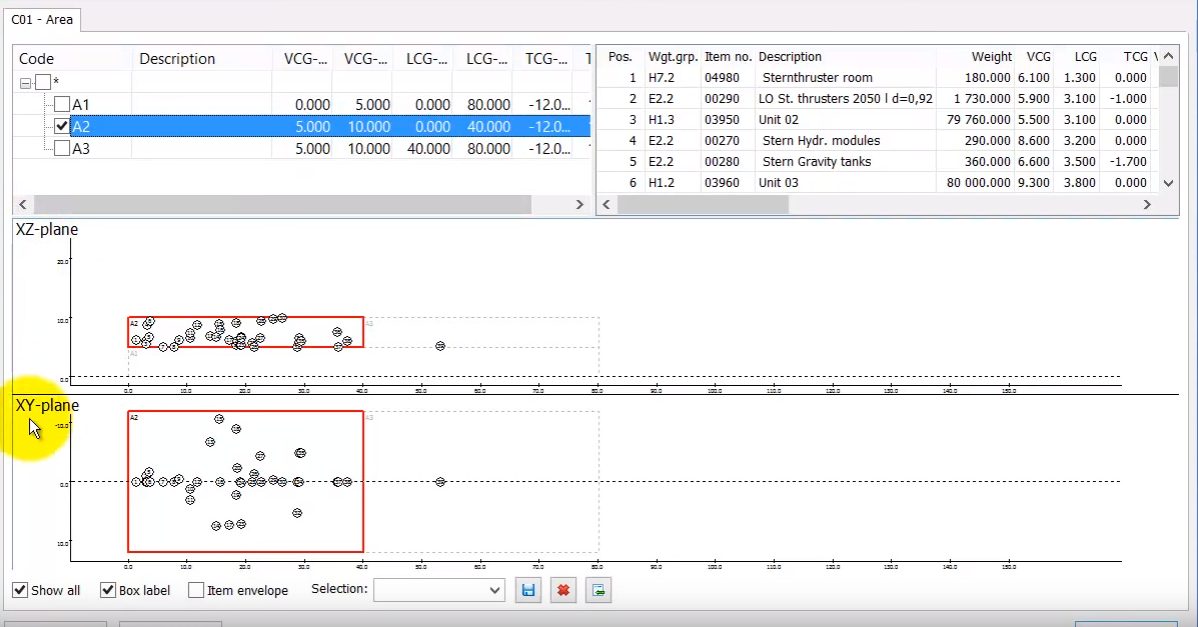
We see if all of the items are inside the box. We see one item outside the box:
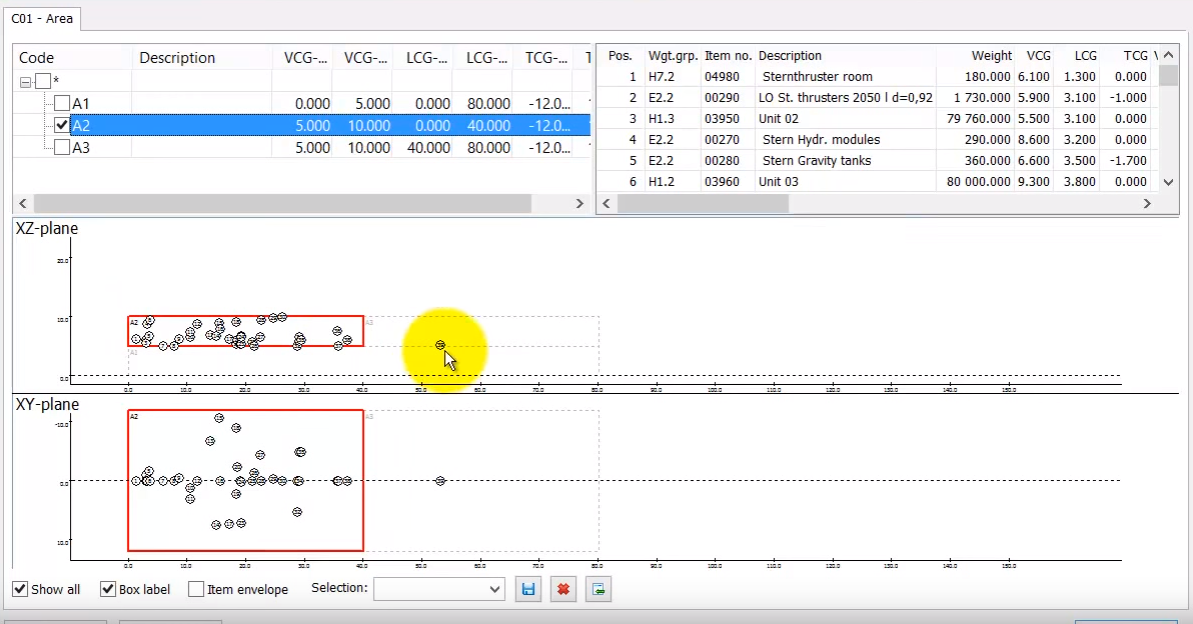
The item number is 39, so we can scrolll down to Pos. 39 and find item 39:
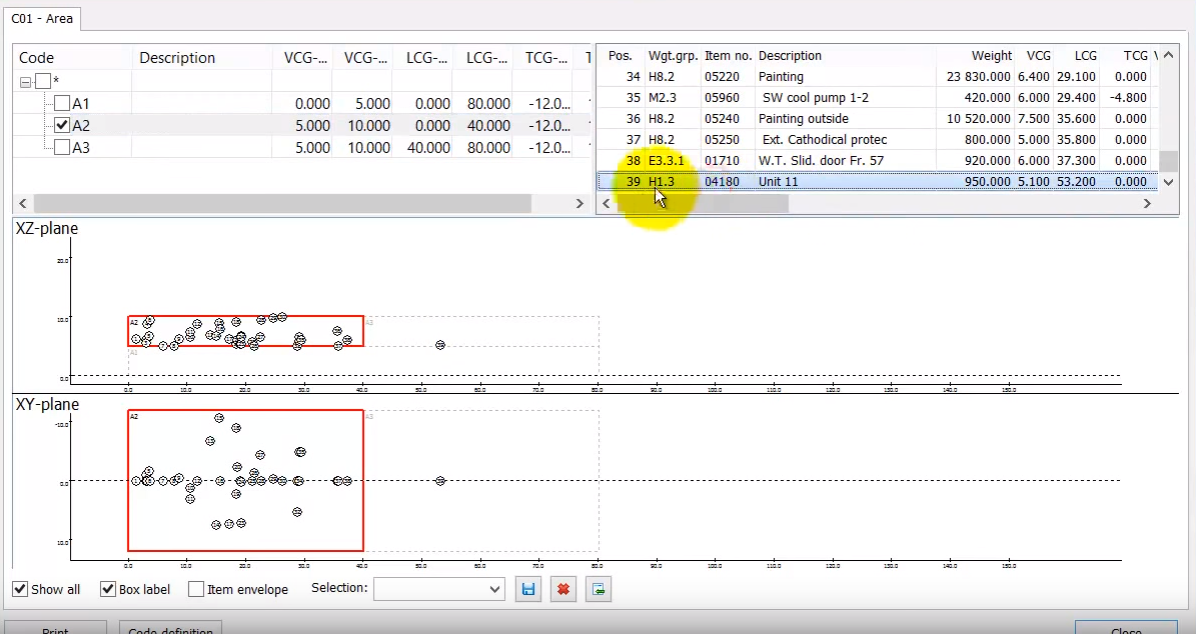
And obviously this is an error, so either item 39 has wrong CoG value or it has been tagged to the wrong area code.
You can also print out the report for this using Print command.
Step 5: Check the Report Setup Window
From the Project menu, select Report setup. Select:
Weight Groups Defined
Parameter sort Unit
Wgt.grp. Sum
Code type C01 – Drawing no
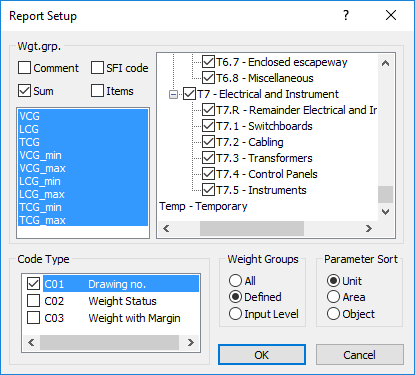
Click OK to close the window.
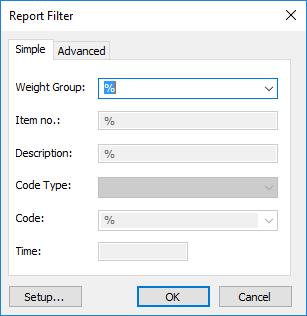
Select Reports and 4 Weight and CoG wgt.grp. summary on the Project menu. The following window will open – just press OK
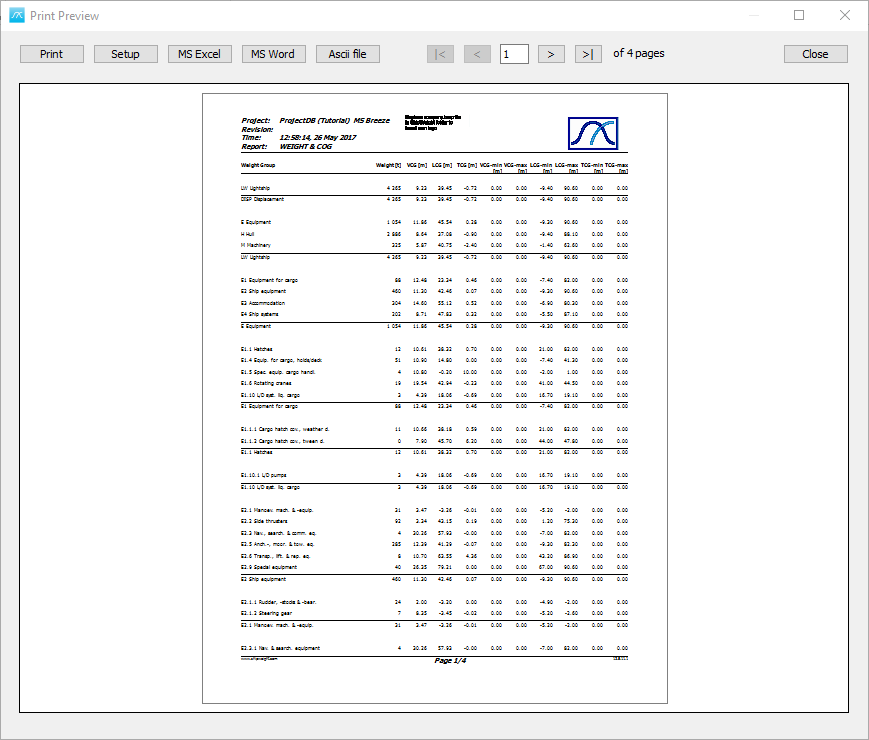
The report will then be opened in the Print Preview window. In the Print Preview window, press the MS Word button to export the report. Close the Preview window.
Start ShipWeight Report Viewer by selecting Crystal Reports… on the Project menu of ShipWeight.

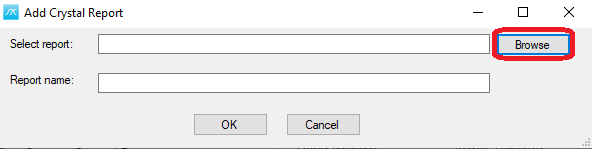
The first thing to do is to add the report you would like to run. Click the plus button this will open the Add Crystal Report window.

Click Browse to locate the Sample report v12.rpt report.
The open Window will now open
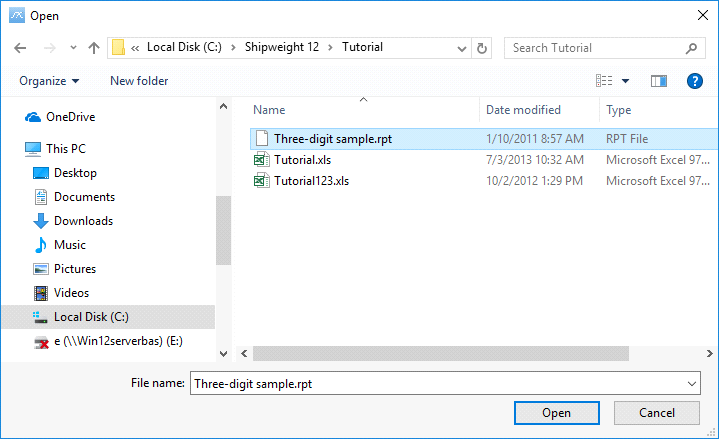
When you have located and selected the file Sample report v12.rpt, press open.
Now the file name will show in the Select report field. Give the report a name.
Next, press the ‘OK’ button.
You can now click 'Run Report' in the ShipWeight Report Viewer.
In the “Enter parameter valuew” window that now pops up, select your WBS from the dropdown list and click “OK”.
The report should now be displayed after a few seconds.
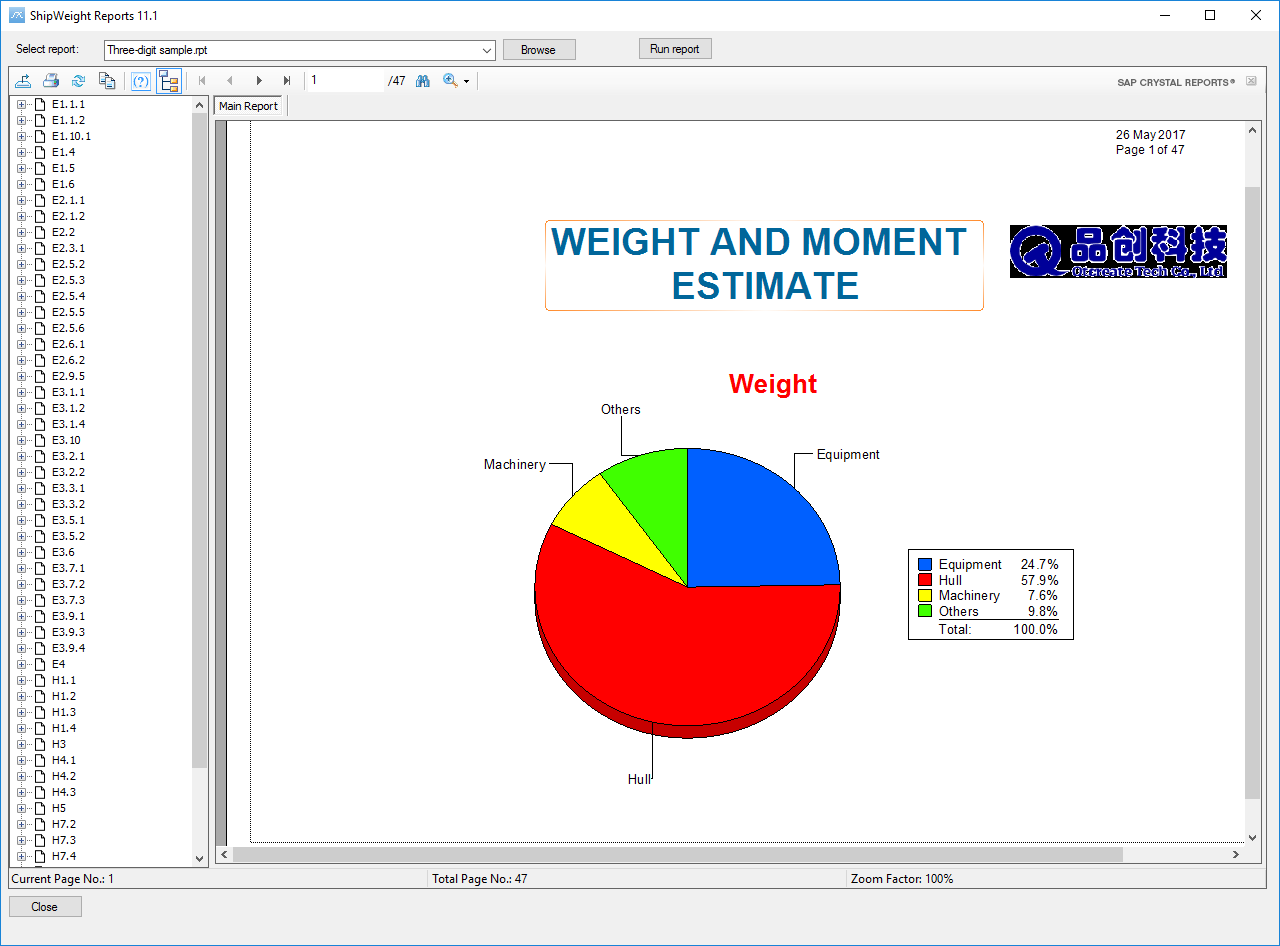
Now, use the toolbar or the group tree to navigate through the report. Also try exporting the report to portable document format (PDF), Word or Excel.