Additional Features > The Code Definition Window
In this tutorial we will make two codes: ‘Drawing Number’ and ‘Weight Status’
Start a new project and open the Items window (click Items and then All Items). From this window, click on Item Setting.
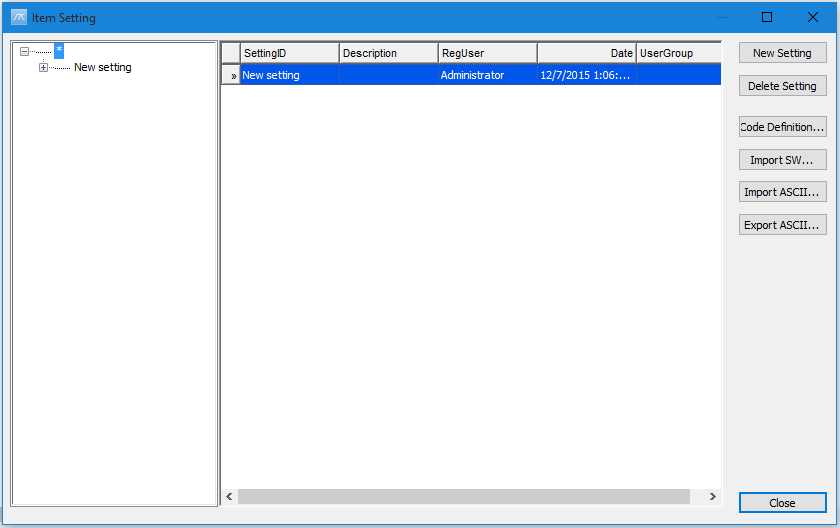
When the Item Setting window pops up, hit New Setting button to create a new setting. In the tree-view on the left side, click the plus-sign next to the asterisk to expand the tree. A setting named ‘New setting’ has been created. Your window should then look like this:
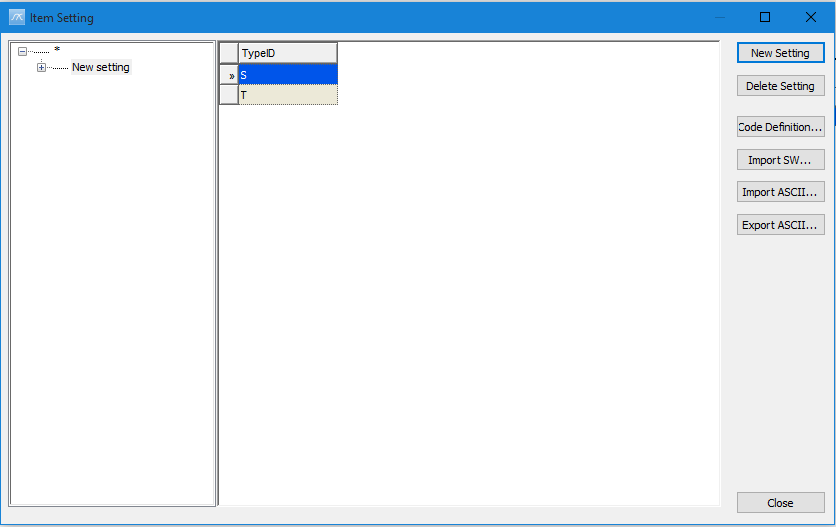
By minimizing the tree view you will see the following window
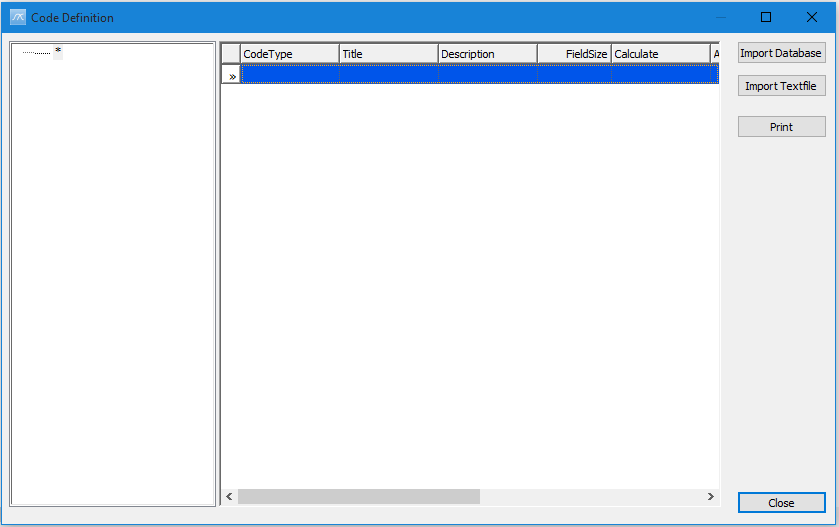
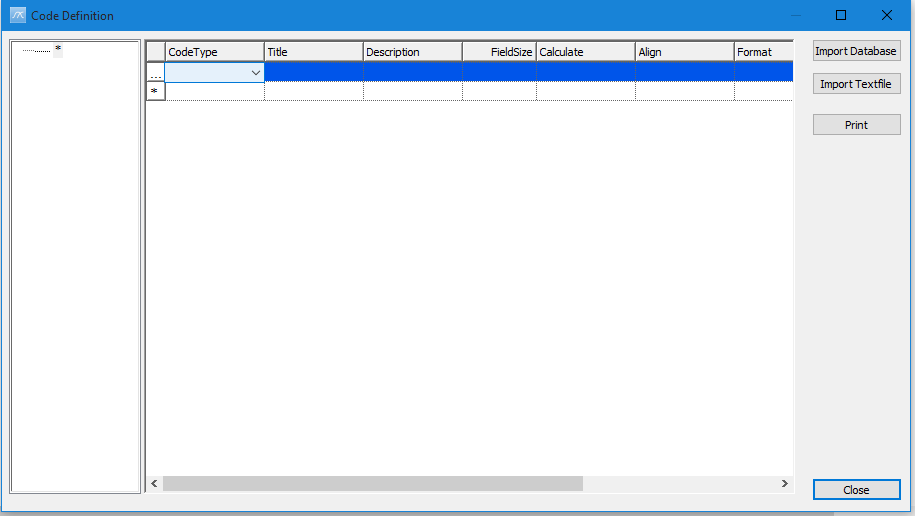
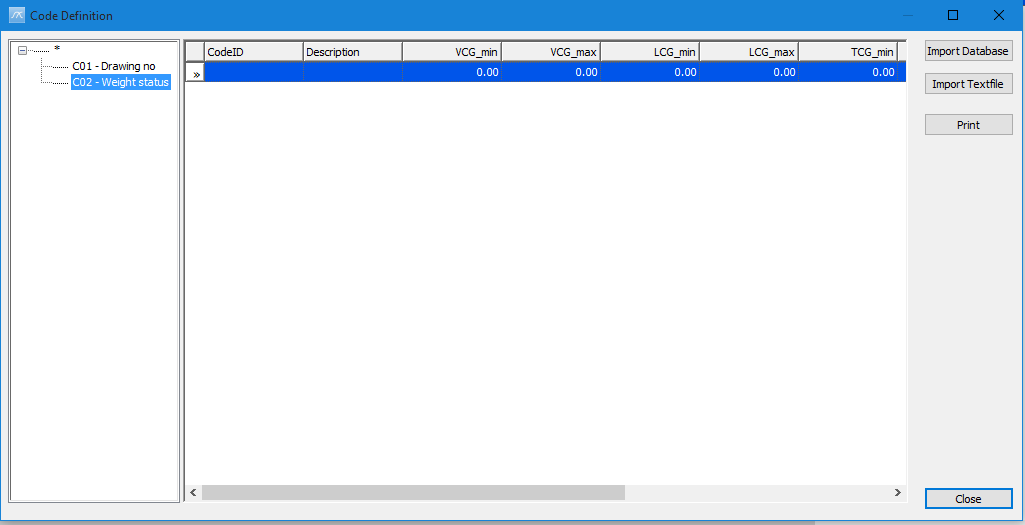
Next, hit the Code definition… button. This opens up the Code Definition window.
In a new project, the Code Definition window is empty.
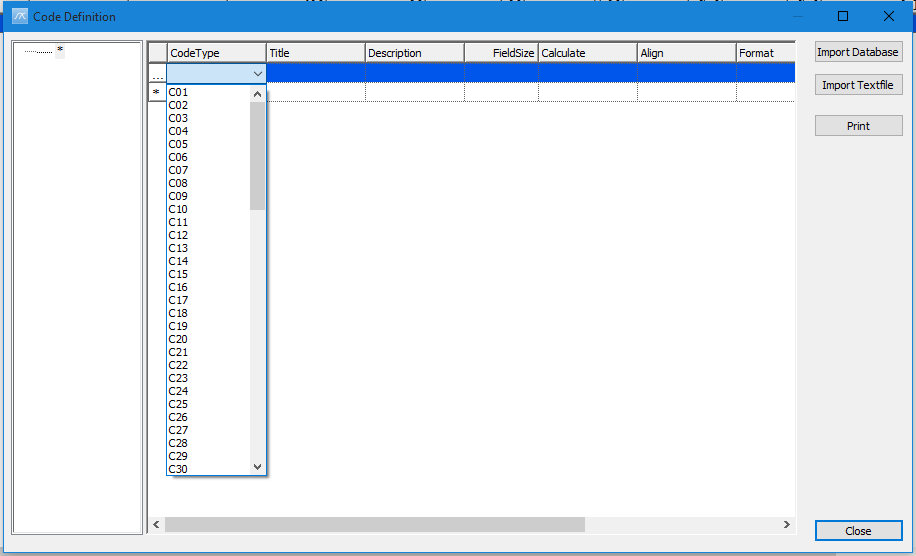
Next, please select the cell in the column CodeType so it becomes activated and editable. A new row should then automatically be added, and the cell should turn into a ComboBox (dropdown list).
Next, activate the dropdown list of the ComboBox and select the ID of the custom code you want to make i.e. C01.
Then, fill in the following fields:
Field |
Value |
Description |
Title |
Drawing no. |
Title will show above field in Items window. |
Description |
Drawing number |
Information only, no effect |
FieldSize |
15 |
Number of characters allowed in field |
Calculate |
|
Formula for calculated codes (Leave empty) |
Tab |
Right |
Alignment of value in Items window. |
Format |
|
Formatting of calculated fields (Leave empty) |
FieldType |
EditBox |
Specify a standard editable field |
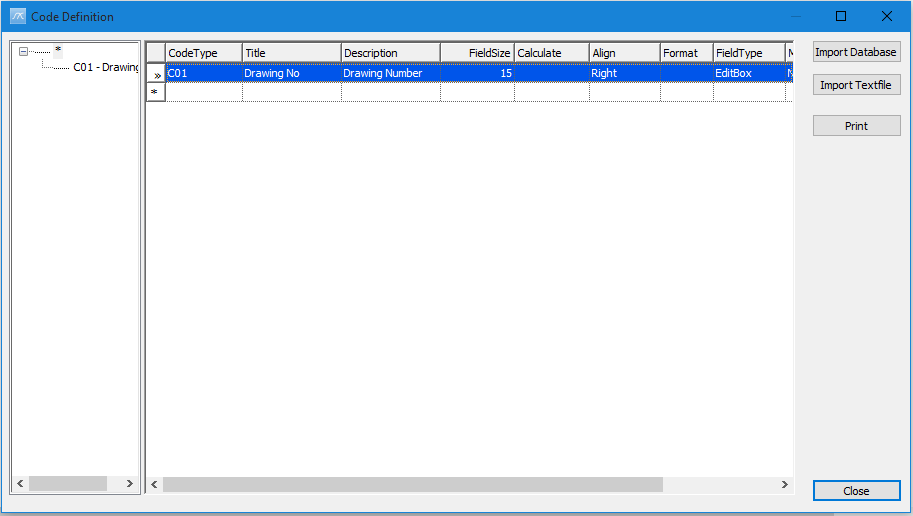
You can make sure that the code has been registered by checking that it is added to the tree left of the grid table.
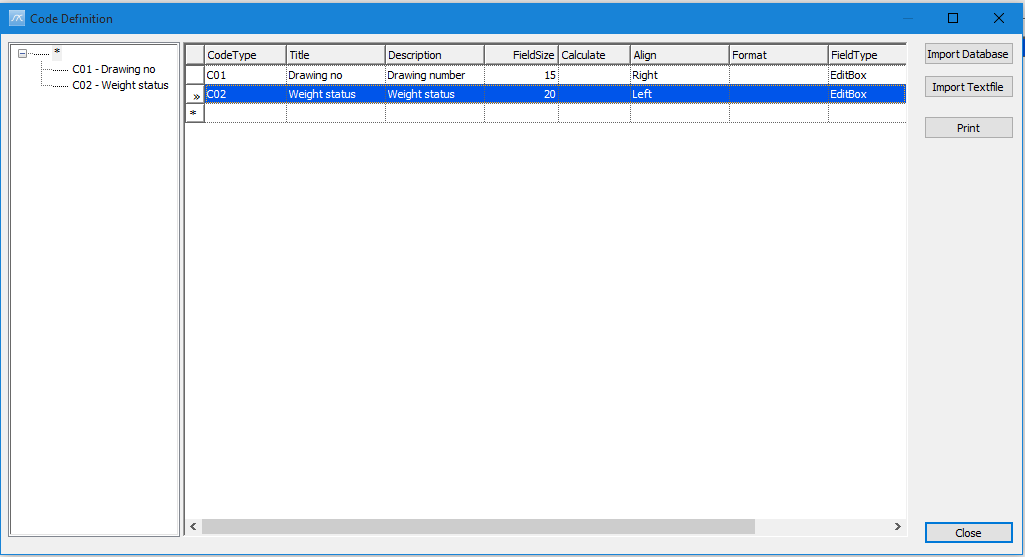
In the same way, add the code C02 with the following values:
Field |
Value |
Title |
Weight Status |
Description |
Weight Status Code |
FieldSize |
20 |
Calculate |
(leave empty) |
Tab |
Left |
Format |
(leave empty) |
FieldType |
ListBox |
To finish off the registration of code C02, click with the mouse on the empty line in the table.
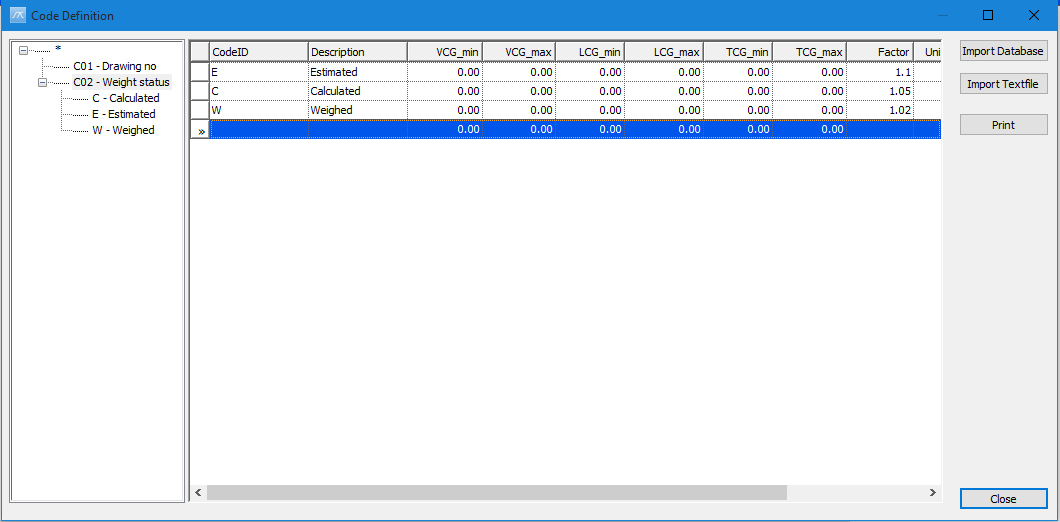
Next, we will add code values to the Weight Status code. In the tree-view, select code ‘C02 – Weight Status’. And empty table for adding code values will appear on the right side of the tree-view.
Select the bottom row of the table and fill in these values:
Field |
Value |
CodeID |
E |
Description |
Estimated |
Factor |
1.1 |
Leave the rest of the fields empty, and click on the next row in the table. Enter two more code values:
Field |
Value |
CodeID |
C |
Description |
Calculated |
Factor |
1.05 |
Field |
Value |
CodeID |
W |
Description |
Weighed |
Factor |
1.02 |
Finish off registering the code value by clicking the last row in the table with the mouse.
Click Close to close the window and go back to the Item Setting window.
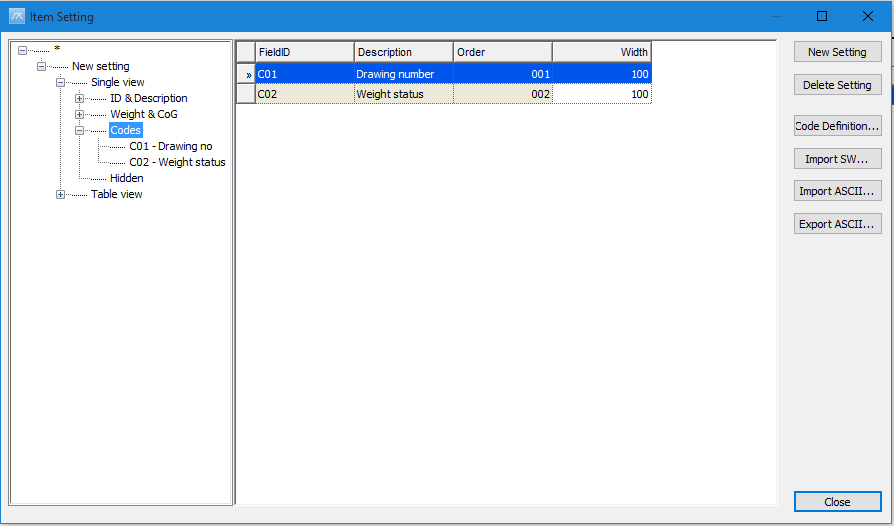
Back in the Item Setting window; expand the Single view branch of the tree by clicking the plus sign. Then expand the Hidden group. The new codes have been added to the Hidden group. All new codes are by default added to the Hidden group and need to be moved from this group to the actual one.
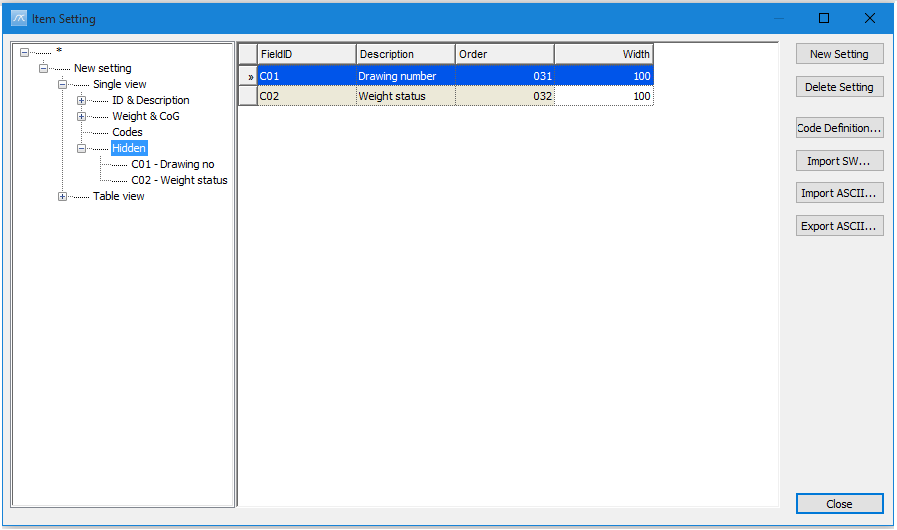
We want to move the codes from the Hidden group to the Codes group. To move the code we use “drag & drop” in the tree-view.
Click and hold the mouse-button on the code C01 so it is selected in the tree-view.
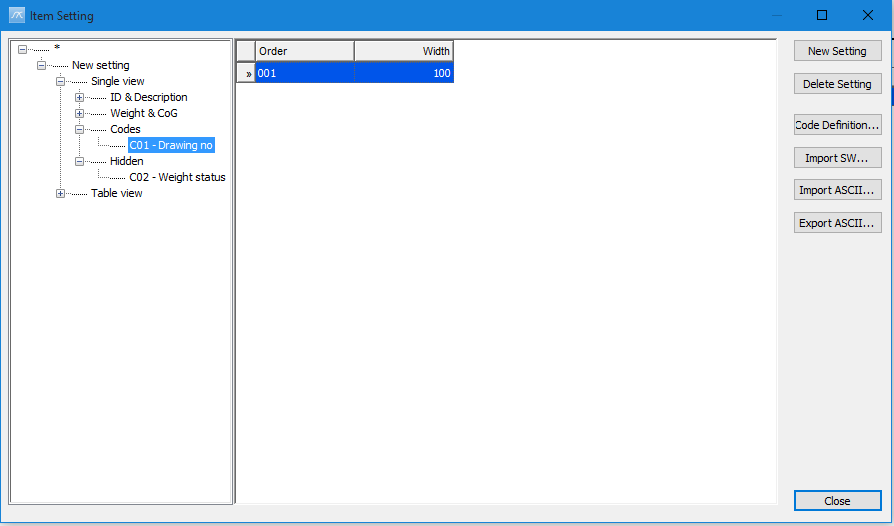
While you are holding the button down, drag the code by moving the mouse to the group Codes. Then release the mouse button. Now it should look like this:
In the same way, drag and drop code C02 from the Hidden group to the Codes group. To place the C02 code beneath C01, make sure to drop it on the C01 code.
Also, expand the Table view branch and move the codes C01 and C02 from Hidden to Codes.
Next, select the group Codes in the tree-view. In the table you can set the width that the code will have in the Items window. Set the width of C01 to 100.
Click the Close button to go back to the Items window.
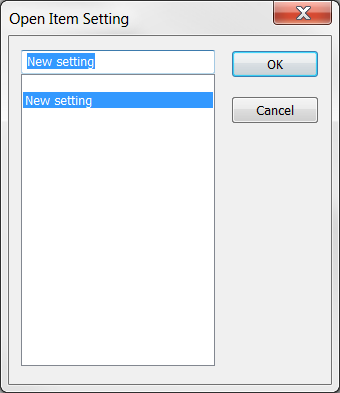
In the Items window, select Load Setting from the Setting menu and select New setting. Click OK.
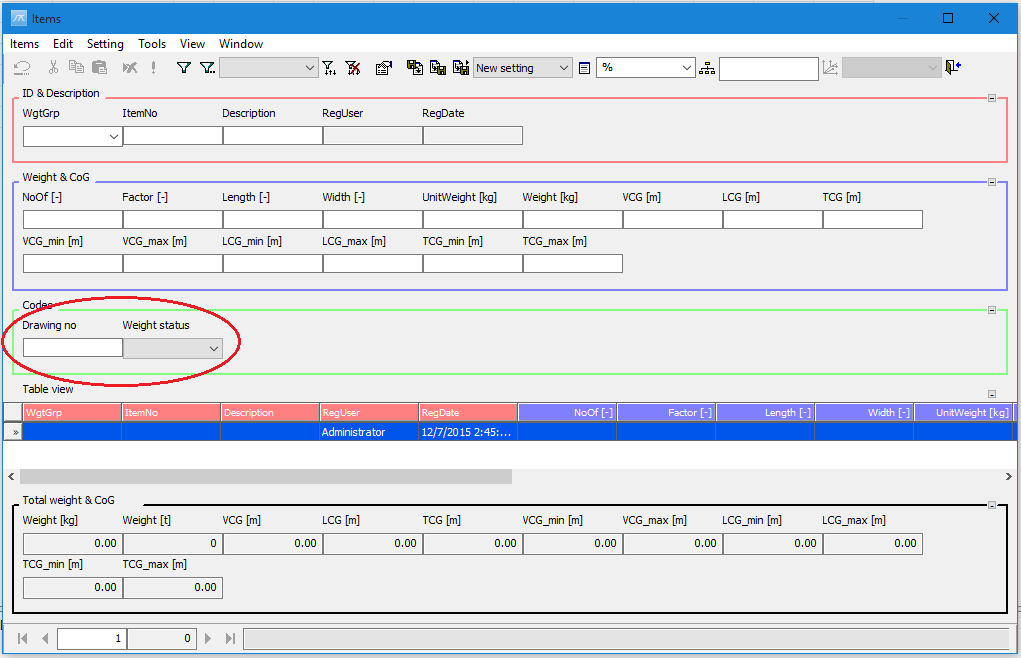
Then your new setting should load and you should be able to see your new custom Drawing No. code in the Items window in the Codes group: